




Do it yourself product photography works when the setup is simple, the lighting is controlled, and the image goal is clear. You do not need a full studio to create useful product photos for ecommerce. You need a repeatable process that helps you produce clean, readable images and then improve them into stronger assets.
That matters because small sellers and lean ecommerce teams usually do not need one perfect image. They need a product photo that can support product pages, social posts, campaigns, and seasonal updates without turning every new visual into a major production task.
Key Takeaways
- DIY product photography works best when the goal is clear and the setup is simple.
- Good lighting, a clean backdrop, and consistent framing matter more than expensive gear.
- White-background shots are useful for clarity, while styled shots work better for branding and campaigns.
- AI tools can help clean up, upscale, and expand DIY product images after the shoot.
- iCreat AI is most useful when you want to turn a basic product shot into more ecommerce-ready assets.
What You Need for Do It Yourself Product Photography
You can build a strong DIY setup with a small set of tools. The goal is not to own the most gear. The goal is to control the variables that affect image quality.
Camera or Smartphone
A modern smartphone is enough for many ecommerce products if the image is sharp and the lighting is good. A dedicated camera gives more control, but it is not required to start.
Use the device you can shoot consistently with. Consistency usually matters more than technical perfection.
Lighting and Reflectors
Light does most of the work in product photography. Window light is often the easiest starting point, especially for small brands shooting at home.
If you need more control, simple artificial lights and a white reflector can help reduce shadows and keep the product visible.
Backdrop and Shooting Surface
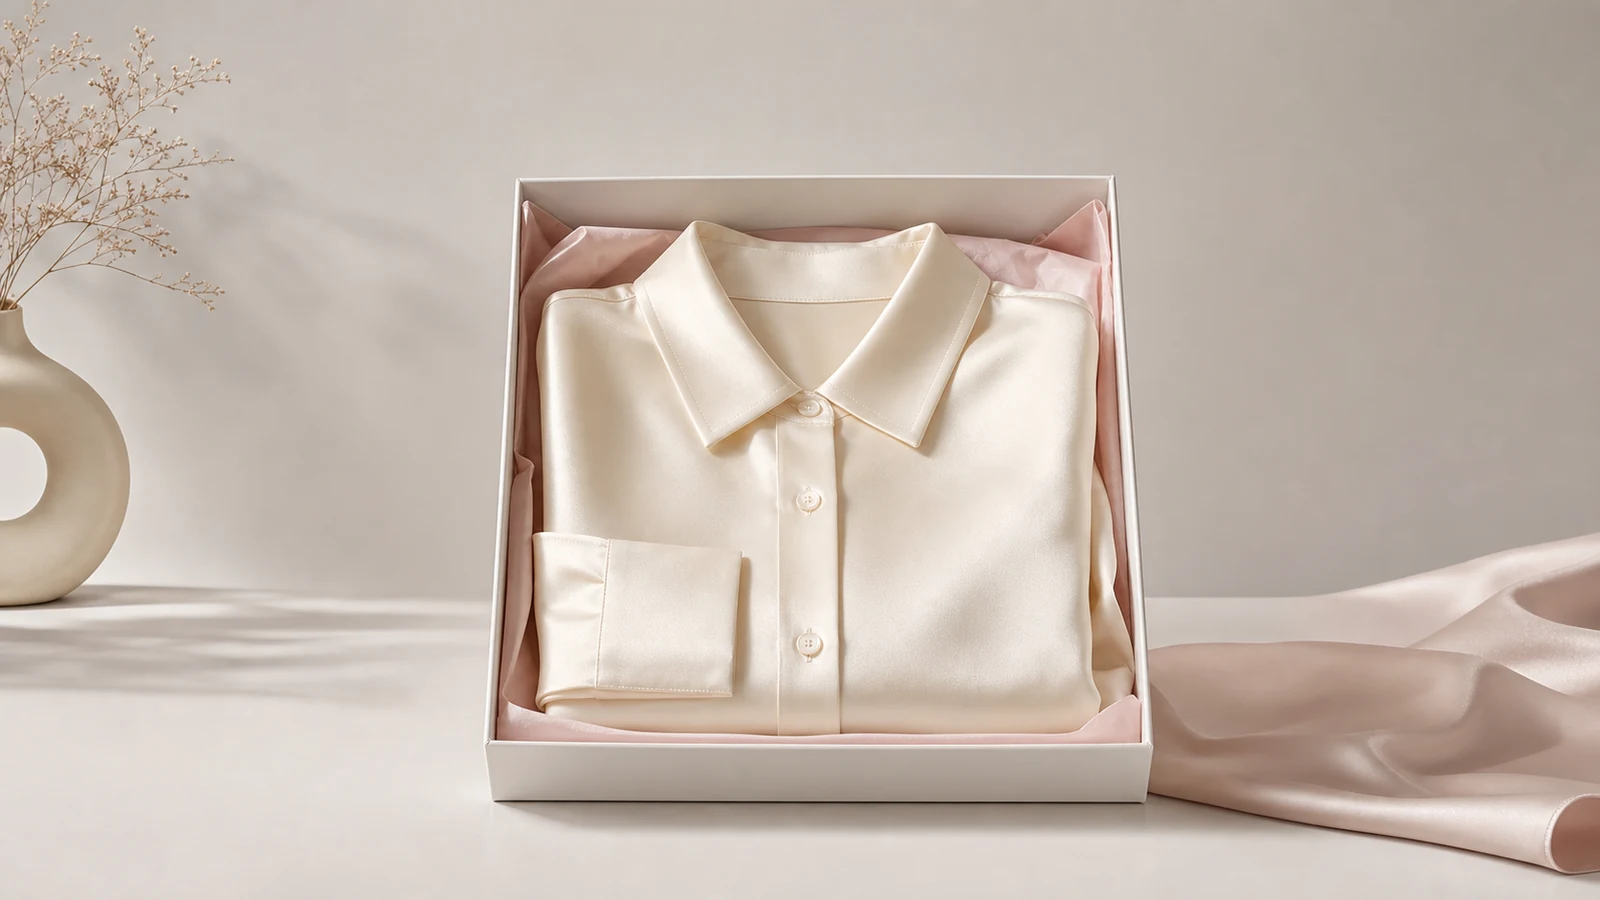
A clean backdrop is one of the fastest ways to make DIY product photos look more professional. White foam board, neutral paper, fabric, or a plain tabletop can all work depending on the product.
Choose a surface that supports the product instead of distracting from it.
Tripod and Simple Stabilization
A tripod helps keep framing consistent and reduces blur. That is especially useful when you need repeatable product shots for multiple SKUs or angle variations.
How To Set Up a DIY Product Photography Space at Home
The best home setup is usually a small, controlled space where you can repeat the same process every time.
Choosing the Right Table and Background
Pick a table near a consistent light source if possible. If you shoot on a tabletop, make sure the surface is clean and the background does not compete with the product.
A white or neutral background is the safest place to start because it keeps attention on the product.
Using Window Light or Affordable Artificial Light
Window light is soft, accessible, and inexpensive. It is often enough for product pages, especially when the light is indirect.
If you shoot at night or need more consistency, simple artificial lighting can help you maintain the same look across multiple products.
Keeping the Product Clean and Centered
Before every shot, check dust, fingerprints, wrinkles, labels, and packaging alignment. Small imperfections are more visible in product photos than many sellers expect.
Center the product carefully and leave enough room for cropping later.
How To Shoot Better DIY Product Photos
Framing, Angles, and Consistency
Use a few repeatable angles instead of trying to invent a new composition for every item. Front, slight side, detail close-up, and optional styled variation are usually enough to start.
Consistency helps the store look more professional and makes it easier to compare products.
Exposure, Shadow Control, and White Balance
Exposure should make the product easy to see without washing out detail. Shadows should support the image, not dominate it.
White balance matters because poor color accuracy can make the product look different from reality. That is a problem for any ecommerce image.
When to Shoot White-Background Versus Styled Images
White-background shots are best when the goal is clarity, listing consistency, or marketplace use. Styled images work better when you want brand mood, social content, or campaign variation.
Most small brands need both. The clean image is the base. The styled image is the extension.
Common DIY Product Photography Mistakes
Mixed Lighting and Color Problems
Mixing window light and warm indoor light can create color shifts that make products look inaccurate. Try to keep the lighting situation as controlled as possible.
Distracting Backgrounds
If the background pulls attention away from the product, the image loses its purpose. This is one of the most common DIY mistakes.
Soft Focus and Inconsistent Crop
Blurry or unevenly cropped images can make a store feel less trustworthy. Keep your framing simple and check sharpness before moving on.
Shooting Too Few Variations
One image is rarely enough for ecommerce. Try to capture at least a clean hero image, a detail shot, and one additional angle or styled version.
How AI Helps DIY Product Photography Go Further
DIY photography is not just about shooting. It is also about what happens after the shoot. That is where AI can help a small team get more value from limited source images.
Cleaning Up Backgrounds and Preparing Cutouts
If your DIY image is good but the background needs cleanup, Background Remover can help prepare a cleaner cutout or transparent asset.
That is useful for white-background ecommerce images, compositing, and future creative reuse.
Upscaling Usable Images for Ecommerce and Campaigns
Sometimes the image is strong but not large enough for the use case. Image Upscaler helps improve resolution so the photo can work better for product pages or campaign layouts.
Turning One Strong Image Into More Creative Variations
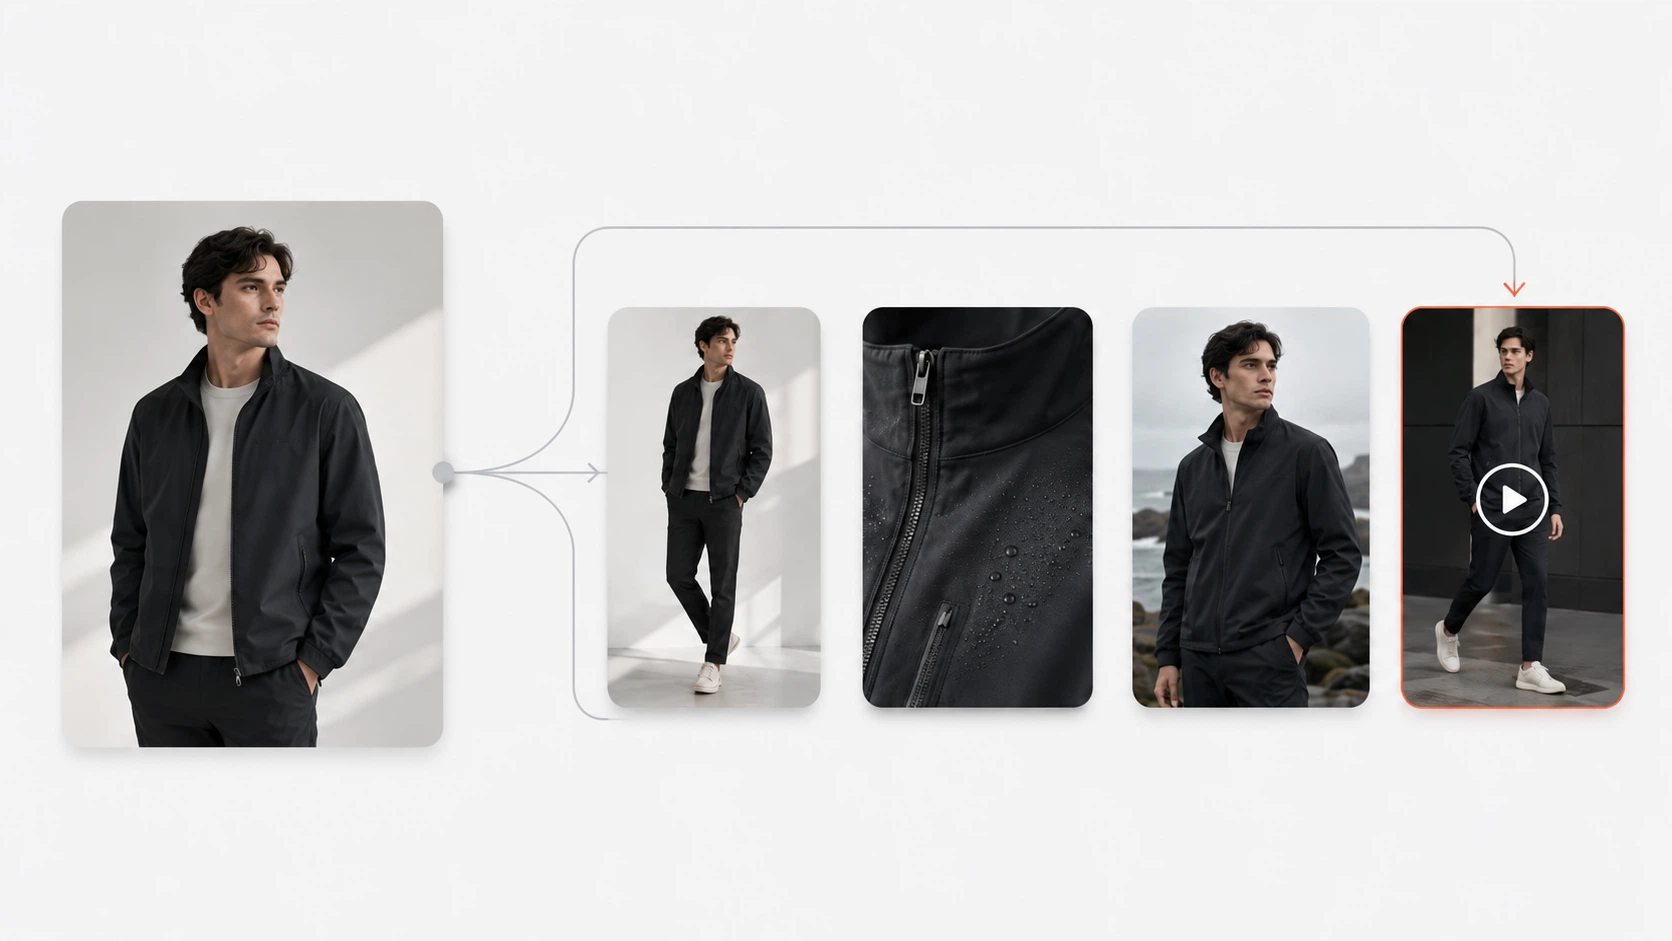
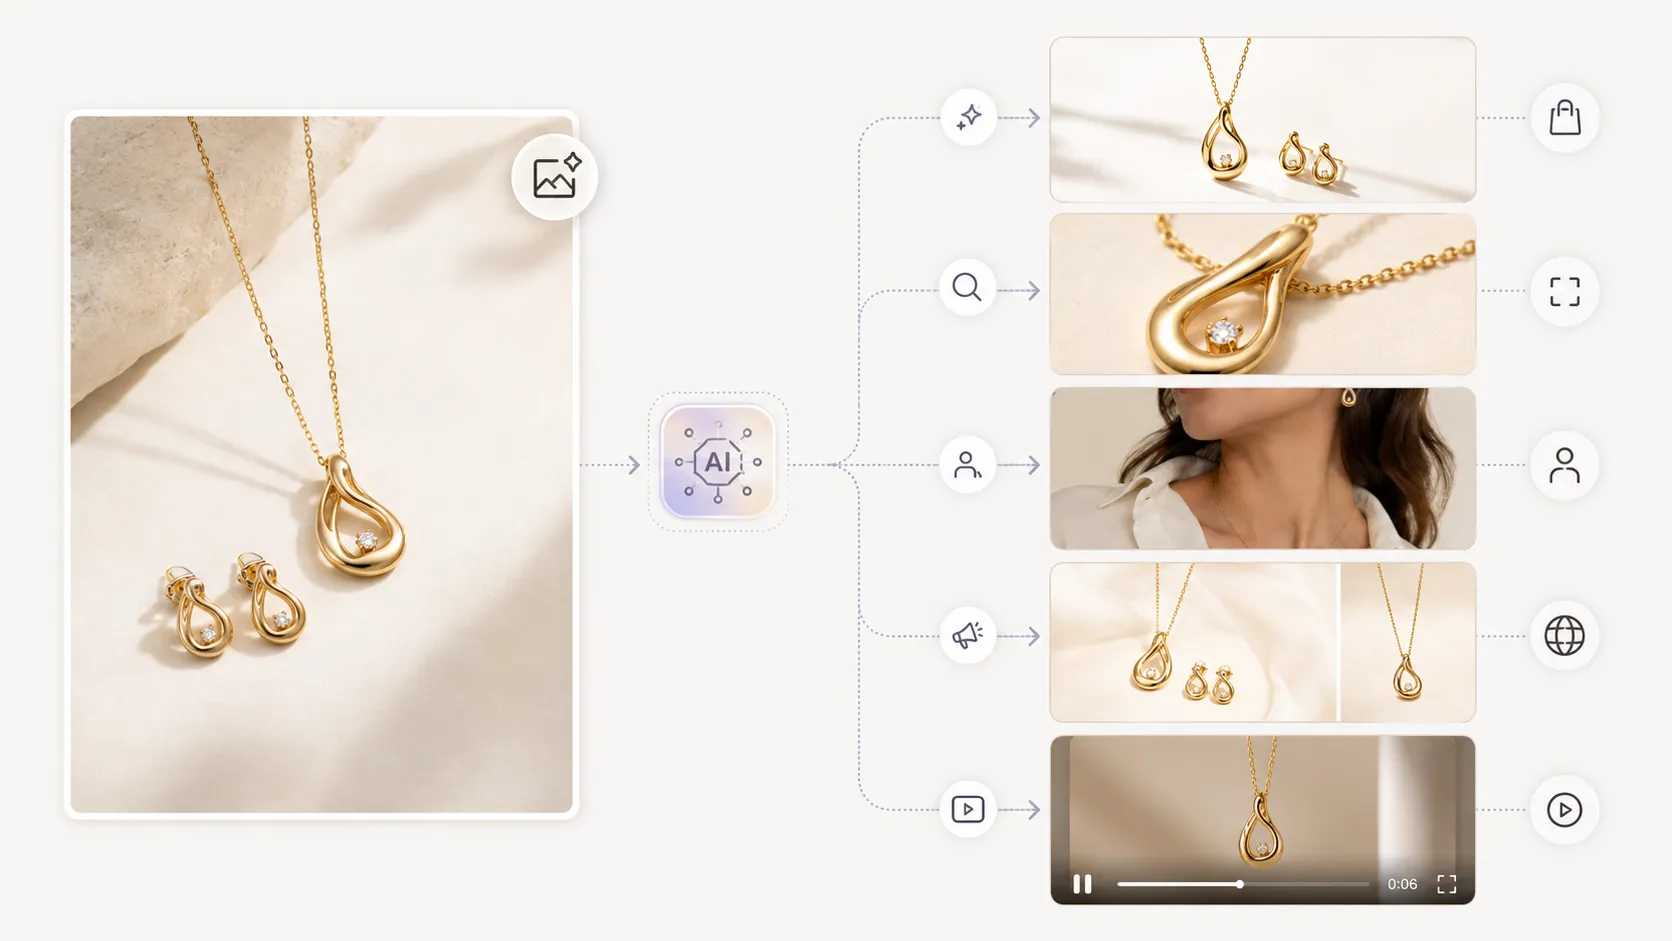
If the base product photo is good, AI Product Photography can help turn that single reference into more usable ecommerce visuals. That is especially helpful when you need more product page assets, campaign visuals, or social-ready variations without reshooting.
For seasonal refreshes or concept changes, AI Image Replacer can help adapt the visual direction instead of starting over.
A Practical DIY Workflow for Ecommerce Teams
- Set up a simple home photography space.
- Shoot a clean base product image first.
- Capture one or two extra angles or detail views.
- Clean up the background if needed.
- Upscale the strongest image when resolution matters.
- Expand the best reference into more campaign-ready visuals when needed.
That workflow keeps DIY photography practical. It also keeps the project focused on business use, not just the shooting process.
For a small seller, that might mean one clean product page image plus a few variations for social and seasonal content. For a larger ecommerce team, it might mean using one strong DIY shoot as the starting point for a broader asset library.
FAQ
Conclusion
Do it yourself product photography is a practical option for small brands, Shopify sellers, handmade businesses, and lean ecommerce teams. The best results come from a simple setup, controlled lighting, and a clear goal for each photo.
If your DIY photos need cleanup, start with Background Remover or Image Upscaler. If you want to turn a strong base image into more ecommerce-ready visuals, iCreat AI's AI Product Photography is the best next step.
When you are ready to build a stronger product image workflow, log in to iCreat AI and start from your best reference shot.