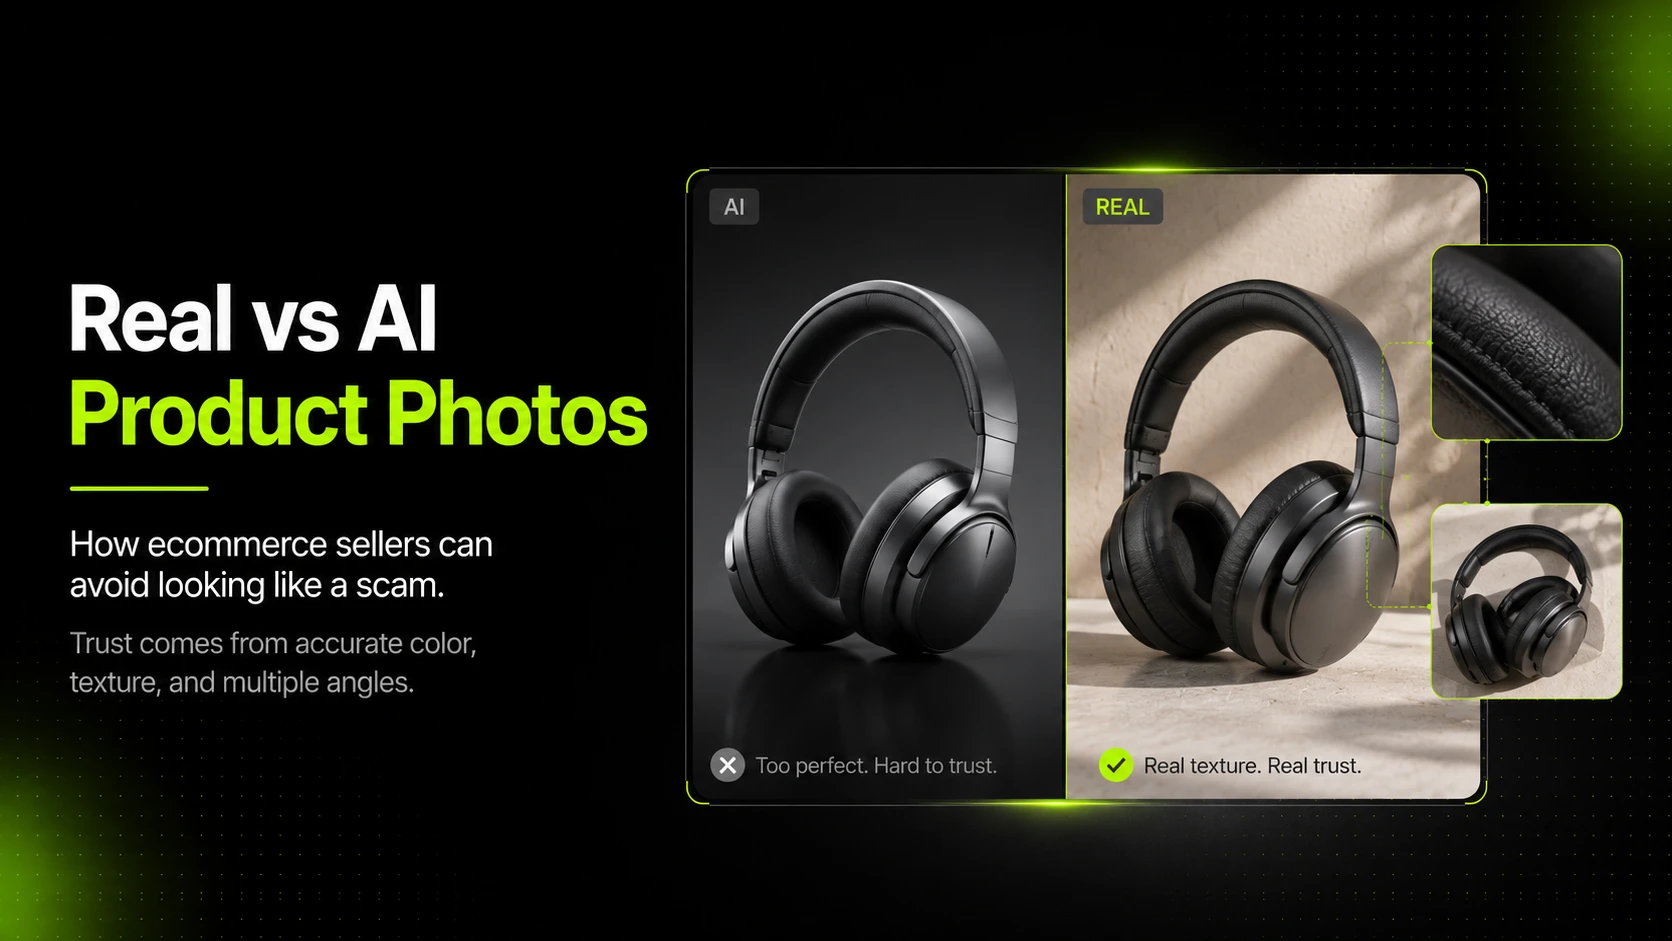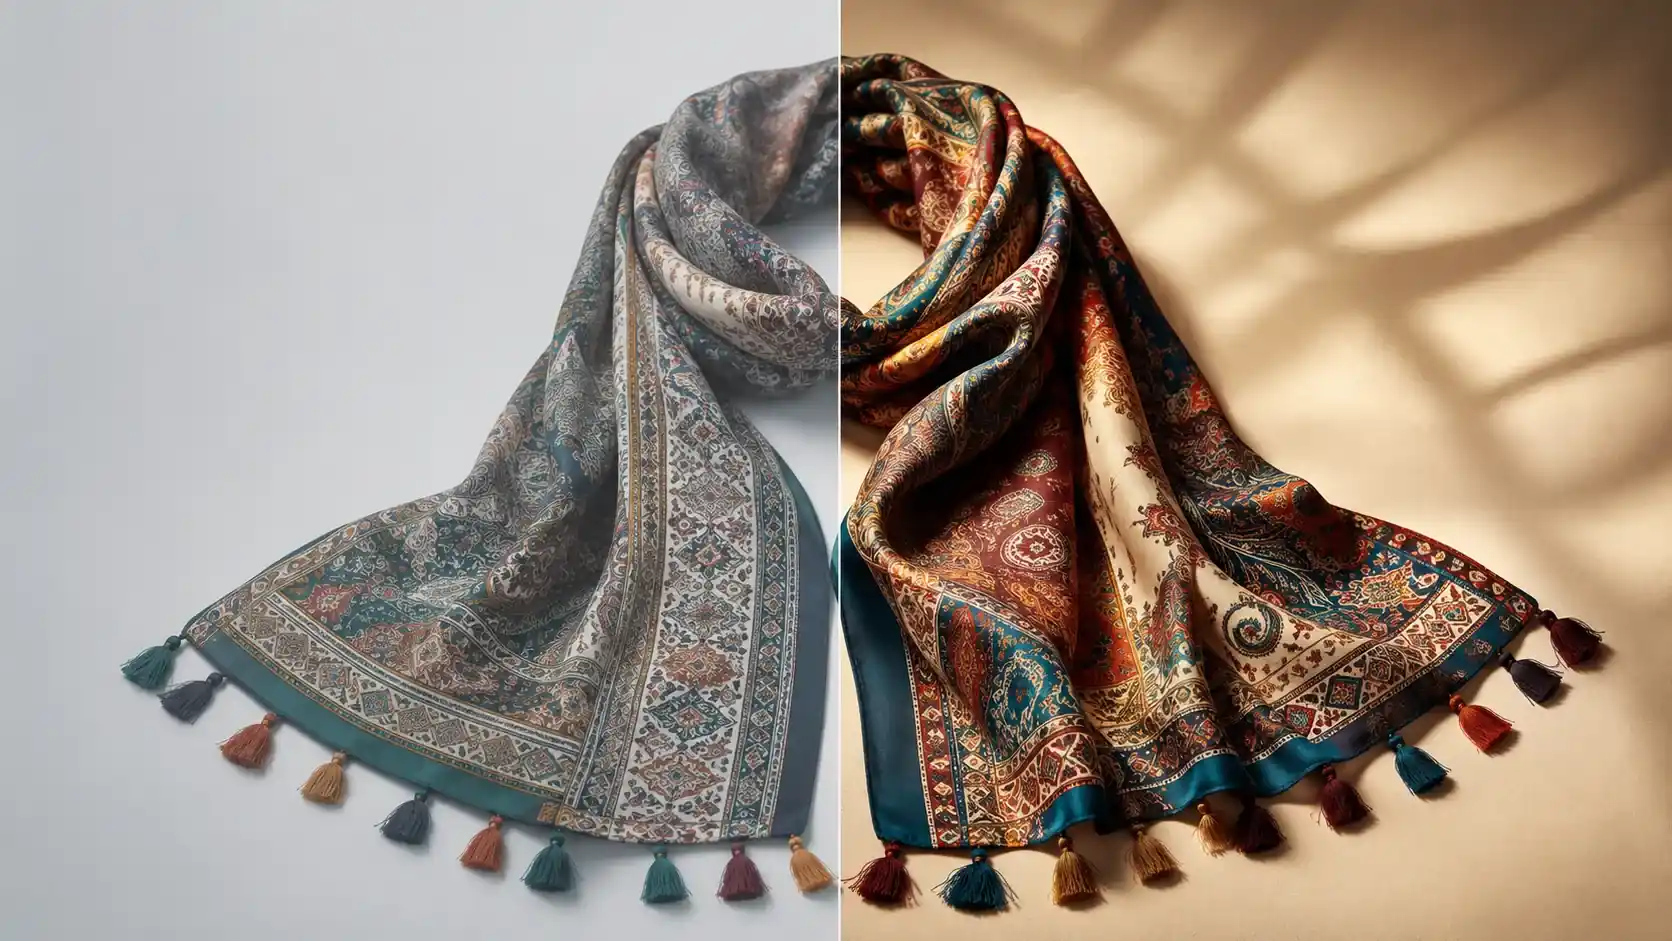




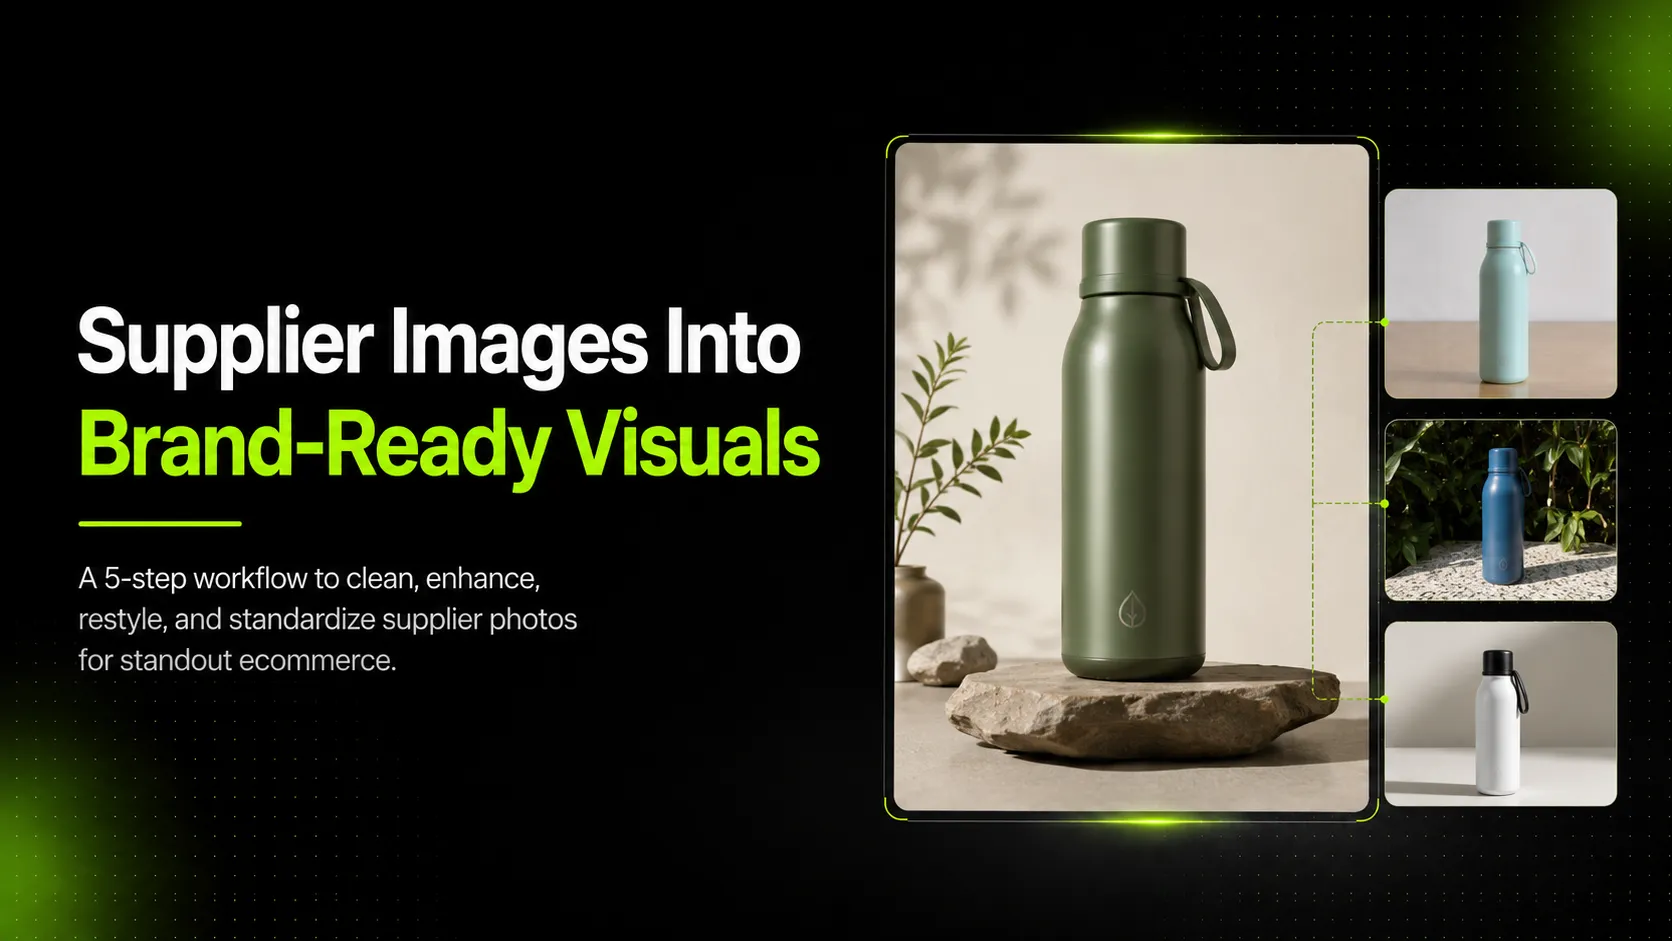
The issue is not that supplier photos are useless. The issue is that they look like they came from five different brands, shot in five different warehouses, with five different cameras. When a dropshipper pulls product images from Alibaba, AliExpress, or a wholesale catalog, those assets serve one purpose: confirming what the item looks like. They do not serve the purpose of selling it on a brand's own store.
Most sellers already know that product images affect conversion. The harder question is whether to reshoot everything or build a transformation pipeline that turns existing supplier assets into marketplace-ready visuals. For teams managing dozens or hundreds of SKUs across multiple suppliers, reshooting is often not practical. A structured cleanup-and-enhancement workflow is usually the more realistic starting point.
This guide covers a 5-step pipeline to audit, clean, enhance, restyle, and output supplier images as consistent, professional ecommerce visuals. It includes specific platform requirements, tool recommendations at each stage, and decision points for when to enhance versus when to reshoot.
Why Supplier Photos Need Transformation
Supplier photos share a predictable set of problems. Understanding which problems each image has helps prioritize the right fix.
Common issues include:
- Inconsistent backgrounds, some on white, some on gray warehouse floors, some on lifestyle sets that do not match your brand
- Watermarks or logos, supplier branding overlaid on the image that cannot appear on your listing
- Low resolution, images too small for Amazon's 1000px minimum or Shopify's recommended 2048px square standard
- Poor lighting, flat, yellow-cast, or harshly lit shots that make products look cheap
- Wrong aspect ratio, vertical phone photos when your store needs square or landscape formats
- No brand styling, no color palette consistency, prop styling, or visual identity across SKUs
According to Shopify's ecommerce photography guidelines, converting traffic to sales depends heavily on photo quality. When shoppers see mixed-quality images across a product page, the signal they receive is not "this seller sources from multiple suppliers." The signal is "this brand may not be reliable."
Marketplace requirements make this more concrete. Amazon requires a minimum of 1000 pixels on the longest edge for listing images. Shopify recommends 2048 by 2048 pixels for square product photos to support zoom functionality without quality loss. eBay enforces specific aspect ratio and file size limits per category. Supplier photos rarely meet these standards out of the box.
The Supplier-to-Brand Visual Pipeline
Think of this as a production line, not a single edit. Each step solves a different class of problem:
- Audit, identify what each image needs
- Clean, remove backgrounds, watermarks, and distractions
- Enhance, improve resolution, color, and sharpness
- Restyle, apply branded scenes, lighting, and visual identity
- Output, format and export for each sales channel
Not every supplier image needs all five steps. A high-resolution photo with a bad background might skip straight to Step 2. A tiny thumbnail with a watermark might need Steps 1 through 4. The audit in Step 1 determines the path for each asset.
Step 1: Audit and Organize Your Supplier Images
Before editing anything, sort your library. This step prevents teams from spending enhancement time on images that should be discarded or re-sourced.
Check each image against these criteria:
| Criteria | Acceptable | Needs Work | Discard |
|---|---|---|---|
| Resolution | 1000px+ on longest edge | 500-999px | Under 500px |
| Background | Clean, removable | Cluttered but fixable | Too complex to separate subject |
| Watermarks | None | Small, removable | Large overlay covering product |
| Lighting | Even, correctable | Flat or cast-heavy | Completely dark or blown out |
| Product clarity | All details visible | Minor blur or softness | Unrecognizable |
Sort images into three folders: Ready for Enhancement, Limited Use, and Re-source Required. Only the first folder enters the full pipeline. Images in Limited Use might work for secondary gallery positions but should not be main listing images. Images in Re-source Required will cost more time to fix than to replace.
For sellers working with large catalogs, batch this process once per supplier delivery rather than per individual SKU. A consistent sorting system reduces decision fatigue when the next batch arrives.
Step 2: Clean Up Backgrounds and Watermarks
With sorted images in hand, the first active step is isolation: remove everything that is not the product.
Background removal serves two purposes. First, it creates a transparent or white-base image that meets marketplace requirements for clean listing assets. Second, it prepares the image for Step 4, where a new branded background or scene gets composited underneath.
For most supplier photos, an AI background remover can detect the product edge and strip the original background in seconds. This works well for apparel, accessories, footwear, and packaged goods where the subject has clear boundaries from its surroundings. Products with reflective surfaces, translucent materials, or highly detailed edges may need manual touch-up after automated removal.
Watermark and logo removal requires more care. Supplier watermarks exist because suppliers want credit for their photography. Removing them for your own storefront use is generally acceptable when you are selling the actual product. However, this does not grant permission to reuse supplier imagery in contexts that imply the photo is your original work. A watermark removal tool can help with small text overlays, logos in corners, or branding elements that do not obscure the product itself.
After cleanup, standardize every image to either a pure white background (for marketplace listings) or a transparent PNG (for compositing into custom scenes later). Keeping both versions gives flexibility for different output channels.
Step 3: Enhance Quality With Upscaling and Color Correction
Clean images are not always publishable images. Resolution and color quality determine whether an enhanced supplier photo can pass as a professional asset.
Upscaling matters most for images that fall between 500 and 1000 pixels on their longest edge. These files are too small for Amazon or Shopify zoom features but usually contain enough detail to enlarge successfully. An AI image upscaler can enlarge images to 2K or 4K while preserving edge definition and reducing the softness that comes with standard resizing. For images under 500 pixels, upscaling results are less predictable; these may still fall into the Re-source category from Step 1.
Color correction addresses the most visible quality gap between supplier photos and brand imagery. Supplier photos often carry a warm yellow cast from warehouse lighting, or a cool blue tint from daylight-balanced shooting in shadow. Adjusting white balance toward neutral or slightly warm tones makes products look more commercial. According to Shopify's photography guidance, warmer white balance tends to produce a more appealing commercial look than cool or neutral settings.
Key adjustments at this stage:
- White balance, neutralize color casts so the product's true color shows
- Brightness and contrast, increase slightly to add depth, but avoid washing out highlights
- Saturation, increase modestly to bring out material texture without making colors look unnatural
- Sharpness, apply light sharpening to define edges, especially for fabric detail, stitching, or surface texture
This step is also where you catch images that looked acceptable in the audit but reveal compression artifacts or irreparable blurriness when viewed at target output size. Catching them now avoids investing restyling time in assets that will not hold up.
Step 4: Apply Your Brand Style With AI Product Photography
Steps 2 and 3 produce clean, corrected product images. Step 4 is where those images stop looking like improved supplier photos and start looking like brand-owned visuals.
AI product photography tools take a cleaned product image and generate new versions with custom backgrounds, lighting setups, scene compositions, and stylistic variations. Instead of photographing every SKU against a branded backdrop, sellers can input the cleaned supplier image and output multiple styled variations.
What this step solves specifically for supplier-sourced inventory:
- Visual consistency across suppliers, when you source from three different wholesalers, their photos have three different looks. AI-generated backgrounds and scenes give every product the same lighting, color palette, and staging style regardless of where the original image came from
- Lifestyle context from flat photos, many supplier photos are plain white-background or flat-lay shots. AI product photography can place those same products into contextual scenes: a sneaker on a wooden floor with natural window light, a handbag on a marble surface with soft shadows, a skincare bottle among minimal props that match your brand aesthetic
- Multiple variations from one input, a single cleaned supplier image can generate a hero shot, a close-up detail angle, a lifestyle version, and a social media crop without additional photography time
When preparing images for AI generation, use the highest-quality version available after Steps 2 and 3. Clear reference images with good product visibility produce stronger outputs than blurry or poorly lit inputs. If the supplier provided multiple angles, use the front-facing or three-quarter view as the primary input for generation, since these angles tend to perform better for ecommerce listings.
For fashion and apparel sellers who need more advanced outputs, selecting a higher-detail model option can improve garment accuracy in generated scenes. Advanced models are designed for stronger detail restoration when preserving elements like fabric texture, print patterns, collar structure, and logo placement matters for the final visual.
Step 5: Output Marketplace-Ready Assets
The final step is formatting each enhanced image for its destination channel. An image that looks perfect on your monitor can still get rejected or display poorly if it does not match platform specifications.
Platform requirements at a glance:
| Platform | Min Resolution | Recommended | Aspect Ratio | Background |
|---|---|---|---|---|
| Amazon | 1000px longest edge | 2000px+ for zoom | Varies by category | Pure white required for main |
| Shopify | 2048x2048px recommended | 2048x2048px | Square preferred | Store's choice |
| eBay | 1600px recommended | 1600px max | Category-specific | No restriction |
| Google Merchant Center | 250x250 min | 325x325+ | Non-square allowed | Clear product focus |
Export each final image in JPEG for photographs (to keep file sizes manageable) or PNG when transparency is needed. Compress files before uploading, Shopify supports up to 20MB per image, but larger files slow down page load times and can hurt mobile experience. Tools like TinyPNG or built-in platform compressors handle this without visible quality loss.
Naming conventions matter for organized libraries. A consistent naming structure like `[SKU]_[angle]_[version]_[date]` (for example, `DRESS001_hero_brand_v1_2026-06`) makes it easy to find assets, track versions, and identify which images need updating when a supplier changes a product.
Before publishing, run each final image through a quick quality check:
- Product shape and proportions look correct
- Color matches the actual item (or as close as the source allows)
- No watermark, logo, or supplier branding remains visible
- Image meets the target platform's resolution and aspect ratio rules
- Background is appropriate for the channel (pure white for Amazon main image, branded for other placements)
- File size is optimized for web loading
Speed vs. Quality: Choosing the Right Approach
Not every product needs the full 5-step treatment. Knowing when to use the quick path versus the full enhancement workflow saves time without sacrificing listing quality.
Quick cleanup workflow (approximately 5 minutes per product):
- Step 1: Quick visual check, accept or discard
- Step 2: Background removal only
- Step 5: Export to white background, compress, upload
Use this for: high-volume catalogs, price-sensitive items, supplementary gallery images, and products where the main listing already has strong primary photography.
Full AI enhancement workflow (approximately 15 minutes per product):
- Steps 1-3: Full audit, cleanup, and quality enhancement
- Step 4: AI product photography for branded scenes and multiple variations
- Step 5: Multi-format export for listing, social, and ad channels
Use this for: hero listing images, featured products, seasonal campaign visuals, and any SKU where visual quality directly affects margin or conversion.
Batch processing strategy: Group products by supplier batch and process them together. Running 20 images from the same supplier through Steps 2 and 3 in sequence is faster than switching between suppliers repeatedly. Reserve Step 4 (AI restyling) for priority SKUs where the ROI justifies the per-image generation time.
Common Mistakes to Avoid
Mistakes in this pipeline usually come from skipping steps or applying the wrong level of effort to a given image.
Ignoring color consistency across suppliers. If Supplier A's photos run warm and Supplier B's photos run cool, and you correct them differently (or not at all), your product grid will still look inconsistent even after background removal. Standardize color treatment across all images before moving to restyling.
Over-editing until the product looks unrealistic. Heavy saturation, excessive sharpening, or aggressive contrast adjustments can make a t-shirt fabric look like plastic or a leather bag look like a rendering. If the enhanced image looks better than a real photo of the actual product, shoppers who receive the item may feel misled. Enhance to professional quality, not to impossible quality.
Skipping the audit step. Starting edits before sorting means spending time on images that should have been discarded. The 10 minutes spent auditing 50 images saves more time than it costs in avoided rework.
Using different visual styles for different supplier batches. If Supplier A's products get a dark moody scene and Supplier B's products get a bright minimalist scene, the store still looks like it carries incompatible brands. Define one brand visual style guide, lighting direction, color palette, backdrop style, prop language, and apply it uniformly regardless of source.
Publishing without reviewing AI-generated output. AI product photography tools produce strong results, but they do not guarantee perfect product accuracy in every generation. Review each output for shape distortion, color shift, missing details, or unnatural positioning before publishing. This review step is shorter than the enhancement step itself, and it prevents the kind of errors that break shopper trust.
Frequently Asked Questions
Can AI Improve Supplier Product Photos?
Yes, but with important qualifications. AI tools can remove backgrounds, upscale resolution, correct color, and generate new branded scenes around a product. However, AI cannot invent detail that does not exist in the source image. If a supplier photo is extremely low resolution, heavily watermarked over the product area, or taken in lighting so poor that the product is barely visible, AI enhancement will have limited effect. The best candidates for AI improvement are images where the product is clearly visible and the main issues are background, resolution, or styling.
What Resolution Do Ecommerce Product Images Need?
Requirements vary by platform. Amazon requires at least 1000 pixels on the longest edge and recommends 2000 pixels or more to enable zoom functionality. Shopify recommends 2048 by 2048 pixels for square product images. eBay recommends up to 1600 pixels. Google Merchant Center requires a minimum of 250 by 250 pixels. When in doubt, aim for 2000 pixels on the longest edge, this satisfies most major platforms and leaves headroom for cropping.
How Do I Remove Watermarks From Supplier Photos?
Small watermarks in corners or non-product areas can often be removed with an AI watermark removal tool. Larger watermarks that overlap the product itself are harder to clean without affecting the visible product area. In those cases, request unbranded images from the supplier (many will provide them upon request for resale customers) or treat the image as a Re-source candidate rather than trying to edit around the obstruction.
Should I Reshoot or Enhance Supplier Images?
It depends on the product category, margin, and volume. High-margin hero products that drive significant revenue often justify a professional reshoot. Long-tail catalog items with lower individual sales volume are usually better served by enhancement workflows. A practical middle ground: reshoot your top 20% of SKUs by revenue and enhance the remaining 80% using the pipeline described in this guide.
Can AI Generate Lifestyle Images From Flat Supplier Photos?
Yes. AI product photography tools can take a flat, white-background supplier photo and generate a version of that product placed in a lifestyle context, on a surface, in a setting, with lighting and props that match a brand's visual style. The quality of the output depends on the clarity and resolution of the input image. Clean, well-lit supplier photos produce more convincing lifestyle results than dark, blurry, or low-resolution originals.
Turning Inconsistent Assets Into a Consistent Brand Presence
Supplier photos are a starting point, not a finished product. The sellers who treat them as inputs to a structured transformation pipeline, rather than raw listing assets, end up with stores that look cohesive, professional, and trustworthy regardless of how many suppliers feed their inventory.
The 5-step approach of audit, clean, enhance, restyle, and output turns the problem of mixed-quality supplier imagery into a repeatable operations process. Some images need all five steps. Others need only two. The decision happens at the audit stage, and the execution follows a clear path from there.
For sellers ready to move from manual cleanup to AI-assisted brand styling, iCreat AI's AI Product Photography tool generates branded product visuals from cleaned reference images, supporting multiple aspect ratios and output resolutions for ecommerce and campaign use. Combined with supporting tools like Background Remover and Image Upscaler, the full pipeline can run from raw supplier download to publish-ready asset in a single workflow.