



Introduction: The Real Question Is Not "How Do I Remove a Background"
Most ecommerce teams and marketers already know that product images look better without a cluttered background. The harder question is: which method actually produces a usable transparent PNG for the channel you are targeting, and when does that transparency even matter?
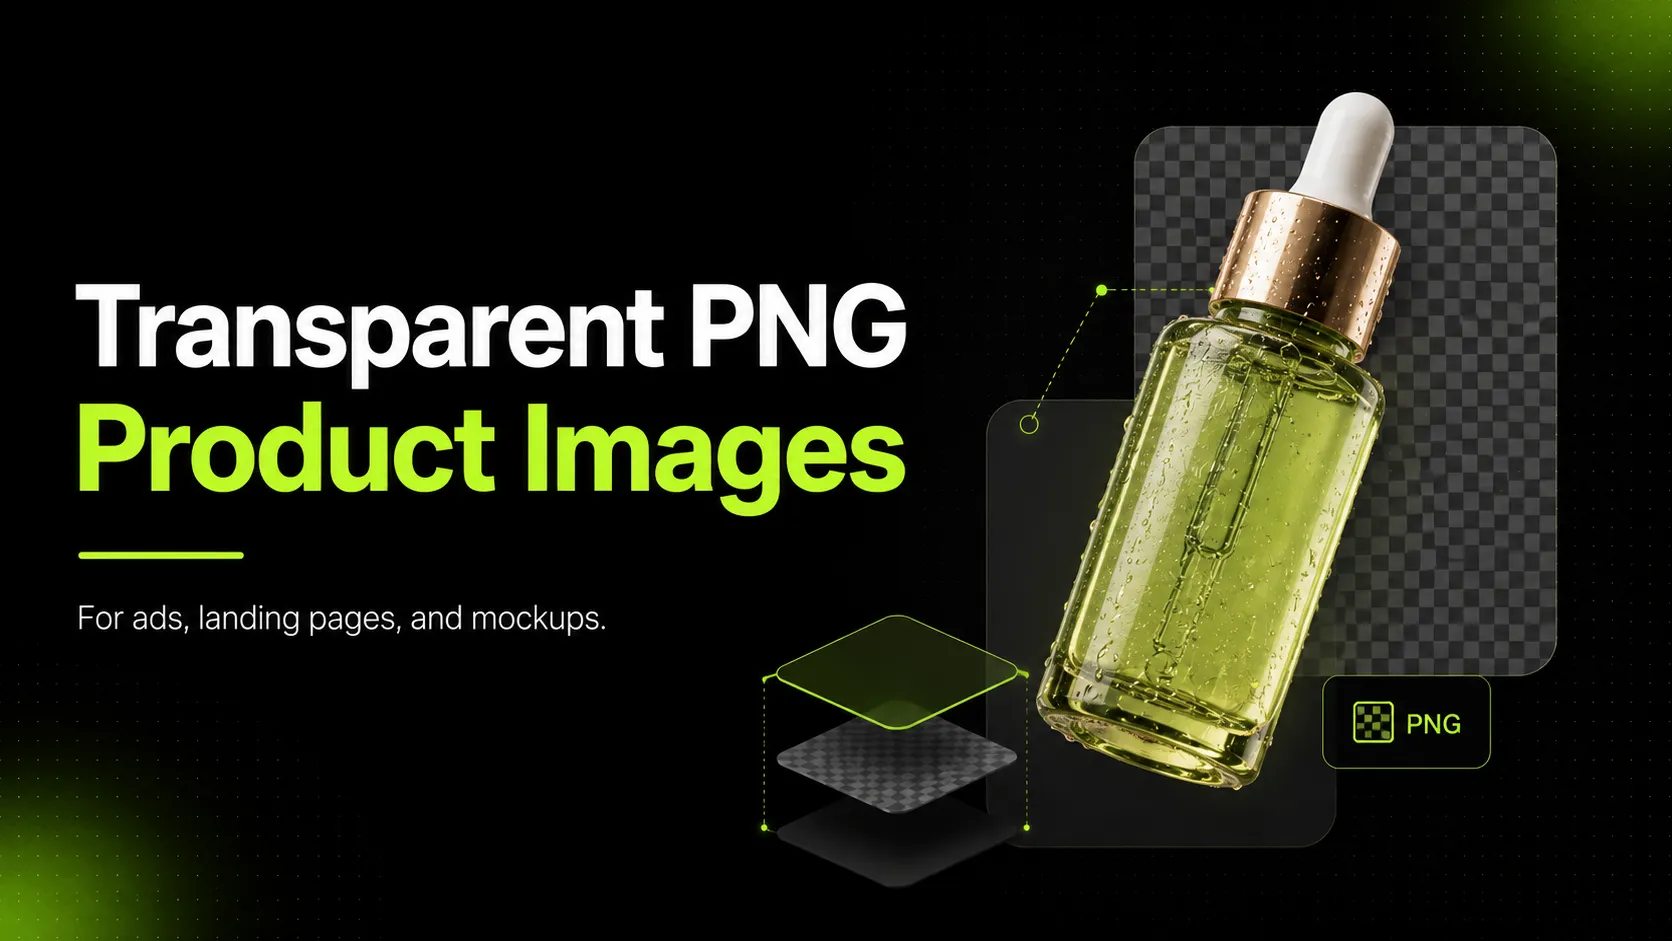
A transparent background on a product image gives you flexibility. You can drop the product onto any color, layer it with other visuals, place it into a mockup scene, or composite it into an ad layout without reshooting. But not every use case needs a transparent PNG, and not every method of creating one gives you the same result.
This guide covers three approaches to getting transparent product images: removing backgrounds from existing photos, generating them directly with AI, and shooting them professionally. It also covers where each format (transparent, white, colored) belongs in your ad creative, landing page, and mockup workflow.
When to Use Transparent PNGs vs Solid Backgrounds
Before producing anything, check whether your target channel or placement actually accepts or benefits from a transparent image.
Use transparent PNGs when:
- Paid ad compositing: You need to place the product over custom backgrounds, gradients, or lifestyle scenes in Google Ads, Meta/Facebook ads, or display networks.
- Landing page layering: The design stacks the product over text, graphics, or multiple background elements.
- Mockup and scene creation: You are placing products into device frames, room settings, or promotional templates.
- Catalog overlays: You need to combine multiple products or variants in one image (bundles, comparison shots, "complete the look" layouts).
- Brand asset libraries: Your design team reuses the same product cutout across many future materials.
Use solid backgrounds (white or colored) when:
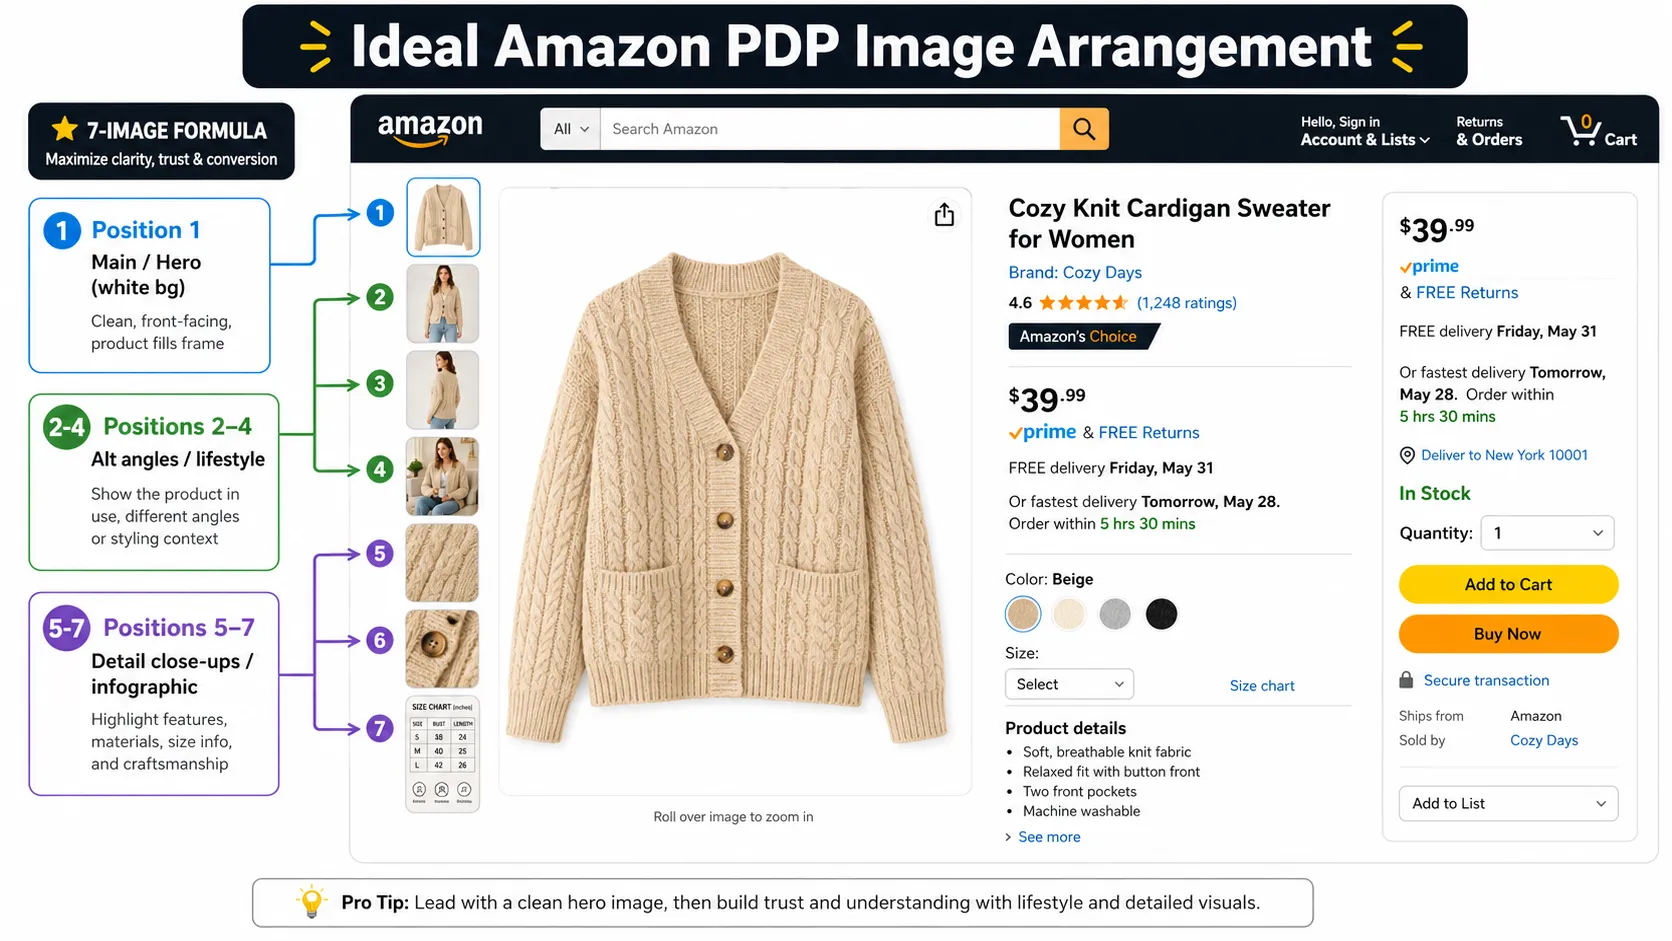
- Marketplace main images: Amazon, eBay, and most marketplaces require a pure white or solid-color background for primary listing photos.
- Standard PDP galleries: Many Shopify stores present products more cleanly against a consistent solid backdrop.
- Print and packaging: Output destined for physical printing usually needs a defined background color.
- Simple catalog needs: If the product only appears in one place with one background, transparency adds file size without benefit.
The practical rule: if someone on your team will need to move this product onto another background later, make it transparent now. If the image goes up once and stays there, a solid background is fine.
Method Comparison: Which Approach Fits Your Workflow
Three main paths exist, and they serve different situations.
| Method | Best For | Edge Quality | Speed | Cost | Batch Scalability |
|---|---|---|---|---|---|
| AI direct generation (e.g., Nano-Banana Pro) | Creating new product visuals from reference images; variations without existing photos | Good to very good, depending on input quality | Fast per image | Low to medium per image | High |
| Background removal from existing photo | You already have a clean product shot and just need the background gone | Very good (uses real pixel data) | Fast | Low per image | High |
| Professional shoot with transparent setup | Hero assets, luxury products, reflective/transparent materials | Excellent | Slow | High | Low |
How to choose
If you have a clean product photo already and just need the background gone, use a background removal tool. The edges will follow real pixels from the original image, which is hard to beat for accuracy.
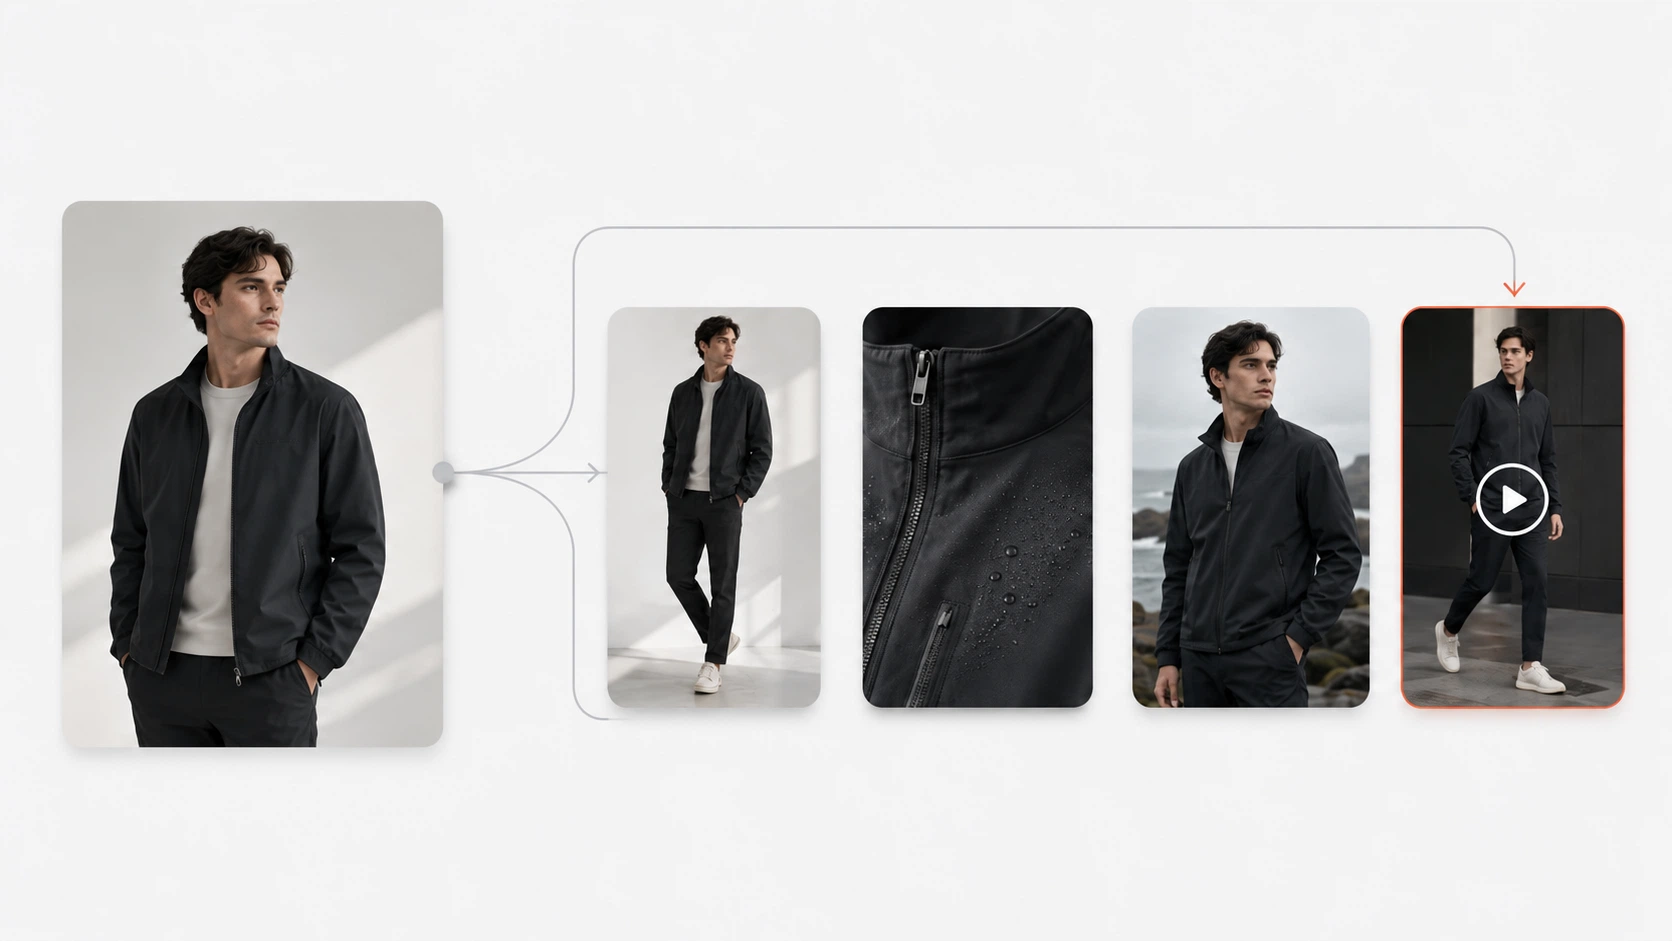
If you do not have a good product photo yet, or if you need many variations of the same product on transparent backgrounds, AI direct generation can produce them without requiring a pre-shot image for each variation. This is where tools like iCreat AI's AI Product Photography with Nano-Banana Pro fit: the model can output PNG transparent images directly from a reference photo and prompt.
If the product has complex material properties (glass, liquid, highly reflective metal, fine jewelry) and the transparent image will be used in high-resolution print or premium placements, a professional shoot on a transparent sweep or cyclorama may still be worth the investment.
Most ecommerce teams end up using a combination: professional or well-lit photos for core assets, background removal for quick turnarounds, and AI generation for variation volume.
How to Generate Transparent PNGs with AI Direct Generation
AI models that support transparent PNG output can generate product images with no background in one step. This is different from taking a photo and then removing the background afterward. The model produces the transparent result natively.
Step 1: Start with a clear product reference
The reference image should show the full product with accurate color, shape, and visible details. If the item has important features like a logo, label, texture pattern, or unique shape, make sure the reference captures them clearly.
For example, a skincare brand might upload a clean front-facing bottle shot. A sneaker brand would include a side view that shows the sole profile and lacing detail. The better the reference, the more accurately the generated transparent image will follow the real product.
Step 2: Choose a model that supports transparent output
Not all AI image models generate transparent PNGs. Inside iCreat AI, Nano-Banana Pro supports PNG transparent background output. This means you can request a transparent product image directly instead of generating a solid-background image and then running it through a separate removal step.
Select Nano-Banana Pro as the generation model when your goal is a transparent product visual.
Step 3: Write a prompt that specifies transparent output
Your prompt should describe the product clearly and specify that the background should be transparent. Example prompts:
- For a cosmetics tube: "A standing skincare tube with pump dispenser, clean studio lighting, transparent background, PNG output"
- For a sneaker: "Side-view sneaker on transparent background, product-only, no floor or shadow, PNG"
- For a handbag: "Structured leather handbag centered on transparent background, top-handle visible, PNG output"
Keep the product description specific. Vague prompts like "product on transparent background" can produce inconsistent results across different SKUs.
Step 4: Generate and review edge quality
After generation, zoom in on the product edges. Check for:
- Color fringing (thin colored halos along the edge, especially on dark products against light backgrounds)
- Jagged or aliased edges (stair-step patterns on curves)
- Missing details (thin straps, laces, chain links, logo text that got smoothed out)
- Semi-transparent areas that should be fully opaque (faded edges where the product meets the background)
If the edges need work, adjust the prompt to be more specific about product contours, or try again with a slightly different angle description. Some products generate cleaner transparent results from certain viewpoints.
Step 5: Export as PNG and verify file size
Export the image as PNG to preserve the transparent channel. Check the file size: transparent PNGs with large dimensions can be significantly larger than JPG equivalents because they store extra alpha-channel data. If the file is too large for its intended use (such as web ad platforms with size limits), consider reducing resolution or using compression tools that preserve transparency.
If you already have product reference images and need transparent PNG output, iCreat AI's AI Product Photography tool with Nano-Banana Pro can generate them directly without a separate background removal step.
How to Remove Backgrounds from Existing Product Photos
Most transparent PNG workflows start with an existing product photo. If you already have a clean shot of your product, background removal is usually faster and more accurate than regenerating the image with AI.
The basic removal workflow
- Upload the product photo to a background removal tool (iCreat AI Background Remover, remove.bg, Photoroom, or similar).
- Review the edges at 100% or higher zoom. Pay attention to:
- Fine details (shoelaces, jewelry prongs, hair/fur if applicable, thin straps)
- Areas where the product color is close to the original background color
- Shadow regions that may have been partially removed
- Refine the mask if the tool allows manual adjustment. Most AI removers let you paint back areas that were incorrectly erased or erase remaining background bits.
- Export as PNG with transparency preserved.
When removal works best
Background removal produces the cleanest results when:
- The original photo has even, consistent lighting without harsh shadows under the product
- There is strong contrast between the product and the background
- The product does not share colors with the background (a red product on a red surface will struggle)
- The photo is in focus and sharp
- The product is fully visible without significant occlusion
When removal gets difficult and what to do about it
| Challenging scenario | Why it fails | What to do instead |
|---|---|---|
| Product shares color with background | Tool cannot distinguish product edge from background | Reshoot on contrasting background, or use manual masking |
| Translucent or glass product | Light passes through; edge detection breaks down | Professional shoot or careful manual editing |
| Complex edges (fur, hair, lace, mesh) | Too many fine details for automated detection | Use a tool with edge refinement, or accept some imperfection |
| Strong directional shadow under product | Shadow blends with product in darker areas | Shoot with diffused lighting, or edit shadow out separately |
| Low-resolution source photo | Not enough pixel data for clean edge | Upscale first, or reshoot at higher resolution |
Using Transparent Product Images in Paid Ads
Ad platforms handle image uploads differently. Knowing what each platform expects before you export saves revision cycles.
Google Ads
Google Ads accepts PNG uploads including transparent backgrounds. However, whether the transparency displays correctly depends on the ad format and where the image appears in the ad assembly.
For responsive display ads, a transparent product image lets Google's system composite the product over various automatically tested backgrounds. This can be useful for testing which background color or style drives better performance. For standard image ads where you control the full canvas, you can composite the transparent product onto your designed background before upload.
Practical tip: export the transparent product at 2x or 3x your target display size. Google Ads serves images across devices and screen densities, and upscaling a small transparent PNG can produce fuzzy edges.
Meta / Facebook and Instagram Ads
Meta's ad manager accepts PNG with transparency. Transparent product images work well in:
- Single-image or carousel ad formats where you want the product to float over the ad's background color
- Collection ads where the product appears above a lifestyle image
- Dynamic product ads where the catalog feed supplies the image
One thing to watch: Meta compresses uploaded images. A transparent PNG with delicate edges may show compression artifacts after processing. Test your transparent ad creative in the preview tool before committing budget.
General ad creative advice for transparent products
- Drop shadow helps realism: A completely flat transparent product can look pasted-on. Adding a subtle drop shadow in your design tool before final export makes the product look grounded.
- Match the light direction: If your ad background implies light from the upper left, but your transparent product was lit from the right, the composite will look wrong. Either relight or add shading consistency in post.
- Do not stretch to fill: Transparent products should keep their natural proportions. Stretching a sneaker to fill a wide banner slot looks obvious and unprofessional.
- Test with actual backgrounds: Before finalizing, drop your transparent product onto the planned ad background colors and check for color clashes, edge visibility, and overall readability.
Using Transparent Product Images on Landing Pages
Landing pages give you full control over the layout, which is where transparent product images deliver the most value.
Hero section layering
A common landing page pattern places the product large and centered, often floating over a gradient, abstract shape, or lifestyle photograph. A transparent PNG makes this straightforward: the designer places the product layer above the background layer and adjusts position, scale, and optionally a drop shadow.
This works best when the product has a distinctive silhouette. A recognizable shoe shape, bottle outline, or bag profile reads quickly even at smaller sizes. If the product is a simple box or indistinct object, a transparent cutout may not add much value over a well-composed solid-background shot.
Feature comparison and detail sections
Transparent products help when a landing page needs to show:
- Size context: Place the product next to a familiar reference object (phone, coin, hand) at correct scale.
- Color variant grid: Show multiple SKU colors in a row, each on transparent, over a neutral page background.
- Detail callouts: Pull out one feature (zipper, button, cap, clasp) at larger size alongside explanatory text.
- Bundle composition: Combine related products (shirt + pants + accessory) into one "complete outfit" image without reshooting.
Mobile landing page considerations
Transparent PNGs on mobile should be optimized for file size. A 4000px-wide transparent PNG can slow page load on a 375px-wide phone screen. Export at the resolution you actually need, and consider using next-gen formats like WebP with alpha support if your stack supports it.
Also check how the transparent product looks at mobile font sizes. Small text overlapping a busy product edge becomes unreadable. Either increase padding between text and product, or simplify the background behind the text area.
Creating Product Mockups with Transparent PNGs
Mockup creation is probably the single strongest use case for transparent product images. Once you have a clean product cutout, you can reuse it across dozens of mockup templates without reshooting.
Device mockups
Place transparent products into:
- Phone / tablet screen mockups for app-based or digital products
- Laptop mockups for software or accessories
- Watch face templates for wearables
- Desktop monitor frames for home office or tech products
Many mockup generators accept transparent PNGs as layered inputs. You upload the product, position it within the device frame, and adjust perspective to match the screen angle. One transparent product photo can populate an entire device family of mockups.
Lifestyle and scene mockups
Beyond devices, transparent products can be placed into:
- Room interior scenes (furniture, home goods, decor)
- Tabletop settings (food, kitchenware, dining accessories)
- Fashion flat lays (apparel, accessories, beauty products arranged together)
- Outdoor/environmental contexts (gear, sporting goods, seasonal products)
For these scenes, pay attention to:
- Scale consistency: A coffee mug that looks 2 feet tall in a kitchen scene breaks believability.
- Lighting direction: The product's apparent light source should match the scene's ambient light.
- Shadow contact: The product should cast a small shadow or contact point where it meets the surface below it.
- Surface interaction: Products on glossy surfaces need a faint reflection; products on fabric need slight embedding.
Template systems and batch mockups
If you regularly produce mockups (seasonal campaigns, wholesale line sheets, retailer presentations), build a template library of common scenes with the background locked and the product area left as a transparent placeholder. Each new product or season, swap in the new transparent PNG and export.
This is significantly faster than recreating every mockup from scratch. Tools like Photoshop, Figma, or Canva support layered template files that make this repeatable.
Quality Control for Transparent Product Images
Because transparent product images are often composited into other visuals, their flaws become more visible. A slightly jagged edge might not matter on its own, but when the product floats over a dark background in an ad, that edge shows as a glowing halo.
Pre-publish checklist for transparent PNGs
Run through these checks before using a transparent product image in any published material:
- Edge quality: Zoom to 100%+ and trace the entire product outline. No jagged stairsteps, no color fringing, no halos.
- Product completeness: No parts of the product were accidentally erased along with the background. Straps, handles, tags, and thin details should all be present.
- Color accuracy: The product color matches the real item. Background removal or AI generation sometimes shifts hues slightly, especially on saturated colors.
- Proportions: The product was not stretched or squashed during export. Aspect ratio matches the real product.
- Resolution: Sufficient for the target channel. Web ads need less than print mockups or large-format banners.
- File format: Saved as PNG (or WebP with alpha) with the transparency channel intact. Re-saving as JPG will flatten to a solid background.
- Shadow handling: If the original had a harsh shadow and it was removed, decide whether to add a subtle replacement shadow for grounding.
- Channel requirements: The image meets any dimension, file size, or format rules set by the platform where it will appear.
Accuracy warning for ad and listing use
When you place a transparent product into a composite image (ad, landing page, mockup), the final image must still represent the product honestly. Placing a product into a lifestyle scene it was never photographed in can mislead shoppers if the composite implies features, scale, or usage that the product does not actually have. Keep compositing to honest presentation: size, color, features, and included items should stay true to the real product.
Common Mistakes When Working with Transparent PNGs
These come up repeatedly in ecommerce and ad production workflows.
Mistake 1: Ignoring file size
Transparent PNGs are larger than equivalent JPGs. An uncompressed 4000 x 4000 transparent PNG of a simple product could be 10-20 MB. Uploading that to an ad platform or CMS slows everything down.
Fix: Export at the resolution you actually need. Compress with tools like TinyPNG or ImageOptim that preserve transparency. Consider WebP with alpha for web use if your platform supports it.
Mistake 2: Not checking edges at full zoom
An edge that looks fine at 50% zoom can reveal jagged artifacts or color fringing at 100%. Most problems live right at the boundary between product and transparency.
Fix: Always review transparent exports at actual size or higher before publishing.
Mistake 3: Using the wrong format downstream
Saving a transparent PNG as JPG flattens it to a solid (usually white) background. This mistake happens when someone resaves the file in an editor that defaults to JPG, or when an upload process auto-converts formats.
Fix: Label transparent assets clearly in your DAM or file system. Communicate to teammates that specific files must stay as PNG/WebP.
Mistake 4: Mismatched lighting in composites
A product photo lit from the upper left placed into a scene lit from the lower right looks wrong even if the viewer cannot immediately say why. Our eyes detect inconsistent lighting direction.
Fix: When compositing, either match the product's apparent light direction to the scene, or add directional shading to the product layer so it looks like it belongs in that environment.
Mistake 5: Over-stretching to fill space
Stretching a transparent product to fill a wide banner or tall sidebar distorts proportions. Shoppers who recognize the product category will notice something looks off.
Fix: Size the product to its natural proportion within the layout. Add padding or supporting visual elements rather than stretching the product itself.
Mistake 6: Generating transparent PNGs for channels that require solid backgrounds
Spending time on a perfect transparent cutout for an Amazon main image or Etsy listing photo is wasted effort when those platforms will reject or replace it with a solid background anyway.
Fix: Know the channel requirement before choosing your method. Use transparent PNGs where compositing is part of the workflow; use solid backgrounds where the platform dictates the format.
FAQ
CTA: If you already have product reference images and need transparent PNG output, try iCreat AI's AI Product Photography tool with Nano-Banana Pro to generate transparent product images directly.