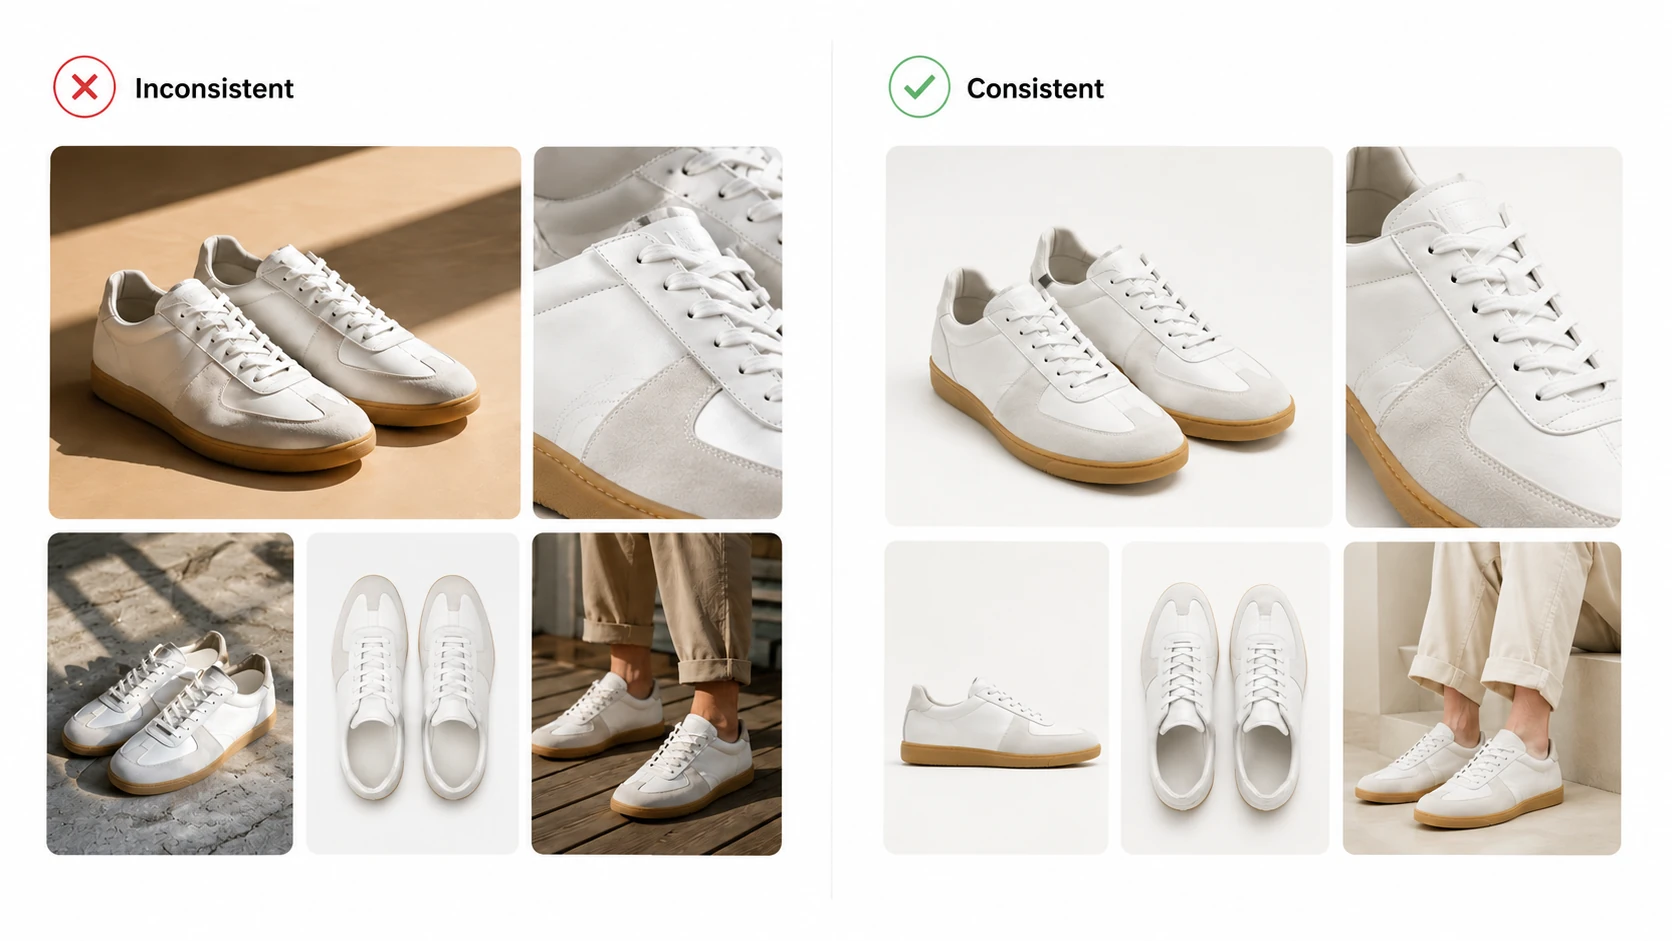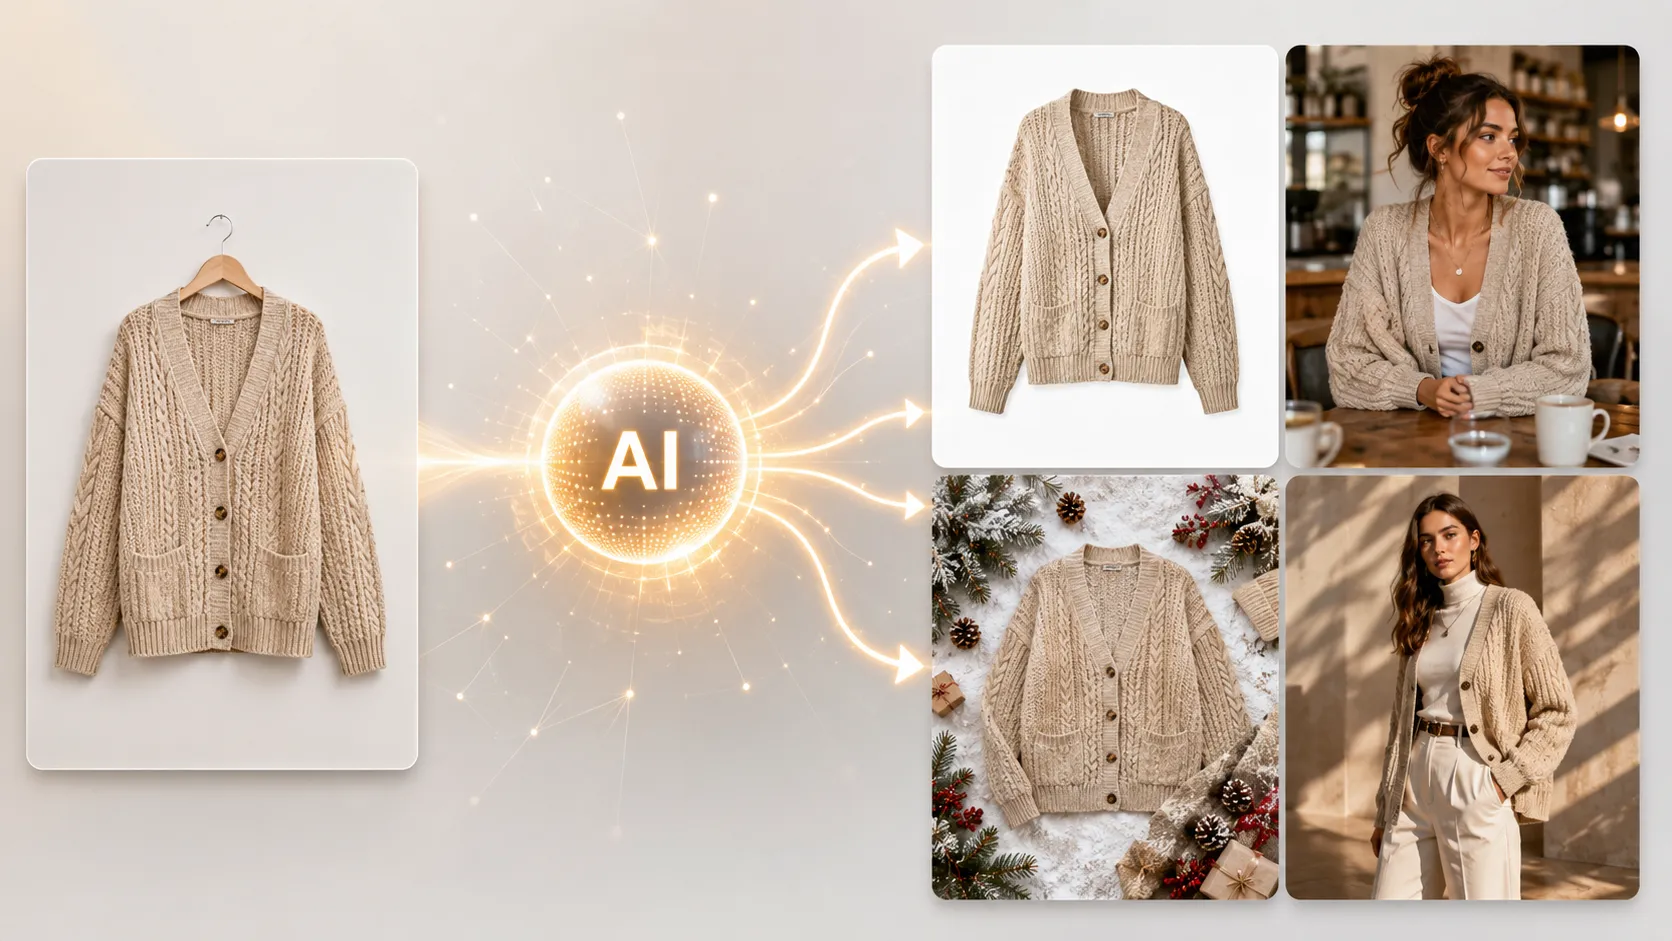




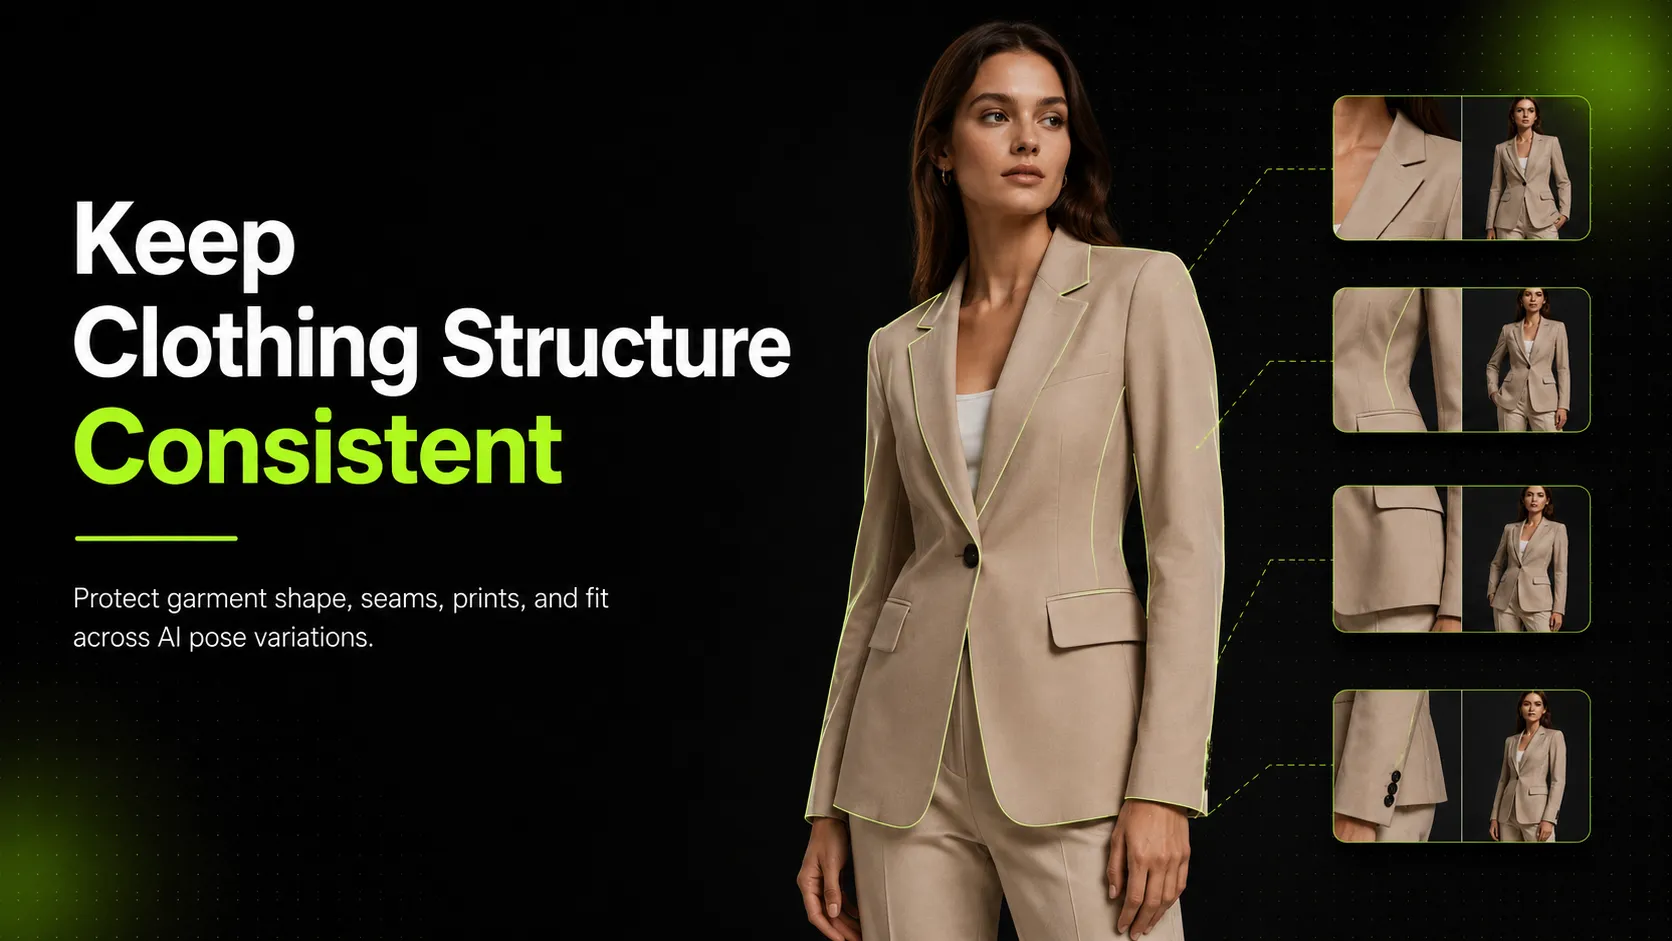
AI pose variation sounds simple: take one model photo, change the pose, and create more product images without another shoot.
For fashion brands, the hard part is not the pose.
The hard part is keeping the clothing the same.
A new pose can pull a hemline up, change a neckline, erase a pocket, stretch a print, smooth out wrinkles, shift a logo, or make a loose garment look fitted. In a campaign image, some of those mistakes may look small. On a product page, they can mislead the shopper.
That is why pose variation needs a structure-first workflow.
The goal is not to create the most poses. The goal is to create pose variations where the garment still tells the truth.
This guide explains how to keep clothing structure consistent across AI pose variations, including how to prepare references, choose safer poses, write better prompts, run a fast pre-generation check, review garment details, and decide which images are safe for PDPs, ads, lookbooks, or social content.
The Key Shift: Stop Asking for More Poses. Start Protecting the Garment.
Most teams ask AI for pose variation like this:
That sounds reasonable, but it is too vague.
A better workflow starts with a different question:
For a blazer, that may be lapel shape, shoulder width, button placement, pocket position, sleeve length, and hemline.
For a printed dress, it may be neckline, waist seam, floral print placement, fabric drape, and skirt length.
For an oversized hoodie, it may be hood shape, front graphic placement, ribbed cuffs, kangaroo pocket, sleeve volume, and loose fit.
This shift changes the whole process. You are no longer just generating pose variations. You are protecting product truth across poses.
That is the difference between an AI image that looks impressive and an AI image a fashion ecommerce team can actually publish.
Why Clothing Structure Changes During Pose Variation
Clothing is not a flat pattern placed on a body.
It has shape, weight, seams, tension, fabric behavior, and construction. When the model moves, the garment responds. A sleeve may fold. A skirt may flare. A jacket may open. A shirt may pull at the shoulder. A dress may create tension around the waist or hip.
AI pose variation has to interpret all of that from limited visual information. The tool may understand the new pose, but still guess how the garment should behave.
That is where structure problems happen:
- Hemlines become shorter or uneven
- Sleeves change length
- Necklines shift shape
- Waistlines move higher or lower
- Prints stretch or drift
- Logos become distorted
- Pockets, buttons, zippers, or seams disappear
- Loose garments become too fitted
- Fitted garments become too loose
- Fabric looks heavier, smoother, or stiffer than reality
For ecommerce teams, these are not minor flaws. A shopper who sees a jacket in three poses expects the same jacket in each image. If the lapel changes, the buttons move, or the fit looks different every time, the product page feels unreliable.
Use This 10-Minute Workflow Before You Generate
Before generating pose variations, open the source image and fill out this quick checklist.
- Garment type: blazer, dress, trousers, hoodie, skirt, shirt, coat.
- Must-stay silhouette: boxy, slim, cropped, oversized, A-line, wide-leg, straight.
- Must-stay details: neckline, sleeve length, hemline, pockets, buttons, seams, logo, print.
- Risky areas: covered waist, hidden hem, busy print, reflective fabric, back detail.
- Safe pose types: standing, slight side angle, relaxed arm, walking, seated, cropped.
- Final channel: PDP, lookbook, ad, email, social, campaign page.
- Approval standard: product-truth, campaign-safe, social-only, mood-only.
If you cannot complete this checklist, the AI tool will have to guess too much.
This step is simple, but it changes the outcome. Instead of reviewing a generated image by asking “Does this look good?”, you review it by asking “Did the garment stay the same?”
Start With the Right Source Image
The input image decides how much the AI has to guess.
A strong source image should show:
- Full garment shape
- Clean lighting
- Accurate color
- Visible neckline, sleeves, hem, and waist
- Clear seams, buttons, zippers, pockets, labels, or logos
- Minimal obstruction from hands, hair, bags, or props
- A natural pose without extreme twisting
- Enough resolution for fabric and construction details
Avoid source images where the arms cover the garment, the hem is cropped, the model pose hides the waist, heavy shadows cover seams, or fabric detail is unclear.
If the garment has important details, one image may not be enough. A jacket with a special pocket, a dress with a back cutout, or a printed shirt with repeated pattern placement needs more reference support.
Use a main image for overall structure, a detail image for fabric and trims, and a back-view image when rear construction matters.
The more specific the product is, the more references it needs.
Define What Must Stay Fixed
Before creating pose variations, decide which parts of the garment cannot change.
For a blazer, fixed details may include shoulder width, lapel shape, button count, button placement, pocket position, sleeve length, hem length, and overall boxy fit.
For a dress, fixed details may include neckline, waist seam, hem length, strap width, back shape, fabric drape, and print placement.
For a hoodie, fixed details may include hood shape, front graphic size and position, cuff shape, pocket shape, sleeve length, and oversized volume.
Write these details down before generating.
A prompt that only says “change the pose” is not enough. The AI needs to know what should not change.
A better direction is:
The more product-critical the image is, the more specific this fixed-detail list should be.
Choose Poses That Respect the Garment
Not every pose is safe for every garment.
Some poses naturally create more distortion. Crossed arms may hide a shirt front. A raised arm may change sleeve tension. A seated pose may change trouser shape. A twisting pose may distort a printed dress. A walking pose may make the hem flare in ways that are hard to keep accurate.
Safer poses usually have:
- Clear front view
- Natural arm position
- Visible neckline and hem
- Minimal body twisting
- Stable shoulder and waist position
- Product-facing composition
Riskier poses include:
- Arms crossed over the garment
- Hands in pockets when pocket shape matters
- Arms raised high
- Deep seated poses
- Strong torso twist
- Extreme side angles
- Heavy movement poses
- Poses that hide the waist, hem, or neckline
This does not mean risky poses are never useful. They can work for social, lookbook, or campaign images. But they need stricter review before being used on a product page.
For PDPs, choose poses that explain the garment. For ads and social, you can test more movement, as long as the garment still passes review.
Build Pose Variations by Use Case
A product page does not need the same pose set as a campaign page.
Before generating, decide where the images will be used.
| Use Case | Best Pose Type | Review Standard |
|---|---|---|
| PDP support image | Clean standing pose | Very strict garment accuracy |
| PDP styling image | Natural on-model pose | Strict fit and detail review |
| Lookbook image | Styled pose with mood | Accuracy plus campaign consistency |
| Paid social ad | Stronger pose or movement | Product visible and not misleading |
| Email campaign | Clear styling pose | Mood and product clarity |
| Instagram/Pinterest | More expressive pose | Garment still recognizable |
| Creative test | Experimental pose | Mark as concept, not product truth |
This is where approval labels help:
- PDP approved
- Collection page approved
- Social approved
- Ad test approved
- Lookbook approved
- Mood only
- Needs regeneration
- Rejected
A visually strong image is not automatically product-page safe. Labeling prevents the team from using the wrong asset in the wrong place.
Use AI Pose Generation for Specific Gaps
AI pose variation is most useful when it solves a clear visual gap.
For example:
- A PDP needs one more on-model angle.
- A campaign needs less repetitive poses.
- A social ad needs a stronger crop.
- A collection page needs more visual rhythm.
- A lookbook needs a softer pose for a hero garment.
- A team wants to test pose options before planning a shoot.
A practical AI pose workflow might look like this:
- Upload the approved product or model image.
- Choose 2-3 pose directions from a pose library.
- Add fixed garment details: neckline, sleeve length, hemline, print, logo, pockets.
- Generate a small batch.
- Compare each result against the source image.
- Approve images by channel: PDP, social, lookbook, or mood only.
This is where an AI Pose Generator can be useful: not because it removes review, but because it helps teams create controlled pose variations from a known reference instead of starting every image from scratch.
For product-led images, an AI Product Photography tool can support clearer ecommerce visuals from reference images and prompts. If pose variations are part of a larger collection story, an AI Fashion Lookbook Generator can help build scene-based fashion visuals from approved product references. For fabric, trim, and construction checks, an AI Fashion Detail Image Generator can help create detail-led assets for product pages.
The tool is not the whole process. The process is reference, pose choice, generation, review, approval, and channel use.
Write Prompts That Protect Structure
A useful pose prompt should not only describe the new pose. It should describe the garment details that must remain unchanged.
Weak prompt:
Better prompt:
For a printed dress:
For an oversized hoodie:
Use this structure:
```text Create a [pose type] variation for [garment]. Keep the same [silhouette, fit, neckline, sleeve, hem, waist, seams, print, logo, fabric]. Avoid [shortening, stretching, smoothing, hiding, distorting]. The image will be used for [PDP / lookbook / ad / social]. ```
This does not guarantee perfect results, but it gives the system a better target and makes review easier.
Generate Small Batches, Not Endless Options
Large pose batches create review fatigue.
Start small.
A practical workflow:
- Choose one source image.
- List the fixed garment details.
- Select 2 or 3 safe poses.
- Generate 3 to 6 variations.
- Compare outputs to the source image.
- Approve only images that preserve structure.
- Regenerate with tighter instructions if needed.
- Label approved images by channel.
Do not generate fifty pose variations before checking the first six. If the first batch changes the garment, more generation will usually create more review work, not better results.
A smaller batch helps you find the problem early. Maybe the prompt did not mention hem length. Maybe the pose hides the pocket. Maybe the input image does not show fabric texture clearly.
Fix the workflow before scaling.
Compare Against the Source Image Side by Side
Do not review pose variations from memory.
Always compare the generated image against the source image.
Check from top to bottom:
- Collar or neckline
- Shoulder line
- Sleeve length and cuff
- Chest or bust fit
- Seams, buttons, zippers, pockets
- Waistline
- Print or logo placement
- Fabric texture and wrinkles
- Hem length
- Overall silhouette
This side-by-side review catches changes that are easy to miss when the generated image looks polished.
A shirt may look good at first glance, but the collar is wider. A skirt may look natural, but the hem is shorter. A hoodie may look clean, but the front graphic has shifted. A jacket may look realistic, but the pocket shape is wrong.
If the image is for a PDP, review should be strict. If it fails a product-truth check, do not use it on the product page. Use it as social or mood content, regenerate it, or reject it.
Common Structure Problems and Fixes
| Problem | Likely Cause | Fix |
|---|---|---|
| Hemline changes | Pose creates movement or prompt is vague | Mention exact hem length and choose safer pose |
| Sleeve length changes | Raised arm or hidden cuff | Use visible-arm pose and specify sleeve length |
| Logo shifts | Graphic not listed as fixed detail | Add logo size, position, and readability |
| Print stretches | Twisted pose or poor reference | Use cleaner pose and detail reference |
| Fabric becomes too smooth | AI over-polishes texture | Add fabric texture instructions |
| Pocket disappears | Pocket hidden or not emphasized | Add pocket position to prompt |
| Fit changes | Pose compresses garment | Choose less extreme pose |
| Back details invented | No back reference | Add back-view image |
This helps the team diagnose the issue instead of simply saying, “The AI got it wrong.”
When Pose Variation Is Not the Right Choice
Some garments are harder to preserve across AI pose changes.
Be careful with:
- Complex prints
- Logos across seams
- Sheer fabrics
- Reflective satin or metallics
- Pleated skirts
- Structured jackets
- Asymmetrical designs
- Backless garments
- Lace or mesh
- Highly fitted dresses
- Very loose draped garments
These products may still work with AI pose variation, but they need better references and stricter review. For some images, real photography may still be safer.
Use AI for variation. Use real photography for product truth when accuracy is critical.
Practical Example: Cropped Blazer
Imagine a DTC brand has one approved model photo of a cropped blazer. The team wants more pose options for the PDP and paid social.
The blazer has a boxy fit, wide lapel, two front buttons, flap pockets, and a cropped hem.
A good workflow would be:
- Select the approved front-facing source image.
- Add a detail image showing lapel, buttons, and pockets.
- Write the fixed detail list: boxy shape, shoulder width, lapel, button count, pocket placement, sleeve length, cropped hem.
- Choose two safe poses: relaxed standing and slight side angle.
- Generate 3 to 6 variations.
- Compare each image side by side with the source.
- Approve one image for PDP if the structure stays accurate.
- Approve one more expressive image for social if the garment is still recognizable.
- Reject images where the hem changes, buttons move, or pockets disappear.
- Label approved assets by channel.
This workflow may produce fewer final images, but the approved images are more useful.
Final Takeaway
AI pose variation can help fashion brands create richer product pages, lookbooks, ads, and social visuals without scheduling another full shoot.
But pose variation is only useful if the clothing stays consistent.
The best workflow starts with a strong source image, defines what cannot change, chooses poses that respect the garment, generates in small batches, compares every output against the source, and approves images by channel.
Do not measure success by the number of poses generated. Measure it by the number of images that preserve product truth and can be safely published.
The right question is not:
The better question is: