



Key Takeaways
- Good clothing photography for websites starts with deciding which image types support the product page, not just the visual style.
- Flat lay, mannequin or model, and lifestyle images each solve different shopper questions.
- Controlled lighting and a clean background matter because shoppers need to see fabric, fit, and color clearly.
- A strong workflow includes preparation, shooting, review, and light editing before publishing.
- Final website images should help the shopper understand the garment, not just admire the shot.
- Before publishing, check that the clothing image shows color, silhouette, and fabric detail clearly enough for the channel where it will appear.
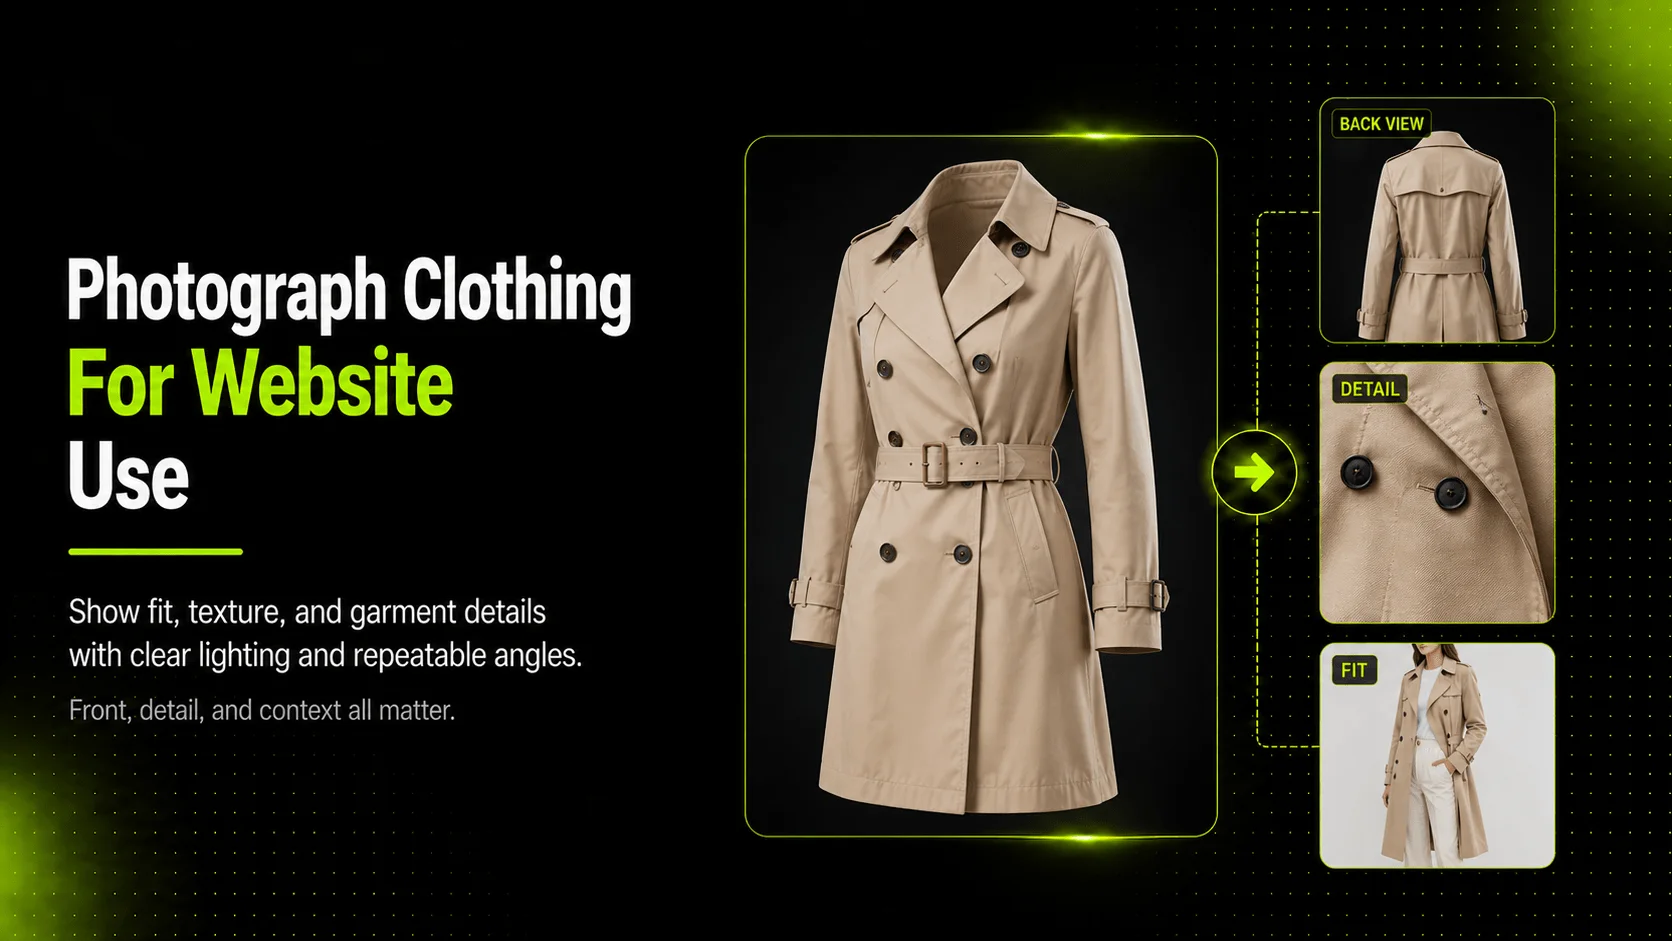
To photograph clothing for website use, start by deciding what image jobs your store actually needs, then build a simple setup with controlled lighting, a clean background, and consistent angles. The goal is not just to make the clothes look attractive. The goal is to help shoppers understand fit, color, texture, and product details well enough to buy with confidence.
That changes how you shoot. A clothing website usually needs more than one image type. A plain product view helps with clarity. A detail shot helps with stitching, fabric, or trim. A model or mannequin image helps with silhouette and length. If all your images try to do the same job, the product page becomes less useful.
What Clothing Photos a Website Actually Needs
Before taking a single photo, decide what your website needs each image to do.
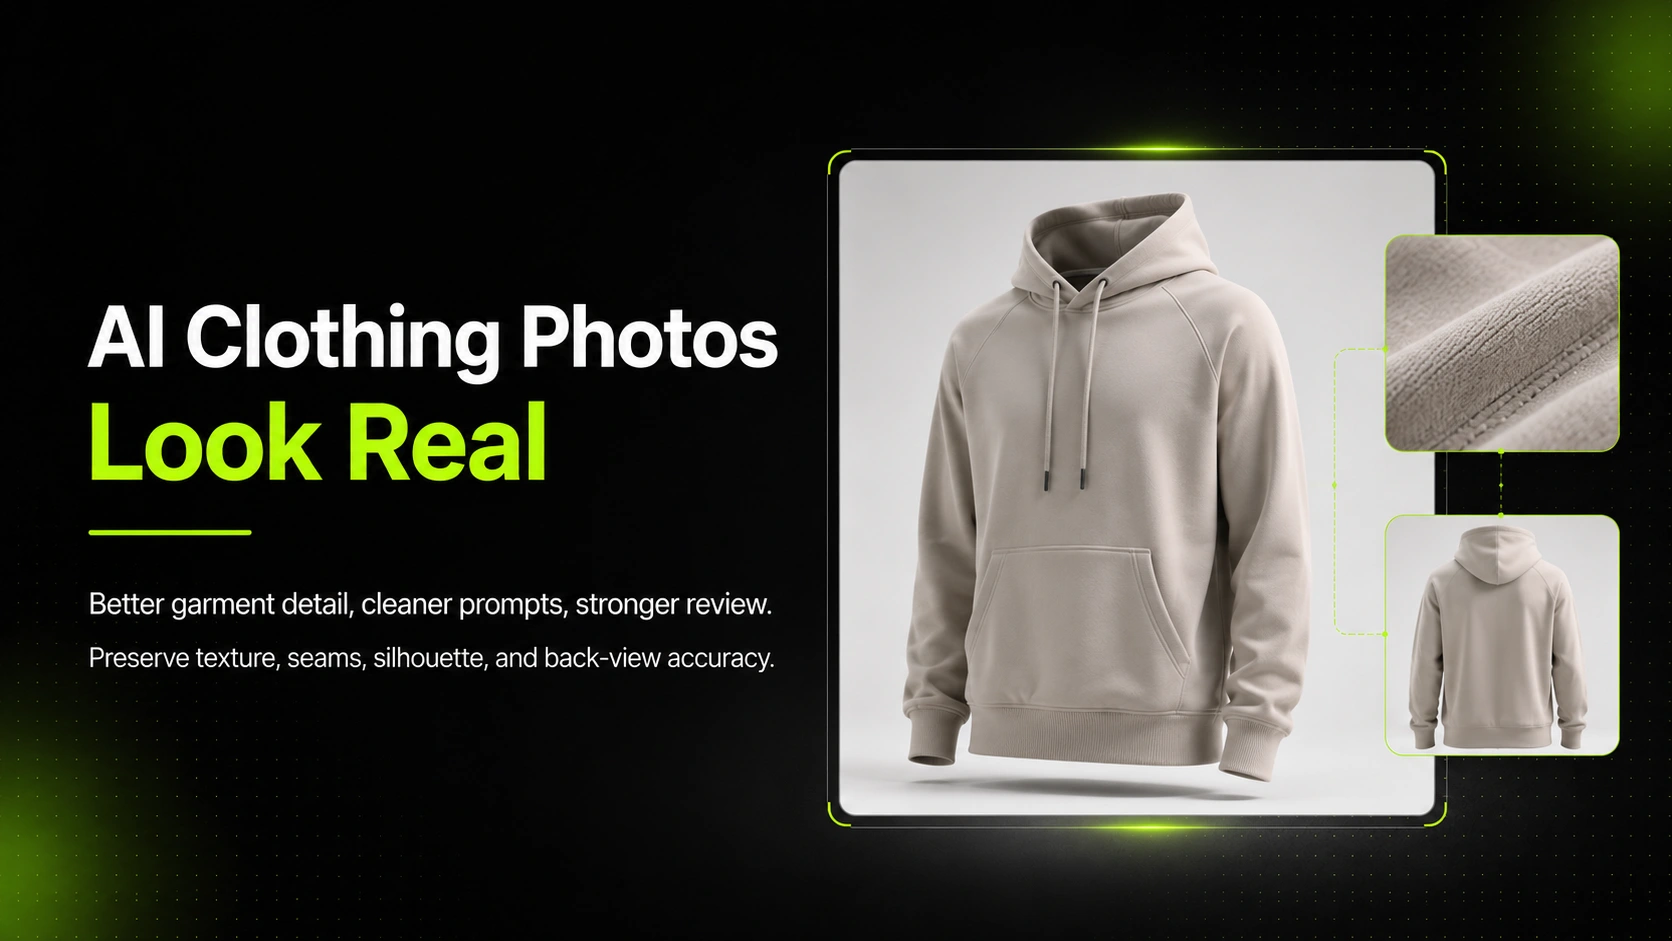
A t-shirt product page usually needs a front view, a back view, a close-up of fabric or print, and at least one image that helps the shopper understand fit. A dress often needs silhouette, length, sleeve shape, movement, and texture. A hoodie may need extra detail on seams, cuffs, drawstrings, and thickness. Jeans often benefit from multiple angles because shoppers care about structure, rise, leg shape, pocket placement, and wash detail.
This is the first mistake many sellers make. They think in terms of "I need good photos" instead of "I need images that answer shopper questions." Website clothing photography works best when each image has a clear role.
That means your workflow should usually aim for a small mix of image types:
- clean product view for inspection
- detail shots for texture or construction
- fit or silhouette image for shape and length
- optional styled image for context
Once that is clear, the shoot becomes much easier to plan.
The Main Clothing Photography Styles and When to Use Them
| Style | Best use | Strengths | Risks |
|---|---|---|---|
| Flat lay | t-shirts, hoodies, simple folded apparel, accessories | easy to shoot, clear, budget-friendly | weak for showing fit or garment volume |
| Mannequin or ghost mannequin | dresses, jackets, structured tops, jeans | shows shape and drape without hiring a model | can feel less alive if every image uses it |
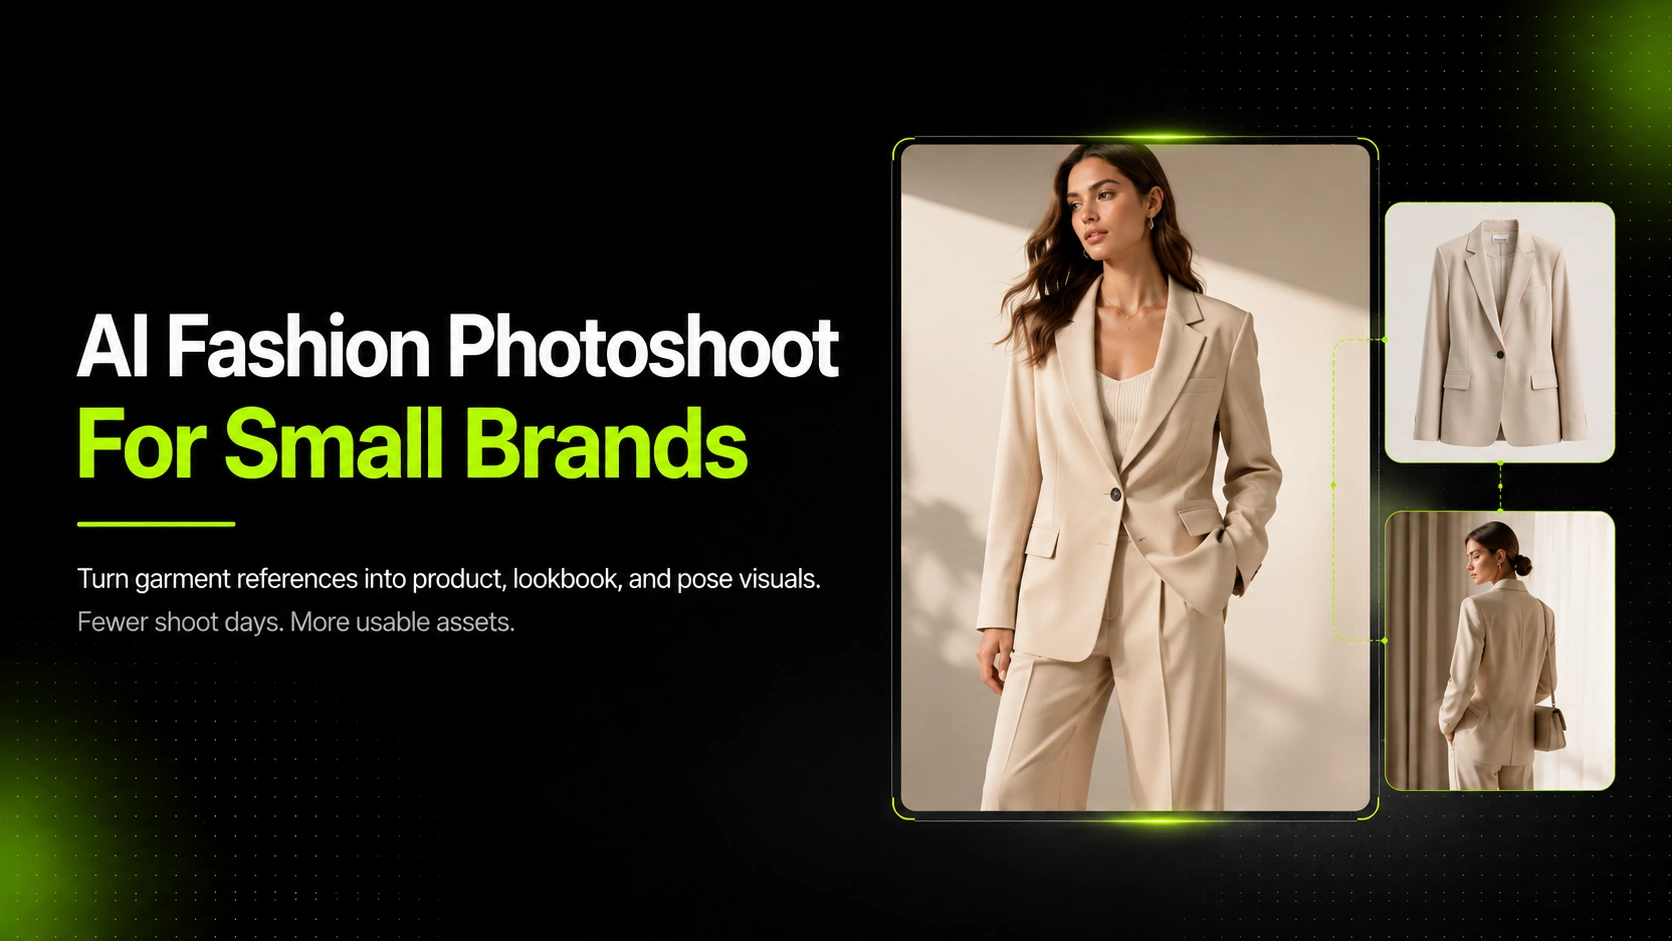
| Model photography | dresses, denim, styled apparel collections | strongest for fit, movement, and shopper context | more time, styling, and consistency work |
| Lifestyle photography | campaigns, lookbooks, supporting product-page context | helps shoppers imagine use and styling | not ideal as the only image type on a product page |
For a basic apparel store, flat lays can work well for folded t-shirts or hoodies because they are quick and clear. For a dress, mannequin or model images usually do a better job because shoppers need to understand shape and fall. For jeans, front and back structure often matter enough that a mannequin or model is more useful than a flat lay alone.
Shopify's clothing photography guidance supports this mix-and-match approach. It separates flat lay, models or mannequins, and lifestyle shots because each style helps the shopper understand a different part of the product.
How to Photograph Clothing for Your Website Step by Step
Step 1: Build a simple, repeatable setup
You do not need a large studio to start. What you need is consistency. Use a clean shooting area, a stable camera position, and lighting that does not shift dramatically between products.
For many stores, a white or light neutral background is the safest starting point. It keeps attention on the garment and makes later editing easier. If you are shooting apparel for a clean product-page layout, avoid backgrounds that overpower the clothing color or make the garment edges disappear.
Step 2: Prepare the garment before shooting
Clothing photography makes small problems visible. Steam or iron every item. Remove lint. Check collars, hems, cuffs, and drawstrings. Smooth wrinkles that should not be there, but do not flatten the garment so much that it loses its real shape.
This matters for all product types. A wrinkled t-shirt looks cheaper than it is. A dress with a twisted seam can suggest poor construction. Jeans with uneven folds can distort the leg shape in photos.
Step 3: Light for clarity, not drama
For website product images, clear lighting usually beats dramatic lighting. The shopper needs to understand the garment, not decode the shadows.
Use even light that shows color and surface detail. If you are shooting a hoodie, make sure ribbing, thickness, and seam structure stay visible. If you are shooting jeans, preserve enough contrast to show stitching, pocket lines, and wash variation. If you are shooting a dress, make sure folds and texture look intentional rather than muddy.
Step 4: Capture the essential angles first
Start with the most useful inspection views before taking styled or optional shots.
For most clothing items, that means:
- front view
- back view
- close-up detail
- fit or silhouette image
For a t-shirt, your detail shot may focus on print texture or collar finish. For a dress, it may focus on fabric movement, buttons, or sleeve detail. For jeans, it may focus on stitching, wash texture, or pocket construction.
Step 5: Add supporting context only if it helps
Once the inspection images are done, add model or lifestyle shots when they answer useful shopper questions. A dress often benefits from a worn image because length and drape matter. A t-shirt may benefit from a styled model image if fit is part of the buying decision. A hoodie may need one worn image to show body shape and sleeve proportion.
The key is balance. Website clothing photography should not become an editorial shoot unless the product page still makes the garment easy to inspect.
Step 6: Edit lightly and consistently
Editing should clean the image, not reinvent the garment. Correct brightness, crop consistently, and remove distractions. Keep color honest. If the item is cream, do not push it toward bright white. If the denim wash is faded blue, do not deepen it into navy because it looks richer on screen.
If you already have garment images and need cleaner background control or additional website-ready variations, Background Remover can help isolate the clothing, while AI Product Photography and Image Upscaler can support a more controlled asset-prep workflow after the original shoot is done.
Common clothing photography mistakes and how to fix them
Mistake 1: using only one image style for every product
A folded flat lay may work for a t-shirt, but it rarely does enough for a dress. Fix this by matching image type to garment type and shopper need.
Mistake 2: poor garment preparation
Wrinkles, lint, and uneven styling make the clothing look lower quality. Fix this before the first shot, not in post.
Mistake 3: letting lighting hide product details
Moody lighting may look artistic, but if it hides denim stitching, hoodie texture, or dress seams, the image stops helping the shopper. Fix this by prioritizing clarity.
Mistake 4: shooting without a repeatable angle system
If every product is framed differently, the website looks less professional. Fix this by defining standard product views for each category.
Mistake 5: publishing images that do not help the shopper understand fit
Apparel needs more than a beautiful front shot. Fix this by adding one fit, silhouette, or on-body reference image where relevant.
How to review clothing photos before publishing them
Before uploading website images, check that the photos answer the basic buying questions clearly.
- Can the shopper understand the garment shape?
- Is the color represented accurately?
- Is the fabric or texture visible enough?
- Are important details like stitching, print, or trim easy to inspect?
- Does at least one image help explain fit or silhouette where needed?
- Is the background clean enough that the product remains the focus?
For apparel sold through broader commerce channels, Google Merchant Center also emphasizes that images should accurately display the product and avoid distracting overlays or misleading presentation. That matters even when the image is technically beautiful. A strong website photo should still help the buyer understand the actual garment.
FAQ
Conclusion
The best way to photograph clothing for a website is to think like a shopper first. Decide which images help someone understand the garment, then build a repeatable setup around clarity, consistency, and useful detail.
Flat lays, mannequins, models, and lifestyle shots all have a place, but they do not solve the same problem. A better clothing photography workflow uses each one intentionally. If you want to extend existing garment images into cleaner background treatments or extra website-ready variations, Background Remover, AI Product Photography, and Image Upscaler are the most relevant supporting tools.