



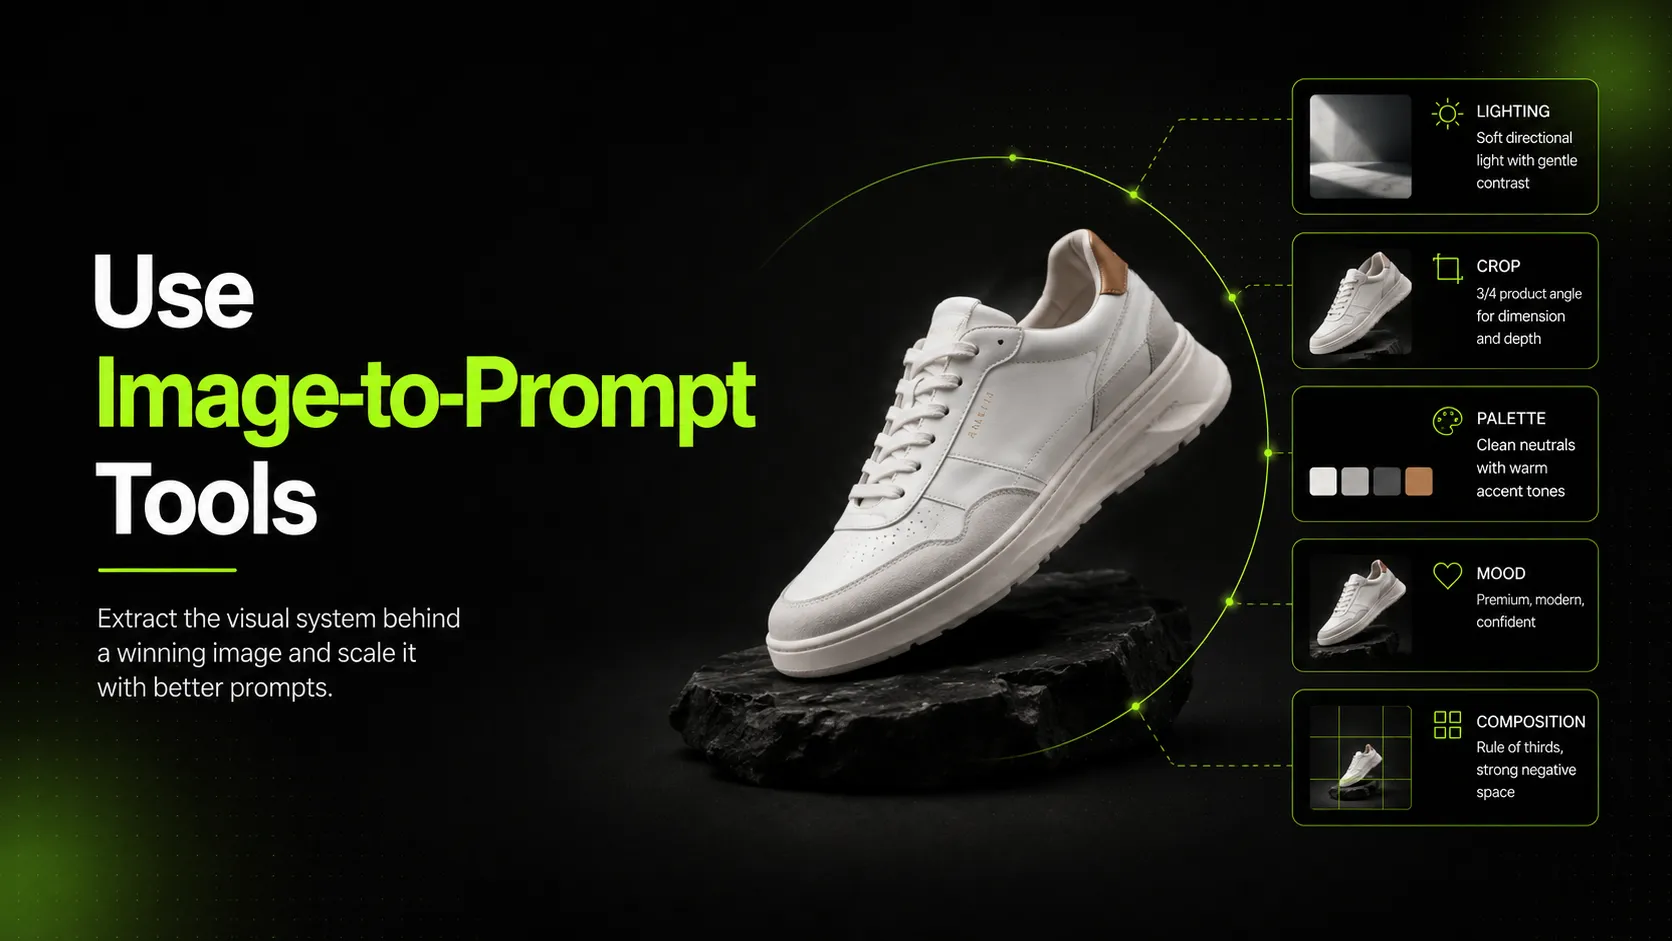
A high-performing visual is rarely successful by accident.
Maybe it was the warm light. Maybe it was the crop. Maybe the background made the product feel more expensive. Maybe the model pose showed the garment clearly without looking stiff. Maybe the whole image had a quiet, editorial mood that matched the brand better than the rest of the campaign.
The problem starts after that image works.
A marketing team wants more ads in the same style. A fashion brand wants to apply the look to a new collection. An ecommerce team wants product page images that feel consistent with the campaign. A designer tries to explain the look in a prompt, but the next batch comes back too glossy, too dark, too generic, or too far from the original product.
That is where image-to-prompt tools become useful.
An image-to-prompt tool turns a reference image into a written prompt. It can help identify composition, lighting, color palette, background, camera angle, style, and subject details. For fashion and ecommerce teams, the goal is not to copy an image blindly. The goal is to understand the visual system behind a proven asset, then use that system to create new images with more consistency.
This guide explains how to use image-to-prompt tools to recreate a high-performing visual style, how to turn one winning image into a prompt library, how to protect garment accuracy, and how to connect the workflow with AI product photography, lookbook, and pose tools.
The Key Shift: Do Not Copy the Image. Extract the System.
Many teams use reference images in a loose way.
They say:
That is not specific enough.
A better workflow asks:
A high-performing visual usually has a structure. It may include:
- A specific crop
- A lighting direction
- A color palette
- A background type
- A model pose
- A product angle
- A styling level
- A camera distance
- A texture treatment
- A mood or seasonal cue
Image-to-prompt tools help turn those visual choices into language. Once the choices are written down, the team can reuse, refine, and adapt them.
The point is not to clone a single image. The point is to create a repeatable visual direction.
For a fashion brand, that difference matters. Copying one image can feel repetitive. Extracting the visual system helps you apply the same style to a dress, jacket, handbag, lookbook image, PDP image, and paid ad while still making each asset useful.
When Image-to-Prompt Tools Are Most Useful
Image-to-prompt tools are not necessary for every image. They are most useful when a visual has already proved its value.
Use them when you have:
- A campaign image that performed well in ads
- A product page image that helped explain fit or material
- A social post with strong saves or engagement
- A lookbook image that defined the collection mood
- A competitor or market reference you want to study ethically
- A brand mood image your team wants to translate into prompts
- A seasonal visual style you want to repeat across products
- An old campaign direction that should be refreshed for a new launch
They are especially useful when your team struggles to describe a style in words.
For example, “minimal studio product photo” can mean white background, soft shadow, editorial crop, front-facing model, or polished catalog styling. An image-to-prompt tool helps break down what the reference actually contains.
For commercial use, the safest approach is to use your own images, licensed references, approved brand assets, or internal moodboards. If you analyze competitor or editorial references, use them for learning and direction, not for copying protected creative work directly.
What an Image-to-Prompt Tool Can Extract
Most image-to-prompt tools describe visible elements such as subject, background, composition, color, and style. Some tools may provide prompts tuned for different AI systems, but the useful output still needs human review.
For ecommerce and fashion, look for these categories:
| Visual Element | What to Capture |
|---|---|
| Subject | Product type, garment category, model, pose, accessory |
| Composition | Full-body, half-body, close-up, flat lay, centered, off-center |
| Lighting | Soft daylight, studio flash, side light, backlight, evening glow |
| Color palette | Warm neutrals, cool gray, saturated color, muted earth tones |
| Background | Studio wall, city street, terrace, interior, flat surface, branded set |
| Product details | Fabric, texture, hem, collar, buttons, logo, print, hardware |
| Mood | Minimal, relaxed, polished, resort, holiday, sporty, editorial |
| Channel fit | PDP, social, ad, email hero, lookbook, landing page |
A raw prompt is rarely final. Treat it as a first draft of the image’s visual DNA.
The human task is to clean it up, remove irrelevant words, add product constraints, and turn it into a repeatable style brief.
A 10-Minute Workflow for Turning a Reference Image Into a Prompt
Use this quick workflow before generating new visuals.
- Choose one proven reference. Pick an image that performed well or clearly represents the brand style.
- Write the business reason. Was it good for clicks, product clarity, saves, PDP confidence, or campaign mood?
- Run the image through an Image to Prompt tool. Extract the initial prompt.
- Highlight the style elements. Lighting, crop, background, palette, mood, camera distance.
- Highlight the product elements. Garment type, fabric, fit, color, print, trims, logo, pose.
- Remove noise. Delete words that are too generic or irrelevant.
- Add constraints. Include what must stay unchanged in future generations.
- Create 2 versions. One style prompt for mood, one production prompt for generating assets.
- Generate a small batch. Test 3-6 images before scaling.
- Compare against the reference. Check whether the new visuals keep the style without changing the product.
This prevents a common mistake: treating the first extracted prompt as if it is ready to use.
Step 1: Choose the Right Reference Image
The reference image determines the quality of the prompt.
Do not choose an image only because it looks nice. Choose it because it performed, explained the product well, or represents a visual direction your brand wants to repeat.
Good references include:
- A high-click ad creative
- A PDP image with strong product clarity
- A campaign hero image the team wants to extend
- A lookbook shot that captures the collection mood
- A social image with strong saves or comments
- A product image that combines clarity and aspiration
- A seasonal asset that can be reused for new products
Avoid weak references:
- Images with confusing lighting
- Over-edited visuals that do not match the product
- Images where the garment is hidden
- References with too many unrelated props
- Images with unclear product color
- Competitor images you might accidentally copy too closely
A good reference should help the next image become clearer, not just prettier.
Step 2: Separate Style From Product Truth
This is the most important step for fashion and ecommerce.
A style prompt should describe the look of the image.
A product prompt should protect the truth of the product.
For example, a reference image of a linen dress might produce a prompt like:
That is useful, but incomplete.
For product-safe generation, add constraints:
Now the prompt has two jobs: recreate the style and protect the product.
This matters because a generated image can look beautiful while changing the garment. For a brand, that is not success. It can mislead shoppers and weaken trust.
Step 3: Build a Prompt Library, Not a One-Off Prompt
A winning image should not produce only one prompt.
Turn it into a small prompt library.
Create versions for different uses:
Style Summary Prompt
Use this to capture the look in a reusable way.
Example:
Product Generation Prompt
Use this when creating new product visuals.
Example:
Social Creative Prompt
Use this when making more expressive marketing assets.
Example:
PDP Support Prompt
Use this when the output must be product-safe.
Example:
This is where image-to-prompt becomes useful as a production tool, not just a curiosity.
Step 4: Use Image-to-Prompt Inside a Fashion AI Workflow
For iCreat AI, the workflow should not stop at prompt extraction.
A practical workflow could look like this:
- Use an Image to Prompt tool to analyze a reference image and generate a starting prompt.
- Clean and structure the prompt into style, product, and channel sections.
- Use an AI Product Photography tool to create product or campaign visuals from reference images and refined prompts.
- Use an AI Pose Generator when the visual style is right but the model pose needs more variation.
- Use an AI Fashion Lookbook Generator when one product image needs to become a broader campaign or collection visual set.
- Use an Image Upscaler only after an image passes style and product QA.
This order matters.
Image-to-prompt helps you understand the visual direction. Product photography and lookbook tools help you create new assets. Pose tools help expand model variation. Upscaling prepares final approved assets.
Do not use every tool in every workflow. Use the tool that matches the missing step.
Step 5: Convert a Winning Visual Into a Team Style Brief
Prompts are useful, but teams also need shared language.
After generating the prompt, turn it into a short style brief.
A useful style brief includes:
- Reference image name
- Campaign or product context
- Why the image worked
- Lighting
- Background
- Color palette
- Crop
- Pose direction
- Styling rules
- Product details to preserve
- Channels where the style works
- Channels where the style should not be used
Example:
Reference: Summer linen dress terrace image Why it worked: Clear product visibility with a warm resort mood Lighting: Soft daylight, low contrast Background: Pale stone terrace, minimal props Palette: White, sand, beige, soft green Pose: Relaxed standing pose, product visible Protect: Hemline, sleeve length, neckline, linen texture, color Best channels: Landing page, email hero, social, lookbook Avoid: Busy backgrounds, harsh shadows, cropped hems
This gives the whole team a shared visual standard. It also makes future AI generation easier to review.
Step 6: Test Small Batches Before Scaling
A prompt that sounds accurate may still produce inconsistent results.
Generate a small batch first.
A good first test:
- 3 to 6 images
- One product
- One channel
- One visual style
- One clear approval standard
Review the batch side by side with the reference image.
Ask:
- Does the lighting still match?
- Does the crop feel similar?
- Is the background too different?
- Did the model pose become too dramatic?
- Did the garment change?
- Is the product visible enough for the intended channel?
- Which words in the prompt caused useful results?
- Which words caused drift?
Then refine.
If the output is too generic, add more specific visual elements. If the garment changes, add stronger product constraints. If the scene becomes too busy, simplify the background. If the image looks too polished, reduce language that pushes a glossy campaign look.
Prompt refinement is not failure. It is the normal production process.
Step 7: Keep Channel Needs Separate
A high-performing style may not work the same way everywhere.
PDP images need product clarity. Social images need fast attention. Email heroes need simple visual hierarchy. Lookbook images can be more atmospheric. Paid ads need product visibility and a quick read.
Use the same style system, but adapt the prompt by channel.
| Channel | Prompt Priority |
|---|---|
| PDP | Product clarity, accurate fit, visible details |
| Collection page | Consistent mood, product grouping, visual rhythm |
| Social | Strong crop, clear product, expressive but readable |
| Paid ads | Fast visual hook, simple composition, product visibility |
| Email hero | Seasonal mood, clean focal point, easy crop |
| Lookbook | Editorial styling, story, consistent collection world |
The same reference image may generate multiple prompt versions. The goal is not identical output. The goal is recognizable consistency.
Practical Example: Recreating a High-Performing Summer Style
Imagine a fashion brand has a summer campaign image that performed well.
The image shows a model in a white linen shirt and wide-leg trousers on a pale stone terrace. The light is soft. The composition is clean. The model pose is relaxed. The product is visible, but the image still feels like a campaign, not a catalog shot.
The team wants to apply the same style to a linen dress, a resort set, and a social ad.
The workflow:
- Upload the reference image to the Image to Prompt tool.
- Extract the prompt.
- Identify the useful style elements: soft daylight, pale stone, warm neutral palette, relaxed pose, clean composition.
- Identify product constraints: preserve linen texture, natural drape, original color, neckline, sleeve length, hem.
- Create a style prompt for the campaign.
- Create a PDP-safe prompt for product images.
- Generate a small batch for one new product.
- Compare outputs against the original reference.
- Approve only images that keep the style and product truth.
- Store the final prompt in the team library.
This is how one successful visual becomes a repeatable campaign system.
Practical Example: Turning a Social Winner Into PDP Support
A social image can perform well because it has mood, movement, and energy. But that does not mean it is ready for a product page.
Suppose a graphic hoodie post performs well. The crop is tight, the lighting is moody, and the pose feels casual. The team wants to use the style for PDP support images.
The image-to-prompt output may describe the mood well, but the PDP version needs more constraints:
- Keep the front graphic readable.
- Show the hoodie fit clearly.
- Preserve sleeve volume and ribbed cuffs.
- Avoid hands covering the pocket.
- Use a calmer pose.
- Keep the background less distracting.
The new prompt should not simply recreate the social post. It should adapt the winning style into a product-safe format.
This distinction is what makes the workflow useful for ecommerce.
QA Checklist Before Approving Recreated Visuals
Use this checklist before saving a prompt or publishing generated images.
Style QA
- Does the image match the reference mood?
- Is the lighting similar?
- Is the color palette consistent?
- Does the background belong to the same visual world?
- Is the crop close enough to feel related?
Product QA
- Is the garment still accurate?
- Are color, fabric, print, logo, hem, sleeve, collar, and fit preserved?
- Did the prompt introduce product details that do not exist?
- Is the product visible enough for the channel?
Channel QA
- Is the image suitable for PDP, social, email, ad, or lookbook?
- Does the crop work in the intended format?
- Is the image too atmospheric for product use?
- Is the image too plain for campaign use?
Prompt Library QA
- Is the final prompt clear enough for a teammate to reuse?
- Does it separate style from product constraints?
- Does it include what to avoid?
- Is it labeled by channel and product type?
A prompt is only useful if it can be reused reliably.
Common Mistakes to Avoid
Mistake 1: Treating the extracted prompt as final
Image-to-prompt output is a starting point. Clean it, structure it, and add product constraints.
Mistake 2: Copying a style without asking why it worked
A visual may have performed because of product clarity, not just mood. Identify the business reason before recreating it.
Mistake 3: Ignoring garment truth
A recreated visual style is useless if the product changes. In fashion ecommerce, accuracy matters as much as aesthetics.
Mistake 4: Using one prompt for every channel
A PDP prompt and a social prompt should not be identical. The style may be shared, but the image job is different.
Mistake 5: Building no prompt library
If each team member rewrites prompts from scratch, the visual system will drift. Store approved prompts with notes.
Mistake 6: Copying competitor creative too closely
Use references to understand composition, lighting, and style language. Do not replicate protected imagery, brand assets, or distinctive creative work without permission.
Final Takeaway
Image-to-prompt tools are useful because they turn visual intuition into reusable language.
For fashion and ecommerce teams, that means a high-performing image can become more than one good asset. It can become a prompt system for future PDP images, social posts, lookbooks, email heroes, and campaign visuals.
The workflow is simple:
Analyze the reference. Extract the prompt. Separate style from product truth. Create channel-specific versions. Generate small batches. Review against the original. Store the best prompts.
That process helps teams recreate a visual style without relying on memory or vague moodboards.
The best use of image-to-prompt is not copying an image. It is learning why the image worked, then using that knowledge to create new visuals that stay on-brand, product-accurate, and useful for the channel.