



Why Apparel Catalogs Break: The Real Cost of Inconsistent Crop, Framing, and Spacing
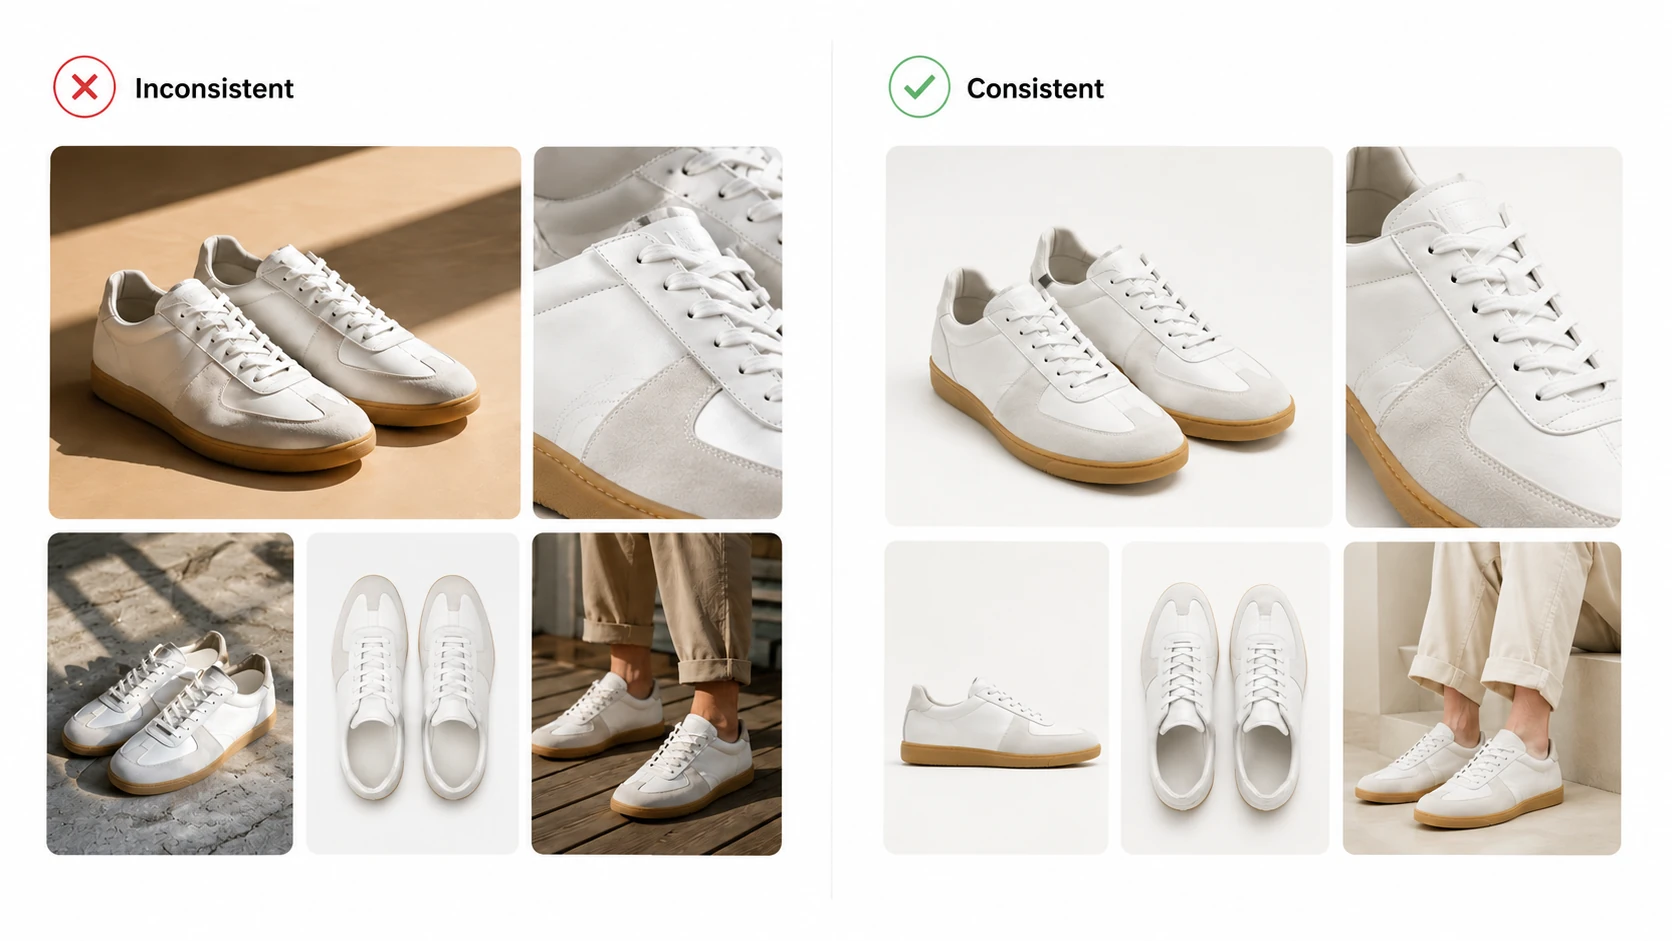
Most apparel teams do not standardize because they underestimate how quickly small per-image decisions compound. One photographer crops slightly tighter. A freelancer frames the garment lower in the frame. A flat lay shot in natural light gets a looser margin than the studio shot beside it. Individually, each image passes review. Together, the catalog loses comparability.
The cost shows up in three places that matter operationally:
- Collection pages lose scanning value. When six tees sit in a grid with different fill ratios and centerlines, the shopper's eye has to re-find the product in every cell. That friction reduces click-through even when every image is technically clean.
- Shopper trust drops before returns do. A garment that appears smaller, larger, or differently proportioned than its neighbors reads as inconsistent quality, even when the product itself is identical. Shoppers cannot articulate this; they simply buy less.
- Rework spreads silently. A spec drift detected in month four usually means re-editing four months of assets, not one shoot. That is where standardization failures become expensive — not at the bad shot, but at the accumulated batch behind it.
The practical takeaway: inconsistency is not an aesthetic problem. It is operational debt that compounds the longer a catalog grows without a written rule.
What "Standardized" Actually Means: Crop vs. Framing vs. Spacing
These three words get used interchangeably, and that is where most spec sheets fail. They describe different decisions, and each one breaks independently.
- Crop is the rectangular boundary of the final image. It determines what is in the frame and what is cut off. A crop decision answers: does the hem show? Are the cuffs included? Where does the top edge sit relative to the collar?
- Framing is how the garment sits inside that boundary. Two images with identical crops can frame the product differently — one centered with even margins, one pushed left with negative space on the right. Framing is about placement, not edges.
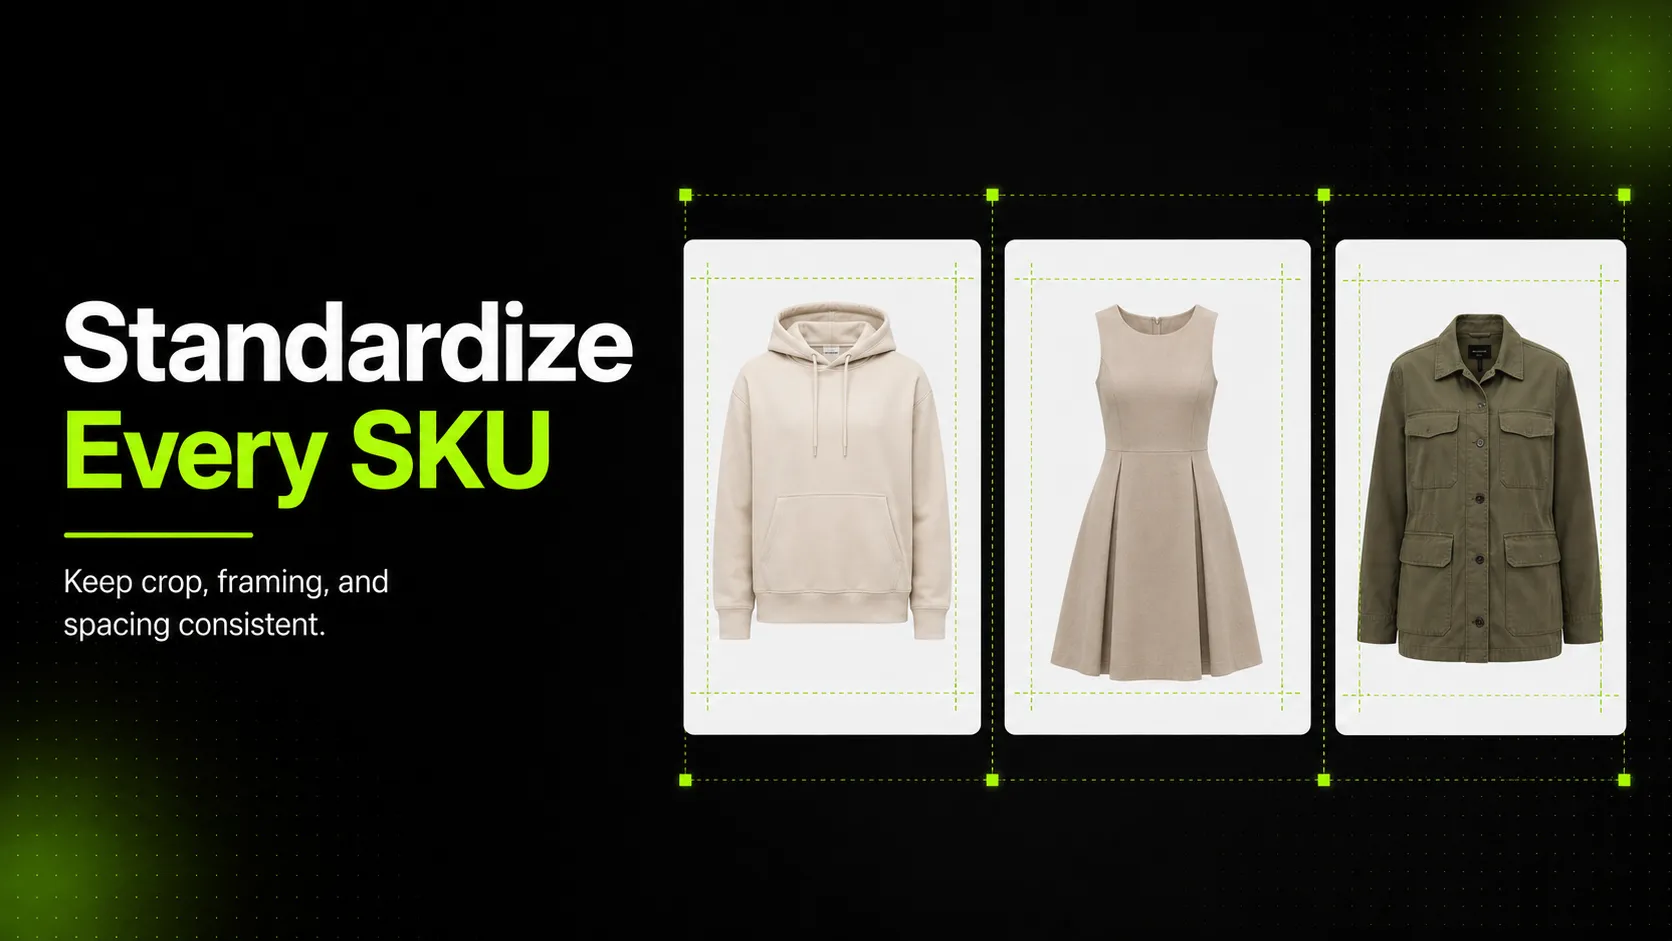
- Spacing is the proportional white space between the product and the frame edges. It is usually expressed as a fill ratio (the percentage of the frame the product occupies) or as margin rules, such as a minimum percentage of frame height above the collar.
A spec that only says "shoot consistently" leaves all three undefined. A spec that names target values for each one survives a photographer change, a freelancer swap, or a switch to AI generation. The next section gives you those values.
The Apparel Image Standardization Spec Sheet
Use this as a starting template. Adjust the numbers to your brand, but lock the structure — every category should have a written value, not an assumption.
| Category | Spec rule | Example value |
|---|---|---|
| Fill ratio (main image) | Garment occupies a target percentage of the frame | 85% (Amazon-aligned) |
| Vertical anchor | Reference point for vertical centering | Shoulder seam or center chest |
| Horizontal anchor | Reference point for horizontal centering | Center of garment placket or chest |
| Top margin | Minimum space above the highest garment point | 6–8% of frame height |
| Bottom margin | Minimum space below the lowest garment point | 6–8% of frame height (full garment must show) |
| Side margins | Equal left and right; no asymmetry unless intentional | Symmetric |
| Aspect ratio (marketplace main) | Square, 1:1 | 2048×2048 px |
| Aspect ratio (social / PDP secondary) | Vertical preferred | 4:5 or 9:16 |
| Background (marketplace main) | Pure white | RGB 255, 255, 255 |
| Background (non-marketplace) | Neutral, consistent tone | Brand-defined |
| Garment completeness | No cropped hems, cuffs, collars, or waistbands | Required |
| Naming convention | SKU-based, channel-suffixed | `[SKU]-front-2048.webp` |
The point of this table is not the exact numbers. It is that every row has a written answer. When a new photographer or AI workflow asks how to shoot the next batch, the spec gives them the rule instead of an interpretation.
Channel Requirements at a Glance: Amazon, Shopify, Google
Each platform enforces different image rules, and apparel sellers usually publish to more than one. The table below consolidates the requirements that most affect standardization decisions.
| Channel | Main image background | Main image fill ratio | Recommended resolution | Apparel-specific note |
|---|---|---|---|---|
| Amazon | Pure white (RGB 255, 255, 255) | Product must fill at least 85% of the frame | 1000×1000 px minimum (1600+ for zoom) | Apparel follows the same main-image rules as other categories |
| Shopify | Brand-defined (white common) | Brand-defined | 2048×2048 px recommended (up to 5000×5000 px / 20 MB) | Square is the de facto standard for collection grid consistency |
| Google Merchant Center | Brand-defined (white recommended for main) | Brand-defined | Minimum 250×250 px for apparel (1500×1500+ recommended) | Apparel ad placements favor 9:11 vertical; apparel uses category ID 166 |
A few practical notes on this table:
- The 85% Amazon fill ratio is the most-quoted standardization number, and it is also the one apparel sellers break first, because bulky garments like hoodies and jackets are hard to fill tightly without cropping detail. Plan the fill rule against your hardest garment type, not your easiest.
- Shopify does not enforce a background or fill rule, but a 2048×2048 square baseline is what keeps a Shopify collection grid scannable. Treat it as an internal standard, not just a file-size limit.
- Google's apparel minimum has moved upward over recent cycles; verify the current floor on the Merchant Center product data specification before relying on a number from an older source. The 9:11 vertical preference appears in Google's fashion advertising guidance and applies primarily to ad placements, not free Shopping surfaces.
Sources: Amazon Seller Central product image guide; Shopify Help Center product media types and Shopify blog image sizes; Google Merchant Center product data specification.
Step-by-Step: Shoot or Generate Every SKU to the Same Spec
A standardization spec only works if it becomes a workflow. Use these steps to apply the same rule across every apparel SKU without re-deciding it each time.
- Lock the spec before the next shoot. Fill in every row of the spec sheet. If a value is undecided, decide it now — not on set. A spec with blanks drifts by the second garment.
- Build a physical or template overlay. For studio shoots, tape placement marks on the surface and set camera height so every frame matches. For flat lays, draw bounding lines on the background. For AI workflows, save the crop, aspect ratio, and anchor rules as a reusable prompt template.
- Shoot or generate to the template, not to taste. The photographer's instinct to frame this one a little differently is exactly what breaks standardization. The template is the rule. If the template is wrong, change the template — not the individual shot.
- Batch-edit for color and exposure consistency. Apply the same white balance, exposure baseline, and background cleanup across the entire shoot. Use a color reference card in at least one frame per batch so edits stay anchored to true product color. Tools like the Background Remover and Image Upscaler help keep cleanup and resolution consistent across a batch rather than re-decided per file.
- QA against the spec before export. Check fill ratio, anchor placement, garment completeness, and background uniformity on every image. This is where most drift is caught cheaply. Catching it after export — or after publish — is where it gets expensive.
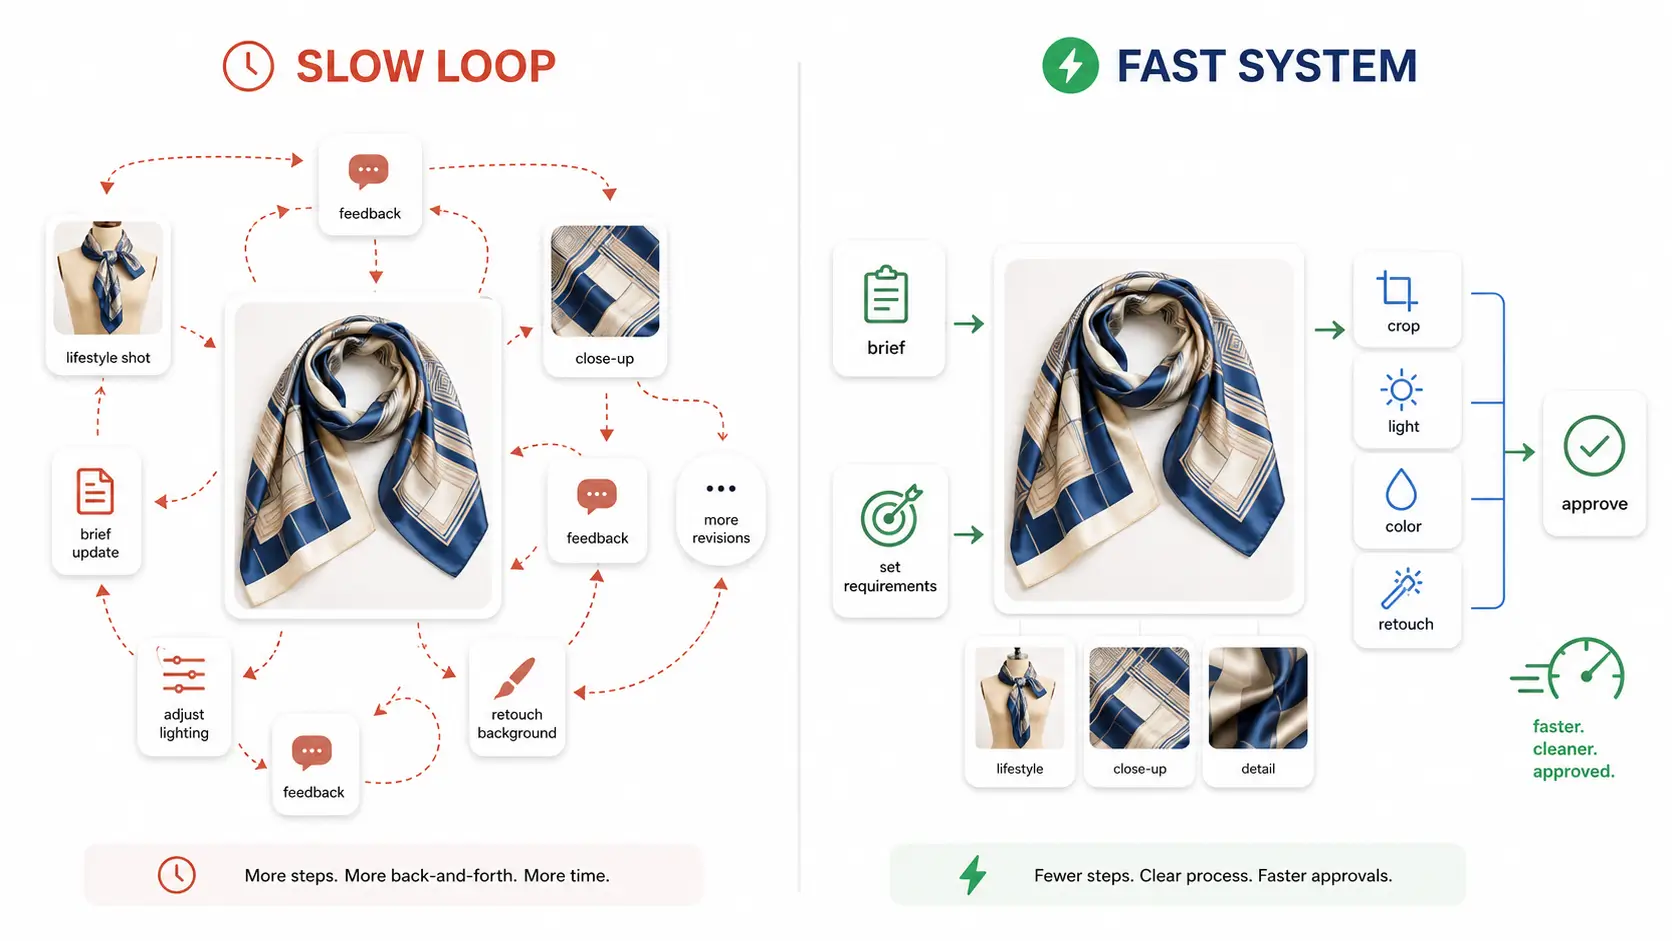
- Export per channel from one approved master. Generate the 1:1 marketplace main, the 4:5 or 9:16 social version, and any PDP secondary crops from the same approved source image. This prevents four separately-edited versions of one SKU from drifting apart over time.
The workflow is the same whether you are shooting in a studio or generating with AI. The spec is the contract; the production method just executes it.
Applying the Spec Across Product Types: T-Shirt, Hoodie, Dress, Jeans, Jacket
The same spec sheet has to bend without breaking across garment types that stress it very differently. Here is how each one tests the rule.
- T-shirt. The easiest case. A flat t-shirt fills a square frame predictably, and the anchor (center chest) is stable. Use the t-shirt as the calibration baseline — if the spec breaks here, it will break everywhere.
- Hoodie. The first real stress test. A hoodie is bulky, so hitting the 85% Amazon fill ratio without cropping the hood or cuffs requires a wider, tighter frame than a t-shirt. Decide explicitly whether the hood sits inside the frame or gets partially cropped — and apply that decision to every hoodie in the catalog.
- Dress. Tests the aspect-ratio decision. A midi or maxi dress is taller than it is wide, which conflicts with a square marketplace main image. The choice is between full-length in a square with more side margin, or a vertical social crop. Define both in the spec so a dress SKU produces both without re-deciding per garment.
- Jeans. Tests the long-thin problem from a different angle. Jeans want a vertical frame, but the pocket, fly, and hem details may need separate close-up crops. The spec should define whether the main image shows the full leg or a folded presentation — and use the same rule for every denim SKU.
- Jacket. Tests framing and anchor discipline. A structured jacket such as a bomber or denim jacket has strong shoulder lines, and small framing drift between jackets reads as inconsistent sizing to the shopper. Anchor every jacket on the shoulder seam and keep the centerline identical across the category.
The pattern: each garment type exposes a different edge of the spec. If you only ever test the spec on t-shirts, the first hoodie or dress shoot will break it. Run the spec against your hardest garment first.
Standardizing With AI Image Generation at Scale
Once the spec exists, the production question changes. Instead of asking "can we reshoot 200 SKUs to match the new spec?", the question becomes "can we apply the spec to existing reference images without a reshoot per style?"
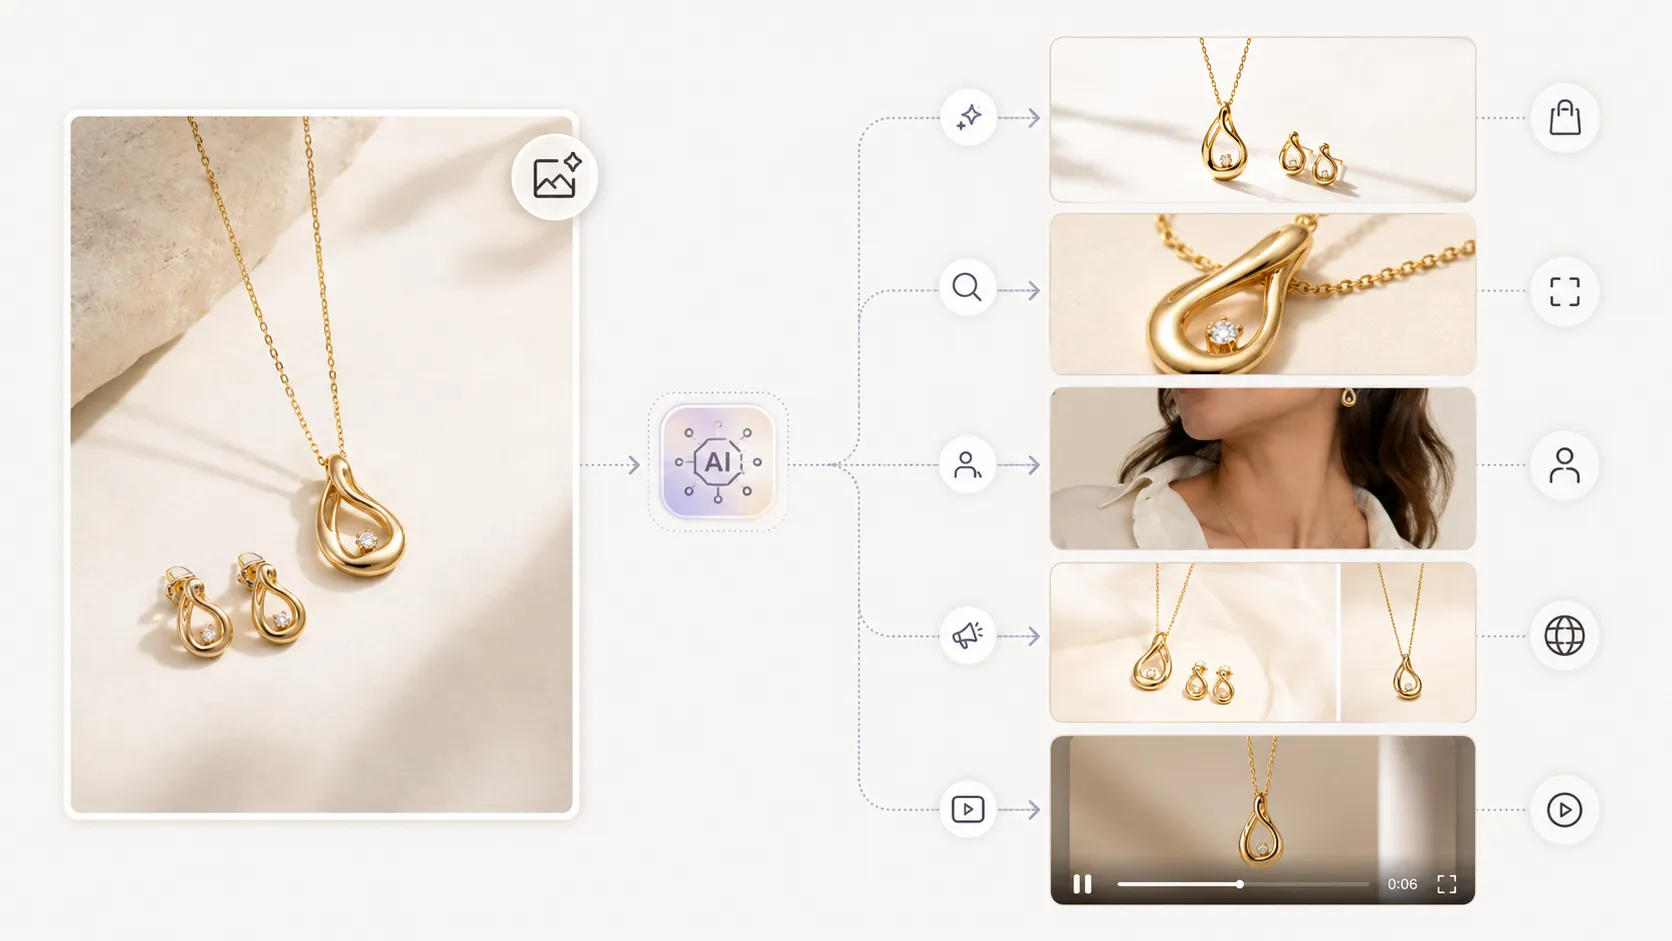
That is where AI image generation earns its place in an apparel standardization workflow. A reference-image-driven generator can take one approved source image per SKU and produce the marketplace main, the social vertical, and the PDP detail crops against the same written spec — without re-shooting the garment. The spec becomes the prompt structure: target fill ratio, anchor points, background, aspect ratio. The AI executes the rule across every SKU in the batch.
This works best when the spec is defined first. Feeding a reference image into an AI tool without a written spec produces the same drift as an undisciplined photographer — every output frames the product slightly differently. Feeding the same reference image into iCreat AI's AI Product Photography tool with a locked spec produces outputs that hold the crop, framing, and spacing rule across SKUs, because the reference image plus the spec together constrain the output.
For apparel specifically, the AI Fashion Detail Image Generator targets the PDP detail layer — white-background product shots, fabric close-ups, and apparel mockups. That detail layer is usually the lowest-priority shot on set, which makes it the most likely to drift between shoots. Standardizing it with AI closes the gap that traditional shoots leave open.
The rule of thumb: AI does not replace the spec. It enforces the spec at a scale that manual shoots cannot keep up with. If the spec is weak, AI reproduces the weakness faster. If the spec is strong, AI is the cheapest way to apply it across hundreds of SKUs.
Common Standardization Mistakes and How to Fix Them
- Mistake: "Shoot consistently" written as the only instruction. This leaves crop, framing, and spacing undefined. Fix: Replace with the spec sheet. Every category needs a number, not an adjective.
- Mistake: Different margin rules per photographer. Two photographers using their eye produces two catalogs. Fix: Tape placement marks. Save camera height. Make the rule physical so taste is removed from the equation.
- Mistake: Free-cropping in post to "fix" framing. Free-crop is how a collection grid ends up with six different fill ratios. Fix: Lock aspect ratios and anchor points in the editing template. Only batch-crop to spec.
- Mistake: Background drift across batches. Pure white in March, off-white in July. The collection page shows both. Fix: Set a target RGB value (255, 255, 255 for marketplace main) and verify against it in QA, not by eye.
- Mistake: No garment-completeness check. A hem cropped off one SKU in twenty is invisible in single-image review and obvious in a grid. Fix: Add "no cropped hems, cuffs, collars, or waistbands" as a required QA line.
- Mistake: Reusing one channel's crop for every channel. A square marketplace main image stretched to a vertical social slot either crops the product or adds dead space. Fix: Export each channel version from the approved master with the channel's own aspect ratio, not by re-cropping the marketplace version.
Each mistake shares a root cause: an unwritten rule being interpreted differently by different people at different times. The fix in every case is to make the rule written and verifiable.
Pre-Publish QC Checklist for Apparel SKU Sets
Before a batch of apparel SKU images goes live, run this tailored check. These are the seven points most likely to break for apparel standardization specifically — not a universal checklist.
- [ ] Garment completeness. No cropped hems, cuffs, collars, waistbands, or hoods across every SKU in the batch.
- [ ] Centered placement. Garment sits on the spec's vertical and horizontal anchor points in every frame.
- [ ] Fill-ratio consistency. Every main image hits the target fill ratio (for example, 85% for Amazon-aligned mains). No outliers above or below.
- [ ] Color accuracy. No background color cast bleeding into fabric tone. Verify against a reference swatch from the shoot.
- [ ] Fabric texture preservation. AI generation and retouching have not smoothed weave, knitting, or stitching into a generic surface.
- [ ] Background uniformity. Marketplace main images sit on pure white (RGB 255, 255, 255). Non-marketplace images use the brand-defined neutral consistently.
- [ ] Aspect-ratio discipline. Each channel version uses its specified ratio. No square crop repurposed as a vertical, no free-cropping to fit.
If any of these fail, fix it before publish. A catalog that drifts is harder to correct the longer it sits live, because every new SKU inherits the drift and reinforces it.
FAQ
Closing
Standardizing crop, framing, and spacing across apparel SKUs is less about photography skill and more about operational discipline. The teams that hold a consistent catalog over time are the ones that wrote the rule down, applied it to every shoot, and checked it before publish — not the ones with the best single image.
If your standardization spec keeps breaking across shoots, or if scaling it to hundreds of SKUs is the bottleneck, log in to iCreat AI and apply your spec to your next collection with AI Product Photography and the AI Fashion Detail Image Generator.