



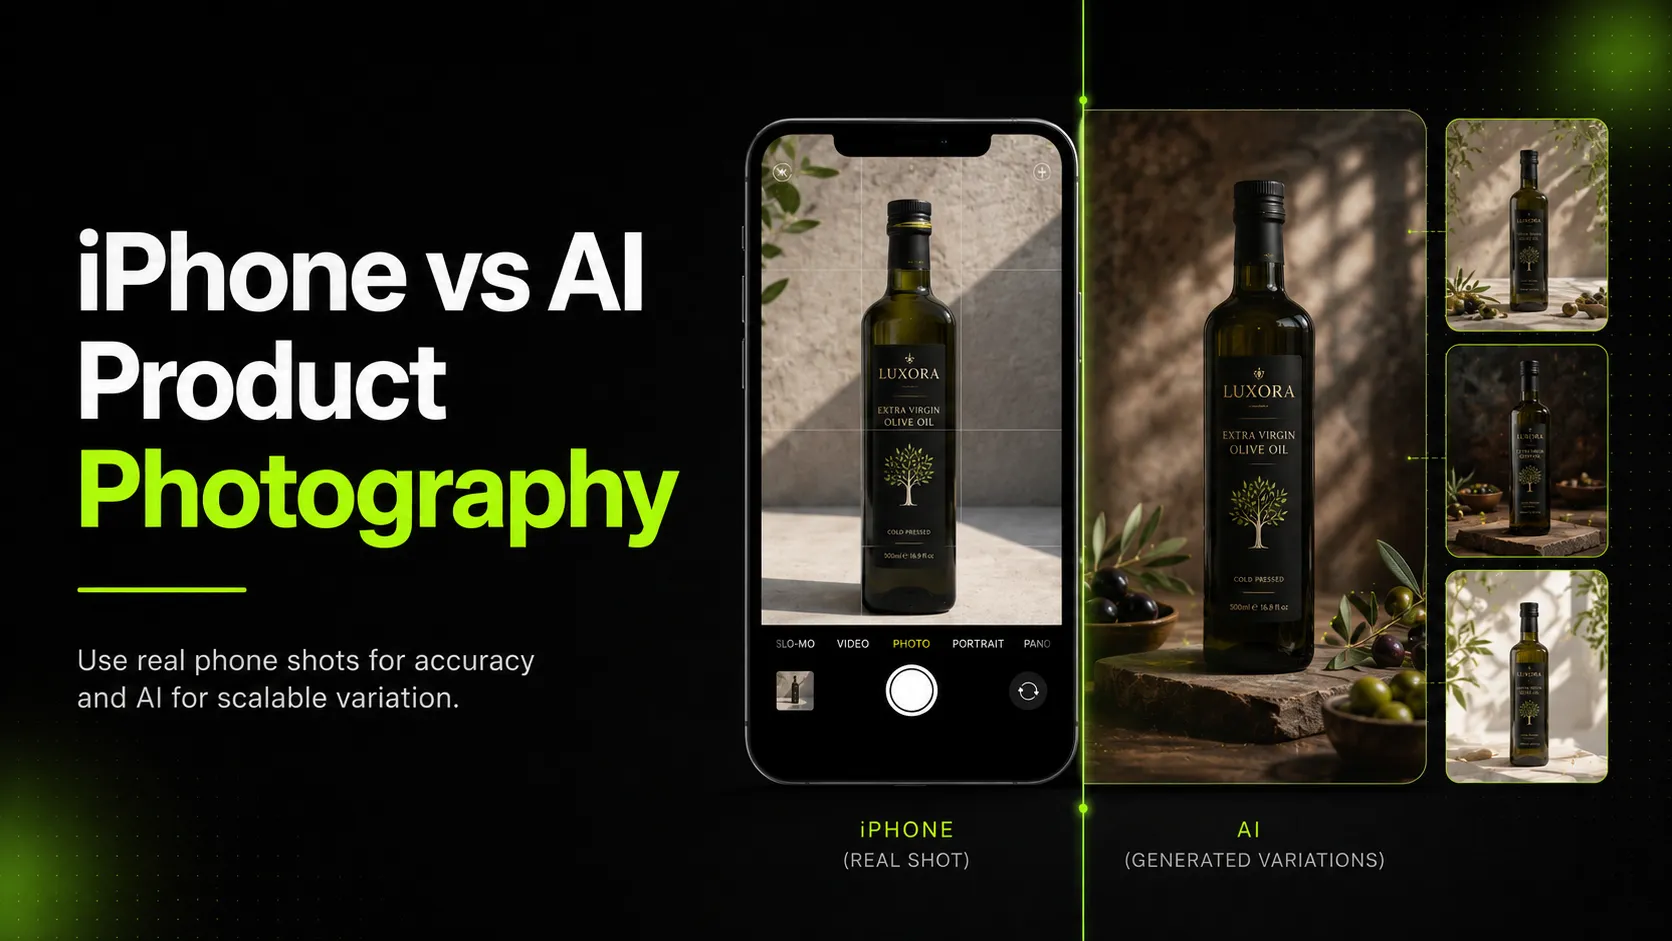
Introduction: The Real Question Is Not "iPhone or AI?"
If you are building an ecommerce brand with 0-50 SKUs, product photography can feel like a constant tradeoff.
You need images that look professional enough to build trust. You need product photos that show the real item accurately. You need lifestyle images for ads, social media, and landing pages. But you probably do not have the budget for a full studio shoot every time you launch, test, or update a product.
That is why many early-stage founders ask:
"Should I shoot product photos with my iPhone, or should I use AI product photography?"
The better question is:
"Which images need real capture, which images need scalable variation, and how can I combine both without wasting money?"
An iPhone and an AI product photography tool solve different problems.
An iPhone is useful when you need a real product reference: the actual shape, texture, label, packaging, color, and proportion. AI product photography is useful when you need more visual variations: different backgrounds, campaign ideas, social creatives, lifestyle concepts, and product page support images.
For small brands, the best answer is usually not iPhone only or AI only.
It is a simple hybrid workflow:
- Capture accurate core product images with your phone.
- Clean and standardize the product reference.
- Use AI to expand creative variations.
- Review every output for accuracy.
- Test which images actually improve performance.
This guide explains when iPhone product photography wins, when AI product photography wins, how to compare the real costs, and how a small ecommerce brand can build a practical product photo workflow without overpaying.
What iPhone Product Photography Actually Does Well
Modern iPhones are powerful enough for many early-stage ecommerce photography needs, especially if your product is simple, your catalog is small, and you can control lighting.
For a founder with limited budget, the iPhone has three major advantages:
- It captures the real product.
- It costs almost nothing if you already own one.
- It is fast enough for early product validation.
That makes it useful for the first layer of ecommerce imagery: the core product reference.
iPhone Wins When Accuracy Matters
An iPhone is often the better starting point when you need to show:
- The real product shape
- The actual packaging
- Label placement
- Material texture
- Size and proportion
- Color under controlled lighting
- Product defects or details
- What customers will actually receive
This matters because shoppers use product images to judge trust. If the product looks different in real life from what the image promised, the brand may face lower trust, more support questions, and more returns.
For early-stage founders, this is especially important. You may not have hundreds of reviews yet. Your images carry much of the trust burden.
iPhone Is Good for Your First Core Image Set
A small brand can often create a usable first product image set with:
- An iPhone
- A tripod
- A simple lightbox or window light setup
- A clean background
- Basic editing
- A consistent shot list
For each SKU, your first image set might include:
- Main product image
- Front angle
- Side angle
- Back angle
- Close-up detail
- Packaging image
- In-hand or scale image
This is not a luxury shoot. It is your minimum viable product photography system.
iPhone Product Photography Has Limits
The iPhone is useful, but it is not magic.
Common limitations include:
- Inconsistent lighting
- Reflections on glossy products
- Distorted angles
- Harsh shadows
- Weak background control
- Limited styling
- Time-consuming repeat shoots
- Hard-to-scale campaign variations
- Manual editing work
- Inconsistent results across SKUs
The biggest limitation is not always image quality. It is repeatability.
One founder can take a decent product photo with an iPhone. But taking consistent photos across 30 SKUs, multiple launches, several backgrounds, and multiple ad concepts quickly becomes difficult.
That is where AI can help.
What AI Product Photography Actually Does Well
AI product photography is strongest when the goal is not to capture the original product for the first time, but to create more usable visual variations from an existing product reference.
For small brands, AI can help solve a different problem:
"We already have the product. Now we need more visual assets without shooting everything again."
AI product photography is useful for:
- Background variations
- Lifestyle scenes
- Seasonal campaign visuals
- Social media images
- Ad testing creatives
- Secondary product page images
- Concept testing
- Moodboard-style campaign planning
- Visual expansion from one clean product reference
This is where AI can reduce the marginal cost of each additional creative.
AI Wins When Variation Matters
A founder may not need a new real-world photoshoot for every use case.
For example, one skincare product may need:
- A white-background image for the store
- A bathroom lifestyle image
- A spa-themed image
- A holiday campaign image
- A social media square crop
- A vertical ad image
- A bundle image
- A landing page hero visual
Shooting every variation manually can be slow and expensive.
AI-assisted workflows can help create more options faster, especially when the team already has a clean product image to work from.
AI Is Not a Free Pass
AI product photography still needs review.
A generated image may look polished but still fail if:
- The product shape changes
- The logo becomes distorted
- The label text is wrong
- The color does not match the real item
- The product scale feels unrealistic
- The material texture looks fake
- The image violates marketplace requirements
- The result overpromises what the product includes
This is why AI is best treated as a creative expansion layer, not an unquestioned source of truth.
For early-stage brands, the safest rule is:
Use iPhone photography to capture the truth. Use AI photography to scale the variations.
iPhone vs AI Product Photography: Quick Decision Table
Here is a simple way to decide which workflow to use.
| Image Need | Use iPhone | Use AI | Use Both |
|---|---|---|---|
| Main product image | Yes | Sometimes | Best for editing or background cleanup |
| Product detail close-up | Yes | No, unless based on accurate reference | Usually iPhone first |
| Packaging image | Yes | No | iPhone first |
| Lifestyle scene | Sometimes | Yes | Best hybrid use case |
| Seasonal background | No need to reshoot every time | Yes | AI after core image |
| Social media creative | Sometimes | Yes | Hybrid |
| Ad testing variations | Hard to scale manually | Yes | Hybrid |
| Marketplace-compliant main image | Yes | Only with strict QA | iPhone first, AI cautiously |
| Product page secondary images | Yes | Yes | Hybrid |
| Apparel pose variations | Expensive to reshoot | Yes, with QA | Hybrid |
| Complex reflective product | Yes, ideally studio | Risky | Professional capture first |
For small brands, the pattern is clear:
- Use iPhone when the image must prove what the product really is.
- Use AI when the image needs to create more contexts, variations, or campaign angles.
- Use both when you need accuracy and scale.
A Simple Scoring Framework for Small Brands
If you are unsure whether to use iPhone, AI, or both, score the image need across five factors.
Use a 1-5 scale:
- 1 = low importance
- 5 = high importance
| Factor | What It Means |
|---|---|
| Accuracy | Does the image need to match the real product exactly? |
| Scale | Do you need many versions quickly? |
| Consistency | Do all images need to follow the same visual system? |
| Cost sensitivity | Is budget a major constraint? |
| Speed | Do you need the image today or this week? |
Now apply this logic:
Use iPhone When Accuracy Scores Highest
Choose iPhone or real photography when:
- Accuracy is 5/5
- Product detail matters
- The image is a main product image
- The image shows packaging, labels, claims, or materials
- Customers need to know exactly what they will receive
Example:
A handmade candle brand needs a main product photo showing the jar, wax texture, label, and lid. The founder should start with iPhone photography under controlled lighting, not pure AI generation.
Use AI When Scale and Speed Score Highest
Choose AI-assisted photography when:
- You need many variations
- The image is for social, ads, email, or secondary PDP use
- The product has already been captured accurately
- You need to test different creative directions
- You do not want to arrange another shoot for every background
Example:
The same candle brand wants autumn, holiday, minimalist bathroom, and gift-guide visuals. AI can help create those variations faster once the core product image is approved.
Use a Hybrid Workflow When Both Accuracy and Scale Matter
Choose hybrid when:
- You need a real product reference
- You also need many marketing variations
- Your catalog is growing
- You want to avoid reshoots
- You still need QA before publishing
Example:
A skincare startup shoots each bottle with an iPhone, creates clean product cutouts, then uses AI to generate lifestyle and ad variations for testing.
Cost Model: iPhone vs AI vs Hybrid for 0-50 SKUs
For early-stage brands, the most important cost is not just cash. It is also time.
A founder may think iPhone product photography is free, but if it takes 20 hours to shoot, edit, organize, and reshoot images, it has a real cost.
Use this formula:
True Product Photo Cost = Equipment Cost \+ Tool Cost \+ Editing Time \+ Reshoot Time \+ Internal Review Time \+ Cost of Unusable Images
A better metric is:
Cost per Usable Image = Total Production Cost ÷ Approved Publishable Images
Example: 10-SKU Small Brand
Assume each SKU needs:
- 1 main image
- 3 gallery images
- 1 lifestyle or campaign image
That means:
10 SKUs × 5 images = 50 usable images
Here is how the workflows compare:
| Workflow | Cash Cost | Time Cost | Best Use | Main Risk |
|---|---|---|---|---|
| iPhone only | Low | Medium to high | Core product images | Limited variation and inconsistent results |
| AI only | Low to medium | Low to medium | Fast creative concepts | Product accuracy risk |
| Studio only | High | Low to medium | Premium hero images | Too expensive for early testing |
| Hybrid iPhone + AI | Low to medium | Medium | Accurate core images plus scalable variations | Requires QA discipline |
For a 10-SKU brand, the most practical workflow is often:
- Shoot real product references with iPhone.
- Use AI for lifestyle, campaign, and social variations.
- Spend studio budget only on bestsellers or hero products.
Example: 50-SKU Small Brand
At 50 SKUs, manual production gets harder.
If each SKU needs 5 images:
50 SKUs × 5 images = 250 usable images
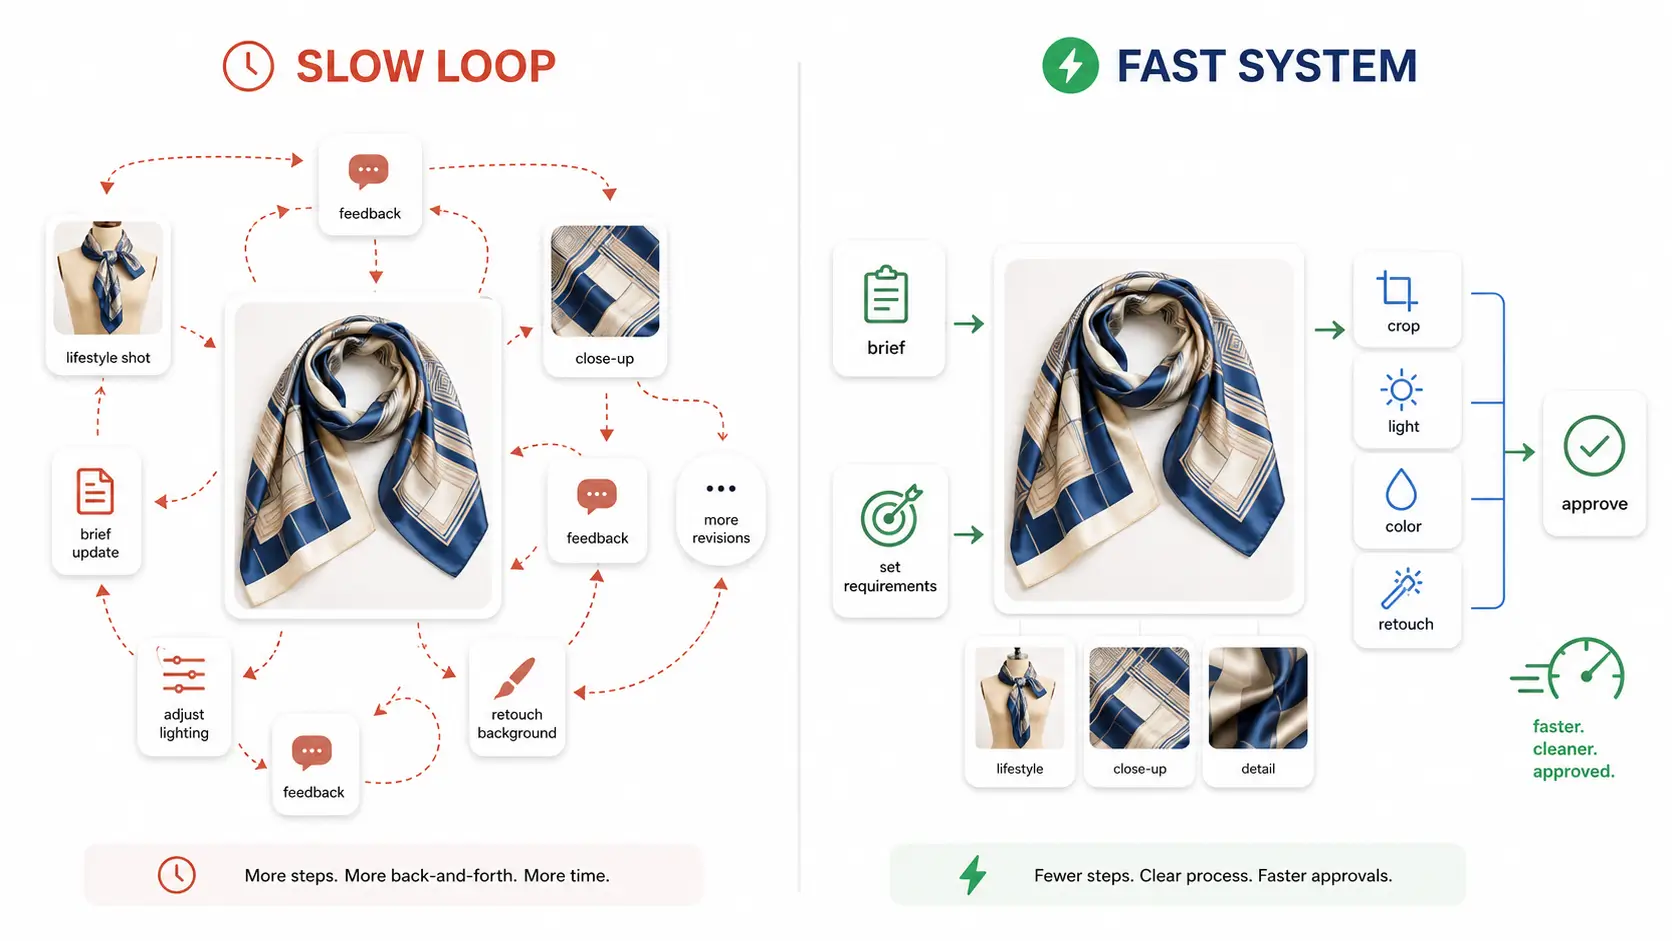
At this point, the founder needs a system:
- Standard shot list
- Consistent lighting setup
- Repeatable editing process
- Naming rules
- AI variation workflow
- QA checklist
- Performance tracking
The goal is no longer to create a few decent images. The goal is to avoid visual chaos.
For early-stage ecommerce teams, a hybrid system usually gives the best balance between accuracy, speed, and budget.
The Minimum Viable Product Photo Set for a Small Brand
A small brand does not need a massive photo library on day one.
It needs a clear, trustworthy, and testable product image set.
For most products, start with this:
Core Product Images
These should usually come from iPhone or real capture:
- Main image
- Front angle
- Side or back angle
- Detail close-up
- Packaging image
- Scale image
Expansion Images
These can often be created with AI assistance after the core product is captured:
- Lifestyle scene
- Seasonal background
- Social media creative
- Email campaign visual
- Landing page hero variation
- Ad testing image
Optional Images
These depend on category:
- Model image
- Bundle image
- Comparison image
- Ingredient or material close-up
- Before/after visual
- UGC-style concept
- 360 or interactive view
The key is to build in layers.
Do not try to create every possible image before launch. Start with trust-building images, then expand based on performance.
A 5-Step Hybrid Workflow for Early-Stage Founders
Here is a practical workflow for a small brand with limited budget.
Step 1: Shoot the Product Truth With iPhone
Start by capturing the real product.
Use:
- Natural light or softbox lighting
- A clean background
- A tripod
- Consistent distance
- Consistent angle
- No aggressive filters
- Multiple exposures
- Close-up details
Your goal is not to create a campaign image yet.
Your goal is to capture an accurate product reference.
Step 2: Clean and Standardize the Core Image
Before using AI, clean the product image.
Check:
- Color accuracy
- Sharpness
- Cropping
- Background clarity
- Product edges
- Label readability
- Proportions
- File resolution
This image becomes your source asset.
If the source asset is weak, the AI outputs will also be weak.
Step 3: Decide Which Images Need AI Expansion
Do not generate random images.
Choose specific use cases:
- One PDP lifestyle image
- Two ad creative variations
- One seasonal campaign image
- One social media square image
- One landing page hero concept
For 0-50 SKUs, this keeps the workflow manageable.
Step 4: Generate Variations, But Review Like a Buyer
After generating AI-assisted images, review them from a shopper's perspective.
Ask:
- Would this image make the product easier to understand?
- Does the product still look accurate?
- Is the label correct?
- Is the color realistic?
- Does the scale make sense?
- Does the image match the brand?
- Could this mislead a customer?
- Would this pass marketplace requirements if used there?
Do not publish an image just because it looks beautiful.
Publish it because it is useful and accurate.
Step 5: Test and Keep What Works
Small brands should not assume which image is best.
Test:
- Main image options
- Plain background vs lifestyle image
- Close-up vs no close-up
- Product-in-use vs product-alone
- AI background variation A vs B
- Ad creative variation A vs B
Track:
- Click-through rate
- Add-to-cart rate
- Conversion rate
- Return rate
- Cost per usable image
- Cost per winning ad creative
The goal is to learn which visuals actually help customers buy.
Where iPhone Product Photography Wins
iPhone product photography is the better choice when the image must be grounded in reality.
Use iPhone first for:
Main Product Images
Your main product image should show the actual product clearly.
For marketplaces, this may also need to follow specific image rules. For your own store, it should still be clean, sharp, and easy to understand.
Details and Materials
Use iPhone photography for:
- Texture
- Stitching
- Labels
- Ingredients
- Finish
- Color
- Packaging details
- Size comparisons
AI may help present the product, but real capture is usually better for truth-sensitive details.
Early Product Validation
If you are still testing product-market fit, iPhone photography can help you move quickly without overspending.
A founder does not need a \$5,000 shoot to validate every idea.
They need enough image quality to test whether people care.
Products With High Accuracy Risk
Use real capture for:
- Apparel fit
- Jewelry
- Transparent products
- Reflective packaging
- Cosmetics labels
- Handmade products
- Regulated categories
- Products where texture, scale, or color affects trust
If the cost of misrepresentation is high, start with real photography.
Where AI Product Photography Wins
AI product photography is the better choice when the brand needs more creative options from an existing product asset.
Use AI for:
Lifestyle Backgrounds
Once the product is captured accurately, AI can help place it in different contexts:
- Bathroom counter
- Kitchen counter
- Desk setup
- Travel scene
- Gift box setting
- Minimalist studio
- Seasonal campaign background
This helps small brands create more emotional context without staging every scene physically.
Social and Ad Variations
Ads need testing volume.
AI can help create variations for:
- Different hooks
- Different crops
- Different settings
- Different campaign moods
- Different seasonal angles
For a small brand, this can make creative testing more accessible.
Secondary Product Page Images
Not every PDP image needs a full shoot.
AI-assisted visuals may work well for:
- Context image
- Lifestyle support image
- Bundle concept
- Seasonal version
- Background variation
The main image should still be accurate and clear. Secondary images can help create context and desire.
Apparel and Fashion Variations
Fashion photography is expensive because it often requires models, poses, styling, and repeated shoots.
For apparel brands, AI-assisted workflows can help expand from one approved fashion image into additional visual assets, as long as the team reviews garment accuracy, fit, proportions, and fabric realism.
Where iCreat AI Naturally Fits Into This Workflow
iCreat AI should fit into the workflow after the brand has already decided what images it needs.
It is not a replacement for planning. It is a way to help small teams create more usable ecommerce assets from fewer original inputs.
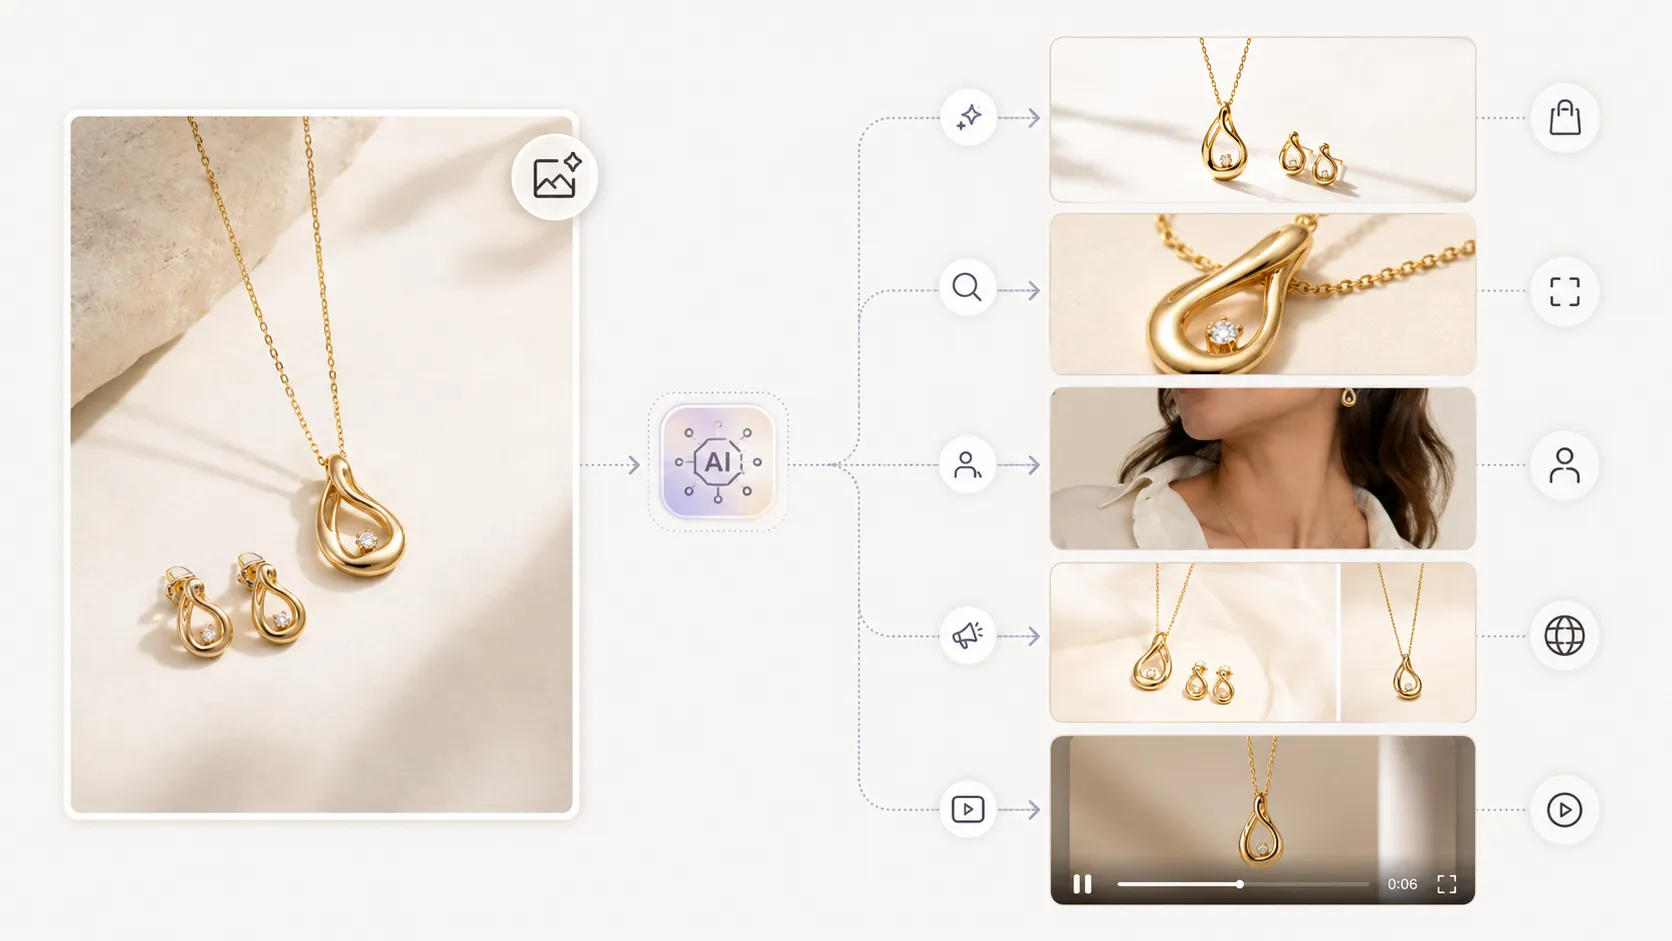
For founders who already have clean product references, the strongest use case is visual expansion: turning one approved product image into multiple useful assets for PDP, ads, social, and campaigns.
For apparel brands, this can be especially practical. Instead of arranging another model shoot just to capture more poses, a team can generate pose variations from one fashion image, then review the outputs for garment accuracy, fit, proportions, and brand consistency.
If the team needs broader fashion asset expansion, it can also turn one fashion product image into multiple visual variations, including additional views, close-ups, side angles, back views, and campaign-ready variations.
For product pages, apparel teams can create ecommerce-ready clothing image sets, such as white-background images, product detail images, fabric close-ups, and 3D floating-style visuals.
For a deeper workflow on general product scenes, see this guide on how to generate lifestyle product images from one product photo.
The important rule is:
Use iPhone photography where truth matters most. Use iCreat AI where variation, speed, and visual scale matter more.
Every AI-assisted output should still go through a quality review before publishing. You can use this product photo quality checklist before publishing to check accuracy, resolution, cropping, color realism, and platform readiness.
iPhone vs AI vs Hybrid: Scenario Examples
Scenario 1: Skincare Startup With 8 SKUs
The founder has a limited budget and needs product images for Shopify, Instagram, and ads.
Best workflow:
- Shoot clean bottle images with iPhone
- Capture label details and packaging
- Use AI to create bathroom, vanity, and spa lifestyle scenes
- Test 3-5 ad variations
- Keep the best-performing images
Why hybrid wins:
The iPhone captures packaging truth. AI creates more marketing variations without requiring a new shoot for every scene.
Scenario 2: Apparel Brand With 20 SKUs
The founder needs product page images and social content but cannot afford repeated model shoots.
Best workflow:
- Capture or select one strong garment reference image
- Use real photography for the most important product details
- Use AI-assisted tools to create additional angles or pose variations
- Review garment accuracy carefully
- Use winning visuals for PDP and social
Why hybrid wins:
Apparel needs visual variety, but repeated shoots are expensive. AI can reduce the cost of pose and variation creation, as long as accuracy is reviewed.
Scenario 3: Handmade Home Goods Brand With 12 SKUs
The founder sells ceramic mugs, candles, and small decor items.
Best workflow:
- Use iPhone for product truth, texture, and scale
- Capture in-hand or on-table reference images
- Use AI for seasonal scenes and gift-guide visuals
- Keep main images simple and accurate
- Test lifestyle variations in ads and email
Why hybrid wins:
Handmade products need authenticity. AI can help create seasonal context, but the real product should remain the anchor.
Common Mistakes Small Brands Make
Mistake 1: Using AI Before Capturing the Real Product
AI works better when the brand has a clean reference.
If the product has never been captured accurately, the team may generate attractive but misleading visuals.
Better approach:
Capture the product truth first, then use AI to expand.
Mistake 2: Trying to Make Every Image Perfect Before Launch
Early-stage brands need to learn quickly.
Do not delay launch for a huge image library.
Better approach:
Launch with a minimum viable photo set, then improve based on traffic, conversion, and customer questions.
Mistake 3: Using the Same Image Everywhere
A marketplace main image, Shopify PDP image, Instagram creative, and landing page hero may need different formats.
Better approach:
Plan image needs by channel before creating assets.
Mistake 4: Ignoring QA
AI images can look polished but still contain errors.
Better approach:
Review every image for product accuracy, color, proportions, resolution, and platform fit.
Mistake 5: Measuring Quantity Instead of Usefulness
More images do not always mean better marketing.
Better approach:
Track cost per usable image and performance by image type.
Product Photo QA Checklist for iPhone and AI Images
Before publishing any product image, check the following:
Product Accuracy
- Does the product shape match the real item?
- Are colors realistic?
- Is the size believable?
- Are materials and textures accurate?
- Are labels, logos, and packaging correct?
Image Quality
- Is the image sharp?
- Is the resolution high enough?
- Are edges clean?
- Are shadows natural?
- Is the crop appropriate?
- Does the image look good on mobile?
Channel Fit
- Is this image suitable for the store?
- Is it suitable for ads?
- Is it suitable for marketplace use?
- Does it need a different crop?
- Does it follow platform requirements?
Brand Fit
- Does the image match your brand style?
- Does it feel consistent with other images?
- Does it overpromise the product?
- Would a customer feel misled after receiving the item?
This checklist matters because early-stage brands cannot afford trust problems.
A single misleading product image can hurt conversions, increase returns, and create support issues.
How to Decide Your First 30 Days of Product Photography
Here is a simple 30-day plan for a small brand.
Days 1-3: Audit Your Products
List every SKU.
For each one, record:
- Existing product images
- Missing angles
- Missing detail shots
- Missing lifestyle images
- Product page traffic
- Conversion rate
- Customer questions
- Return reasons
Days 4-7: Define the Minimum Image Set
For each SKU, decide:
- What image is required for trust?
- What image is required for the product page?
- What image is required for ads?
- What can wait until after launch?
Start with the most important products first.
Days 8-14: Shoot Core Images With iPhone
Create a small repeatable setup.
Capture:
- Main image
- Front angle
- Side/back angle
- Detail shot
- Packaging image
- Scale image
Use the same lighting and framing across products.
Days 15-21: Use AI for Variations
Create a small number of variations:
- One lifestyle image
- One social image
- One ad image
- One seasonal or campaign concept
Do not generate endlessly. Generate with purpose.
Days 22-30: Test and Improve
Publish and measure.
Track:
- Product page engagement
- Add-to-cart rate
- Conversion rate
- Ad CTR
- Return rate
- Customer questions
- Cost per usable image
Then improve the images that matter most.
FAQ
Conclusion: Use iPhone for Truth, AI for Scale
For early-stage ecommerce founders, the answer is not iPhone or AI.
It is iPhone plus AI, used in the right order.
Use iPhone product photography to capture the truth: the real product, real packaging, real texture, real details, and real scale.
Use AI product photography to create scale: more backgrounds, more campaign concepts, more ad creatives, more social visuals, and more product page support images.
The winning workflow is simple:
- Capture the real product.
- Clean and standardize the reference.
- Generate useful variations.
- Review everything for accuracy.
- Test what performs.
That is how small brands can create better product visuals without overspending on every new shoot.
CTA: Start with one clean product image, then use iCreat AI to create more usable ecommerce visuals for your store, ads, and campaigns.